Info : Vous modifiez un tutoriel prérequis. Toutes les modifications apportées affecteront les 10 tutoriels qui comprennent cette étape.
Traduction de l’étape 1
Étape 1

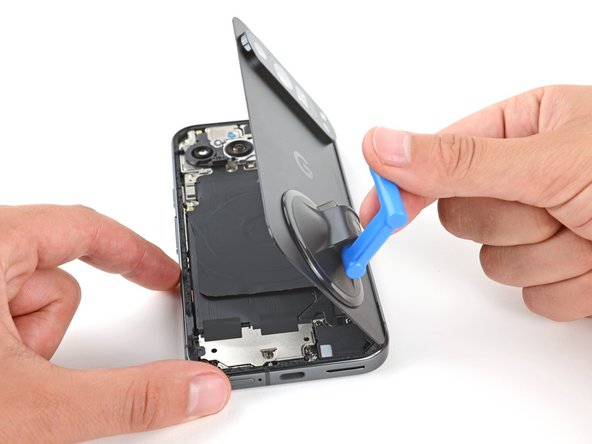


Prop up the rear cover
-
Use the suction handle to lift the left edge of the rear cover and swing it over the right edge, like opening the cover of a book.
-
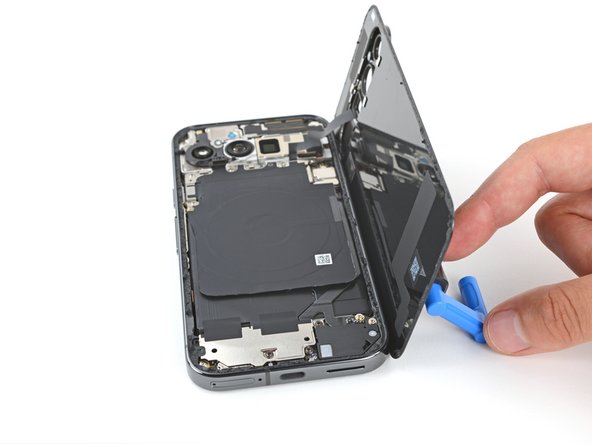
Prop up the rear cover with the suction handle so you can access the ribbon cable near the top right corner.
Vos contributions sont faites dans le cadre de la licence open source Creative Commons.