Info : Vous modifiez un tutoriel prérequis. Toutes les modifications apportées affecteront les 14 tutoriels qui comprennent cette étape.
Traduction de l’étape 13
Étape 13

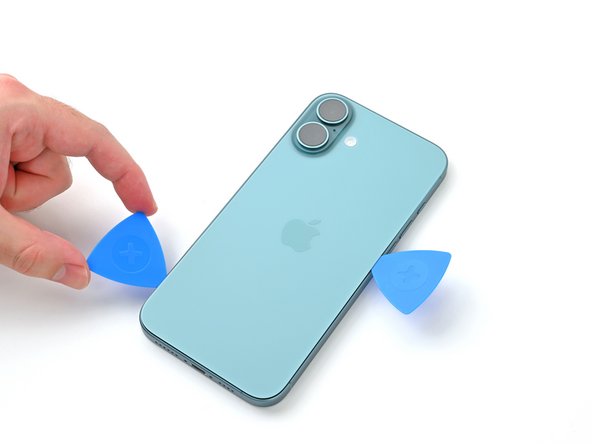


Separate the left edge adhesive
-
Insert a second opening pick at the bottom edge.
-
Slide the second pick around the bottom left corner and along the left edge of the screen to separate the adhesive and release the metal clips.
-
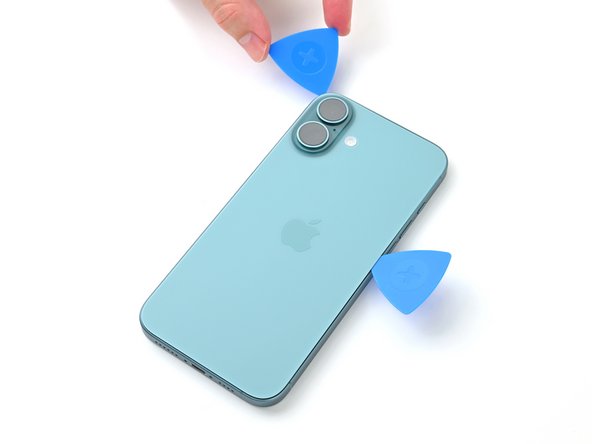
Leave this pick inserted at the top left corner to prevent the adhesive from resealing.
Vos contributions sont faites dans le cadre de la licence open source Creative Commons.