Info : Vous modifiez un tutoriel prérequis. Toutes les modifications apportées affecteront les 14 tutoriels qui comprennent cette étape.
Traduction de l’étape 21
Étape 21

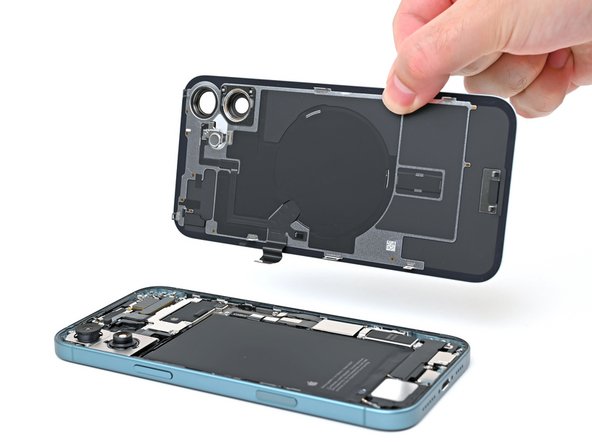


Remove the back glass
-
Lift the back glass off the frame and remove it.
-
This is a good point to test your repair before sealing up your phone. Temporarily reconnect the battery and back glass (before replacing the adhesive), power on your phone, and make sure it works as expected. Power it back down, disconnect the battery, and continue reassembly.
-
Use this guide to reapply adhesive and install your back glass.
Vos contributions sont faites dans le cadre de la licence open source Creative Commons.