Traduction de l’étape 6
Étape 6


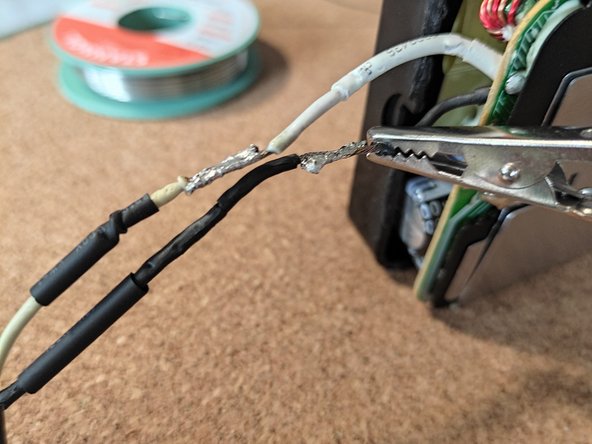
join the cables
-
place one cable on top of the other, grip it with the helping hands, and put the soldering iron over it. Your already tined cable will fuse easily.
-
test each cable for continuity with the multimeter
-
one pin of the multimeter at the connector and one at the soldering joint of the cable at the motherboard
-
do this for each cable.
Vos contributions sont faites dans le cadre de la licence open source Creative Commons.