Aller au contenu principal

iPhone 16 Plus 5G mmWave Antenna Replacement

Info : Vous modifiez un tutoriel prérequis. Toutes les modifications apportées affecteront les 2 tutoriels qui comprennent cette étape.

Anglais
Français

Traduction de l’étape 4

Étape 4
iPhone 16 Plus 5G mmWave Antenna Replacement, Reassembly information: étape 0, image 1 de 3 iPhone 16 Plus 5G mmWave Antenna Replacement, Reassembly information: étape 0, image 2 de 3 iPhone 16 Plus 5G mmWave Antenna Replacement, Reassembly information: étape 0, image 3 de 3
Reassembly information
  • During reassembly:

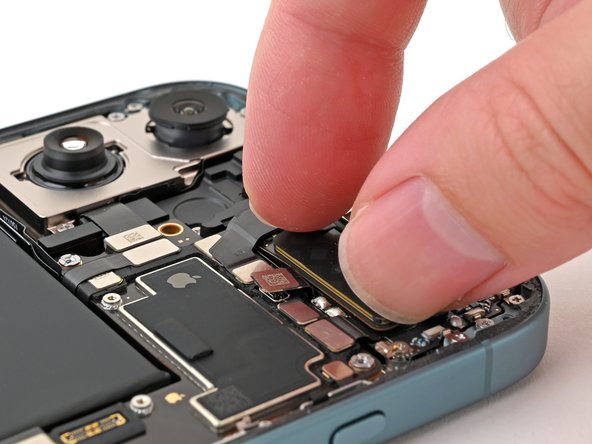
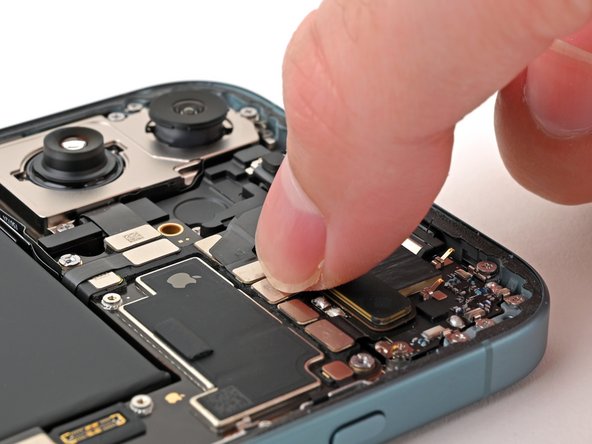
  • Use tweezers or your fingers to remove the old adhesive from the top of the earpiece speaker and back of the antenna.

  • If your replacement part doesn't include new adhesive, use a 4 mm x 16 mm strip of thin, double-sided tape to secure the antenna to the earpiece speaker.

  • Slide the new antenna underneath the front camera cables and make sure its cable routes in the channel above the logic board.

  • Connect the antenna press connector, and press the antenna onto the earpiece speaker to adhere it.

Insérez ici votre traduction

Insérez ici votre traduction

Insérez ici votre traduction

Insérez ici votre traduction

Insérez ici votre traduction

Vos contributions sont faites dans le cadre de la licence open source Creative Commons.