Aller au contenu principal

Hota H6 Pro Battery Charger Disassembly & AC Fuse Replacement

Anglais
Français

Traduction de l’étape 2

Étape 2
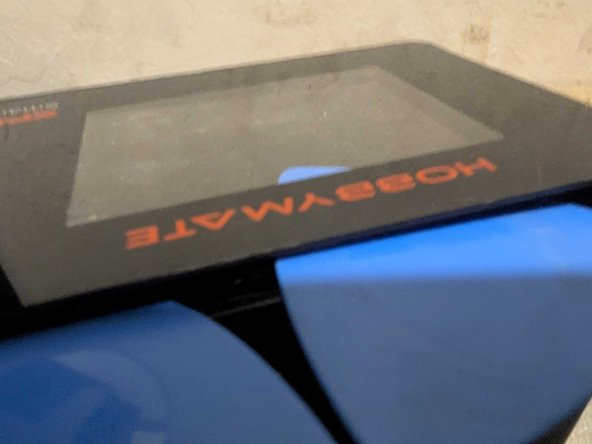
Hota H6 Pro Battery Charger Disassembly & AC Fuse Replacement: étape 0, image 1 de 3 Hota H6 Pro Battery Charger Disassembly & AC Fuse Replacement: étape 0, image 2 de 3 Hota H6 Pro Battery Charger Disassembly & AC Fuse Replacement: étape 0, image 3 de 3
  • Insert a second pick in the gap between the faceplate layer and the plastic frame below

  • Work the pick all the way around the edges of the faceplate with a rocking motion to separate the glue.

  • Slowly peel the faceplate off and keep it somewhere safe so the glue doesn't get dirty

Insérez ici votre traduction

Insérez ici votre traduction

Insérez ici votre traduction

Vos contributions sont faites dans le cadre de la licence open source Creative Commons.