Traduction de l’étape 11


-
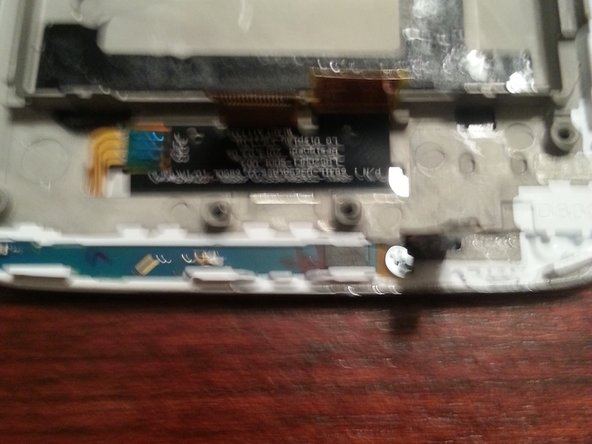
At the bottom of the phone is another very small board almost like a piece of metal tape. It's held down by a small screw. Remove the screw, and peel up the piece. I'm 99% sure it's strictly for grounding purposes, but none the less is still important.
-
TIP: When prying up circuit, logic boards, or small pieces like this it's best to start where a screw was removed, because often the area is reinforced and protected.
-
You should now have just the screen assembly. I didn't remove the LCD or digitizer. I've found separate, and full screen assemblies on the web, but I've also read LG is making it quite affordable to repair the screen by sending it to them.
-
As always here's a look at it all.
-
For reassembly start from the very last step, and go back in order. REMEMBER fellow fixers, either repair or recycle.
Vos contributions sont faites dans le cadre de la licence open source Creative Commons.