Aller au contenu principal

How to Sew a Whip Stitch

Info : Vous modifiez un tutoriel prérequis. Toutes les modifications apportées affecteront le tutoriel qui comprend ces étapes.

Anglais
Espagnol

Traduction de l’étape 3

Étape 3
How to Sew a Whip Stitch: étape 0, image 1 de 3 How to Sew a Whip Stitch: étape 0, image 2 de 3 How to Sew a Whip Stitch: étape 0, image 3 de 3
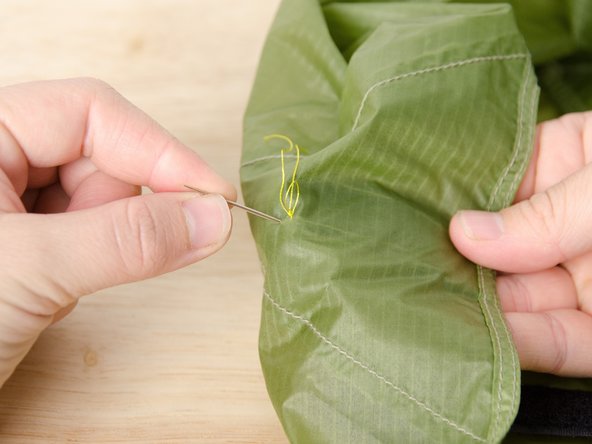
  • Drive the needle down through the top and bottom layers of fabric, close to where the needle came up.

  • The distance between where the needle comes up and goes down will be your stitch length. The smaller the stitch length, the more stitches required—and the stronger the seam.

  • Pull the thread taut on the backside of the bottom material.

Insérez ici votre traduction

Insérez ici votre traduction

Insérez ici votre traduction

Vos contributions sont faites dans le cadre de la licence open source Creative Commons.