Traduction de l’étape 4
Étape 4


-
Removing the battery gives us an immediate view of the motherboard.
-
But more importantly, affords quick access to the SIM and microSD slots.
-
While this construction means a couple extra steps to eject the cards, it also means fewer moving parts, and an eject mechanism that can never fail.
-
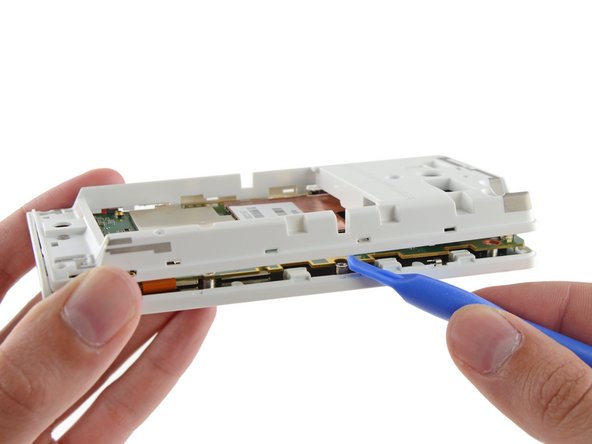
The turn of a screw, and pry of an opening tool and the
motherlodemotherboard is fully revealed. -
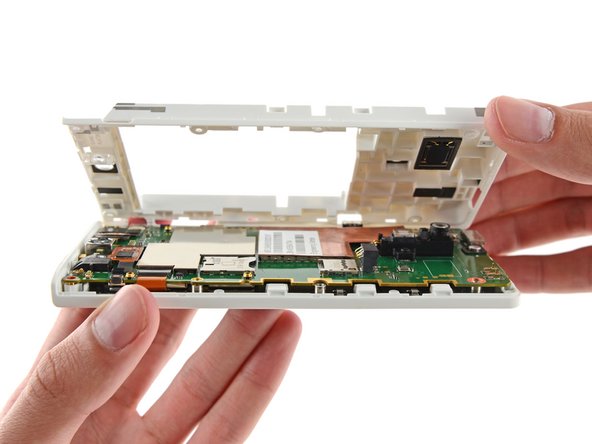
Not a lick of adhesive in sight—just a loudspeaker with pressure contacts nestled snugly into the midframe.
-
The midframe, manufactured by Kuang Fa Plating Co, also houses a few integrated antennas, likewise connected via handy, cable-free spring contacts.
Vos contributions sont faites dans le cadre de la licence open source Creative Commons.