Aller au contenu principal

iPad WiFi版 主板更换

Info : Vous modifiez un tutoriel prérequis. Toutes les modifications apportées affecteront les 8 tutoriels qui comprennent cette étape.

Anglais
Chinois

Traduction de l’étape 22

Étape 22
iPad Air Wi-Fi Logic Board Replacement: étape 0, image 1 de 3 iPad Air Wi-Fi Logic Board Replacement: étape 0, image 2 de 3 iPad Air Wi-Fi Logic Board Replacement: étape 0, image 3 de 3
  • In the next steps, you will use an iOpener to apply heat to the rear case of the iPad to soften adhesive holding the logic board in place.

  • As you reheat and place the iOpener in each of the indicated locations, leave it in place for at least a minute to soften the adhesive through the rear case.

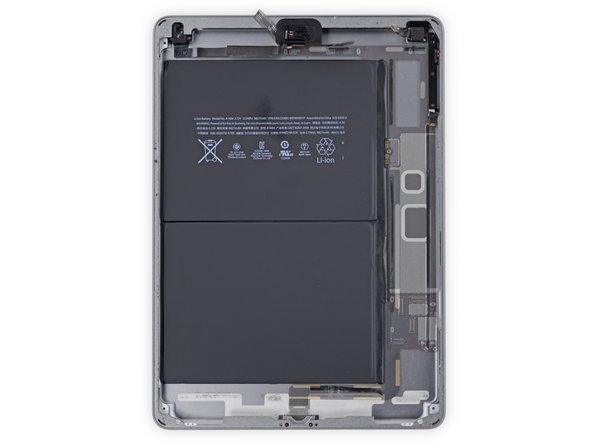
  • The adhesive is in the form of six pieces of black foam tape—refer to this step as you work at heating and prying to keep track of where each piece is located.

在接下来的几步,你将会使用到 iOpener 来加热 iPad 底部来软化主板的黏胶。

当你重新加热,并把 iOpener 放到这些位置的时候,请保持至少一分钟,来软化黏胶。

黏胶是六个泡沫形式的胶带 ——如果你需要知道它们的位置,请参考这个步骤。

Vos contributions sont faites dans le cadre de la licence open source Creative Commons.