Aller au contenu principal

Hoe om te gaan met schroevendraaiers en bits

Anglais
Néerlandais

Traduction de l’étape 6

Étape 6
Screwdriver Best Practices: étape 0, image 1 de 3 Screwdriver Best Practices: étape 0, image 2 de 3 Screwdriver Best Practices: étape 0, image 3 de 3
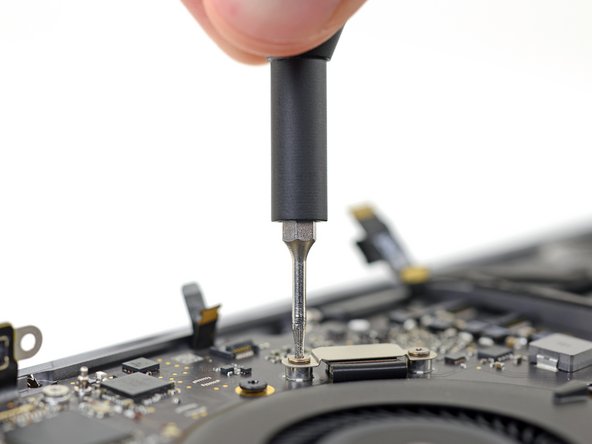
  • Whenever you install a screw, first turn the screw counter-clockwise (in the “loosey” direction) to “seat” the screw.

  • Turn slowly until you feel the screw level off and sink slightly, then stop.

  • Now it's safe to tighten the screw.

  • A properly installed screw will turn easily until it's fully tight.

  • An improperly threaded screw gets increasingly difficult to tighten—because the misaligned threads are cutting across the threads in the screw hole, causing permanent damage. This is known as "cross-threading."

  • If your screw doesn't tighten easily, back off and carefully re-seat it, and try again.

Zorg dat je, bij het plaatsen van een schroef, eerst tegen de klok in draait om te zorgen dat de schroef op de juiste positie in het schroefgat geraakt alvorens deze vast te draaien.

Draai langzaam totdat je voelt dat de schroef waterpas staat en iets wegzakt, en stop dan.

Nu is het veilig om de schroef strak vast te draaien.

Een correct geïnstalleerde schroef zal gemakkelijk draaien totdat deze volledig vastzit.

Een verkeerd uitgelijnde schroef wordt steeds moeilijker om vast te draaien, omdat de verkeerd uitgelijnde schroef dwars door de schroefdraad in het schroefgat snijdt en blijvende schade veroorzaakt. Dit fenomeen staat ook wel bekend als "corss-threading."

Als een schroef niet gemakkelijk vastdraait, draai je deze weer los, probeer je de schroef beter te plaatsen en probeer je deze nog eens strak te draaien.

Vos contributions sont faites dans le cadre de la licence open source Creative Commons.