Info : Vous modifiez actuellement une condition préalable du tutoriel que vous venez de consulter. Toutes les modifications affecteront les 3 tutoriels qui comprennent cette étape.
Traduction de l’étape 1
Étape 1


Removing Fan
-
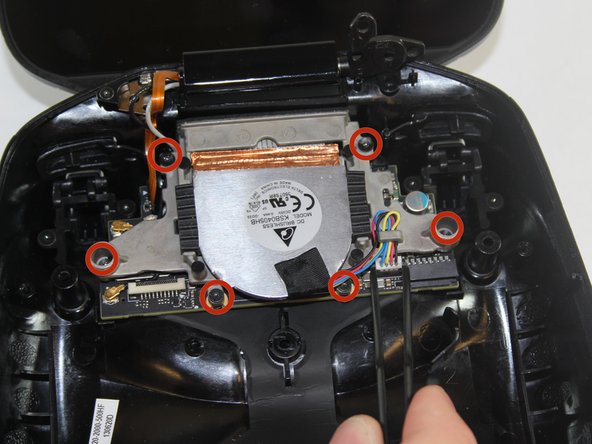
Remove the two 7.3mm and four 8.4mm T5 Torx screws and disconnect the power cable.
-
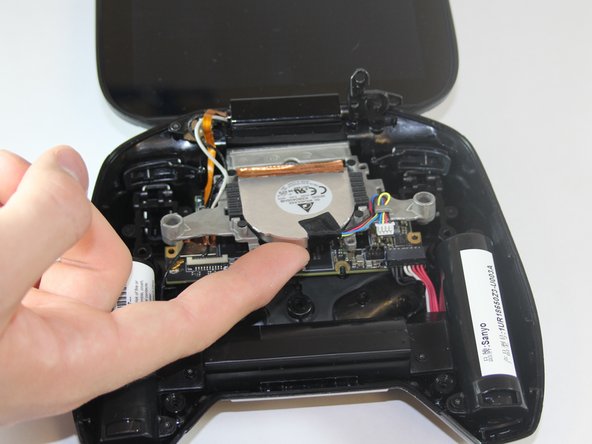
Lift the fan free after the screws and cable are removed.
| [title] Removing Fan | |
| - | [* |
| - | [* |
| - | [* black] |
| + | [* icon_note] Cooling is important for electronics, the last thing they want is to overheat. |
| + | [* red] Remove the two 7.3mm and four 8.4mm T5 Torx screws and disconnect the power cable. |
| + | [* black] Lift the fan free after the screws and cable are removed. |
Vos contributions sont faites dans le cadre de la licence open source Creative Commons.