Info : Vous modifiez actuellement une condition préalable du tutoriel que vous venez de consulter. Toutes les modifications affecteront les 2 tutoriels qui comprennent cette étape.
Traduction de l’étape 3
Étape 3


-
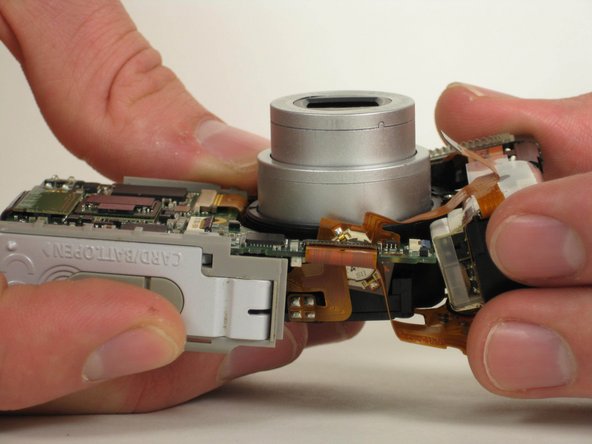
Use your fingers to give a small gap of space between the bottom of the lens assembly and the motherboard.
-
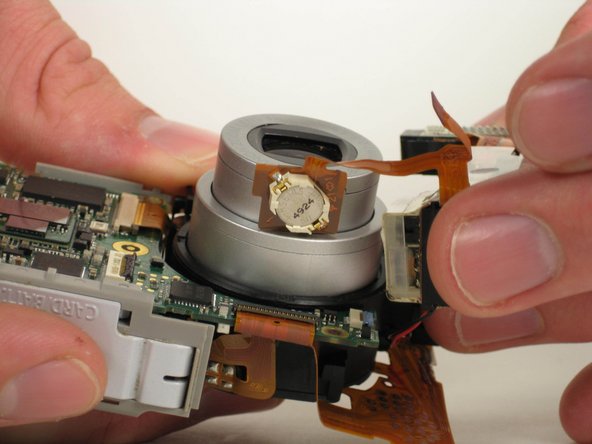
Slide the small circular battery, which is part of the flash assembly, through the small gap.
-
Separate the flash assembly from the rest of the camera.
Vos contributions sont faites dans le cadre de la licence open source Creative Commons.