Traduction de l’étape 5
Étape 5

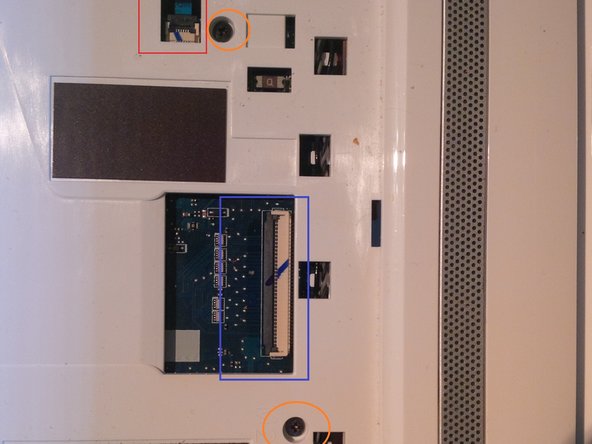
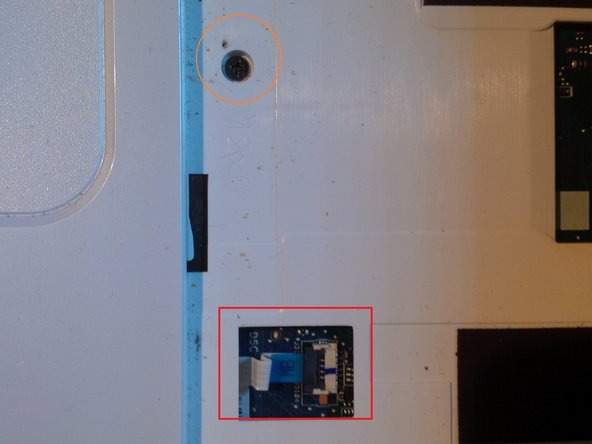


removing screws and connectors
-
now you will see 2 connectors and 7 screws under the keyboard.
-
remove the screws and gently remove the 2 connectors from the connectors. like always do it gently.
-
the orange circkles are the screws to remove the mainboard in a later step
-
the red squares are the connectors of the mouse pad and powerboard
-
the blue square is the connector from the keyboard.
Vos contributions sont faites dans le cadre de la licence open source Creative Commons.