Info : Vous modifiez un tutoriel prérequis. Toutes les modifications apportées affecteront les 18 tutoriels qui comprennent cette étape.
Traduction de l’étape 28
Étape 28

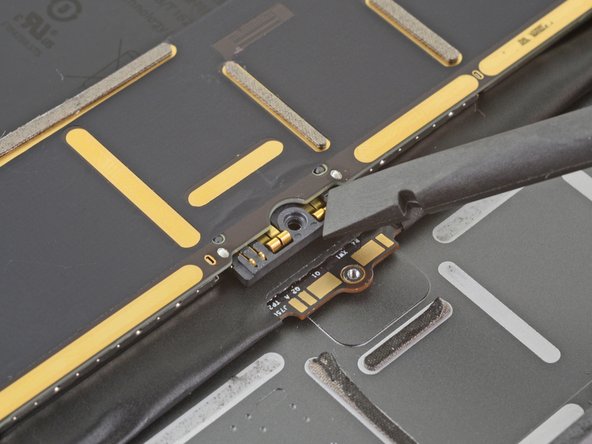
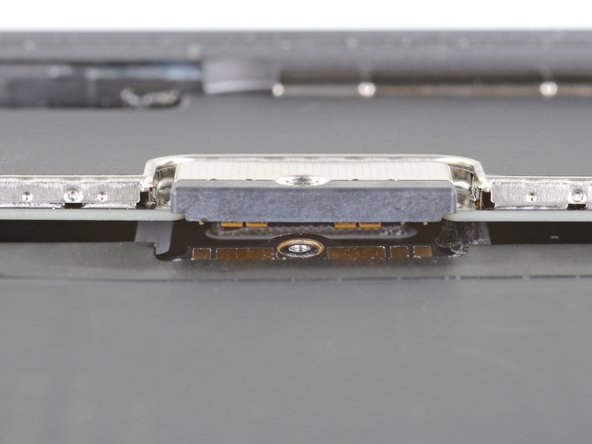


Battery connector information
Vos contributions sont faites dans le cadre de la licence open source Creative Commons.