Info : Vous modifiez un tutoriel prérequis. Toutes les modifications apportées affecteront les 3 tutoriels qui comprennent cette étape.
Traduction de l’étape 2
Étape 2


-
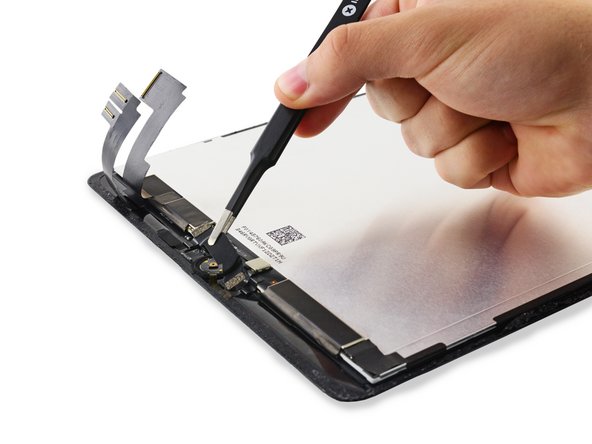
Remove the Home Button bracket and peel up the tape connected to it.
-
Scrape off as much of the old adhesive residue from the bracket as you can, then clean it with acetone or high-concentration (90% or greater) isopropyl alcohol.
-
Secure the bracket with hot-melt glue, superglue, or high-strength double-sided tape. Make sure the bracket is aligned correctly before allowing your adhesive to cure, or the home button will not click when pressed.
Vos contributions sont faites dans le cadre de la licence open source Creative Commons.