Aller au contenu principal

iPad 2 GSM Front Panel Replacement

Anglais
Français

Traduction de l’étape 1

Étape 1
iPad 2 GSM Front Panel Replacement: étape 0, image 1 de 2 iPad 2 GSM Front Panel Replacement: étape 0, image 2 de 2
  • The iPad 2 is an extremely difficult device to open. Before attempting this guide, be aware that you may break your front panel and/or deform the plastic bezel around it during the opening sequence.

  • In the following steps you will use a heat gun to soften the adhesive securing the front panel to the rear panel. Try not to allow the stream of hot air to contact the thin plastic strip around the outer perimeter of the front panel as it may melt, permanently deform, and lose texture.

  • When heating up the front panel, the goal is to loosen the adhesive located in the areas highlighted in red in the second picture. When prying up the front panel, be especially careful not to damage the Wi-Fi antenna in the area boxed in blue, the top antennas in the area boxed in yellow, or the digitizer cable in the area boxed in black in the second picture.

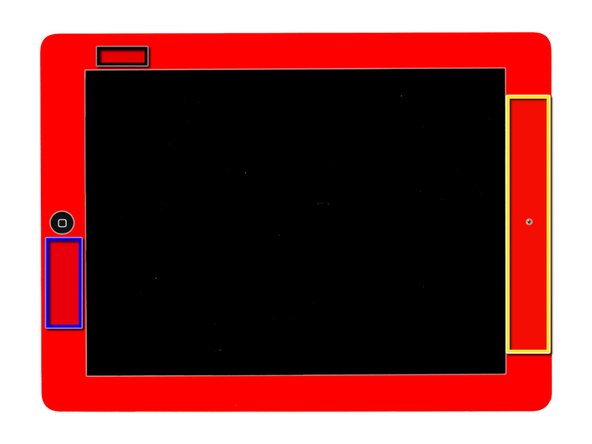
  • Use a heat gun to gently heat the front panel to the right of the home button.

  • Do not heat up the home button, as it is plastic and easily melts/deforms.

Insérez ici votre traduction

Insérez ici votre traduction

Insérez ici votre traduction

Insérez ici votre traduction

Insérez ici votre traduction

Vos contributions sont faites dans le cadre de la licence open source Creative Commons.