Traduction de l’étape 6
Étape 6


-
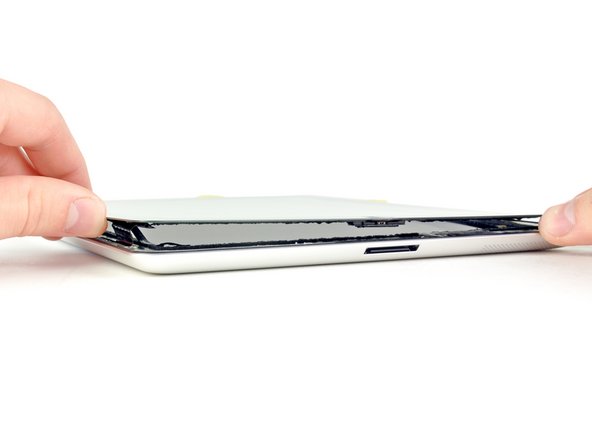
When separating the front panel from the bottom left corner of the iPad 2, be careful not to rip the digitizer cable (highlighted in red in the first picture). It is extremely thin and easy to tear.
-
Slightly lift the front panel near the dock connector to separate it from the foam adhesive securing it to the LCD.
-
Use a guitar pick to help cut the foam adhesive securing the perimeter of the LCD to the front panel.
Vos contributions sont faites dans le cadre de la licence open source Creative Commons.