Info : Vous modifiez un tutoriel prérequis. Toutes les modifications apportées affecteront le tutoriel qui comprend ces étapes.
Traduction de l’étape 3
Étape 3


-
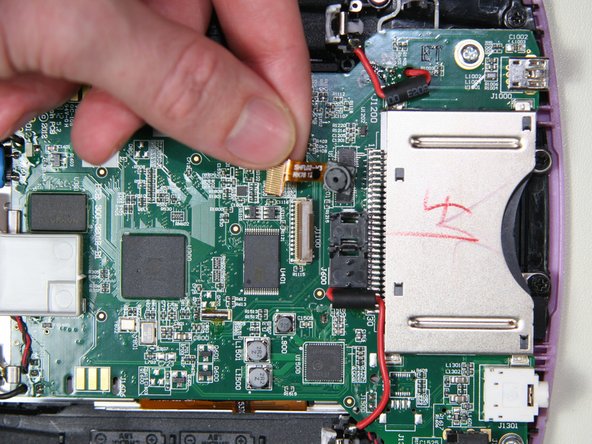
Lift the camera body out of the plastic frame by using two small plastic opening tools as follows:
-
Place one opening tool directly under the base of the camera ribbon cable and camera body, applying upward pressure.
-
At the same time, use the other tool to release one of the clips on the left or the right of the camera body.
Vos contributions sont faites dans le cadre de la licence open source Creative Commons.