Aller au contenu principal

LeapFrog LeapPad 2 Screen Assembly Replacement

Info : Vous modifiez un tutoriel prérequis. Toutes les modifications apportées affecteront les 2 tutoriels qui comprennent cette étape.

Anglais
Italien

Traduction de l’étape 2

Étape 2
LeapFrog LeapPad 2 Screen Assembly Replacement: étape 0, image 1 de 3 LeapFrog LeapPad 2 Screen Assembly Replacement: étape 0, image 2 de 3 LeapFrog LeapPad 2 Screen Assembly Replacement: étape 0, image 3 de 3
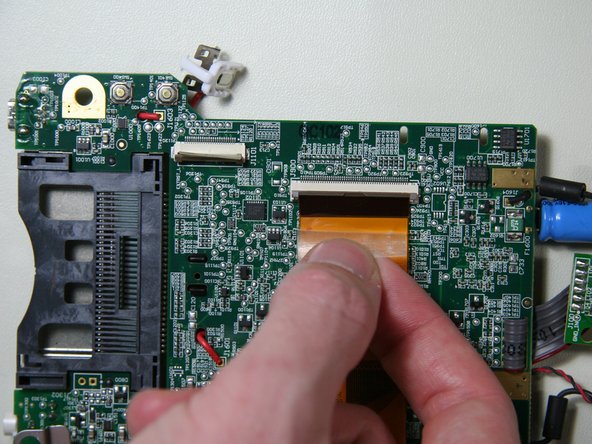
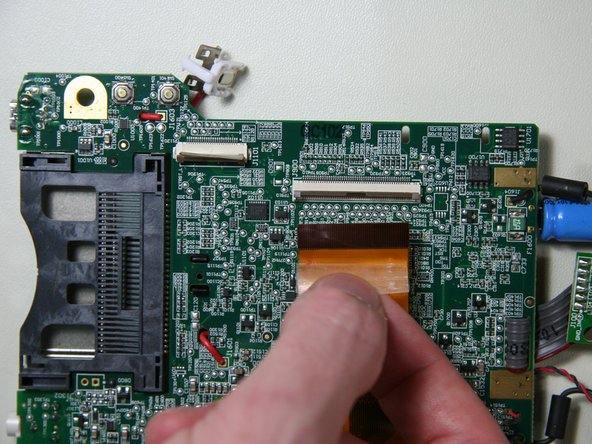
  • Open the display connector by lifting on the brown latch with a plastic opening tool or a finger until it is in a vertical position.

  • Failing to do this correctly could result in damage to the cable and/or connector.

  • Gently pull on the display ribbon cable and it should easily slide out of the connecter.

  • If the connector is properly open, disconnecting the ribbon cable should require little to no force.

Insérez ici votre traduction

Insérez ici votre traduction

Insérez ici votre traduction

Insérez ici votre traduction

Vos contributions sont faites dans le cadre de la licence open source Creative Commons.