Aller au contenu principal

Dell Studio 1558 Fan Replacement

Anglais
Français

Traduction de l’étape 1

Étape 1
Dell Studio 1558 Fan Replacement: étape 0, image 1 de 3 Dell Studio 1558 Fan Replacement: étape 0, image 2 de 3 Dell Studio 1558 Fan Replacement: étape 0, image 3 de 3
  • Make sure the battery is properly removed. If not, you could experience shocks.

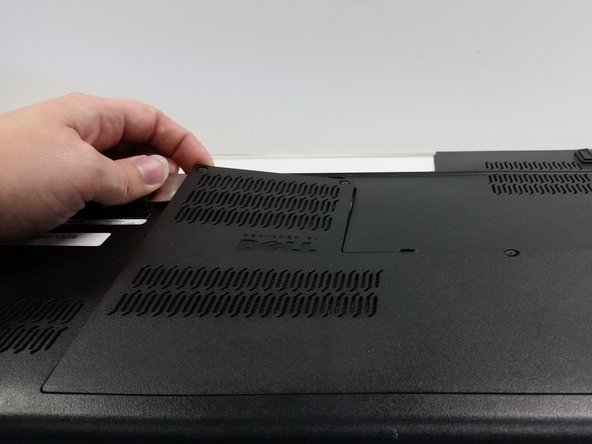
  • Unscrew the three screws (Phillips #0) on the back panel to reveal the innards underneath the panel. It is helpful to keep these screws in the holes of the back panel.

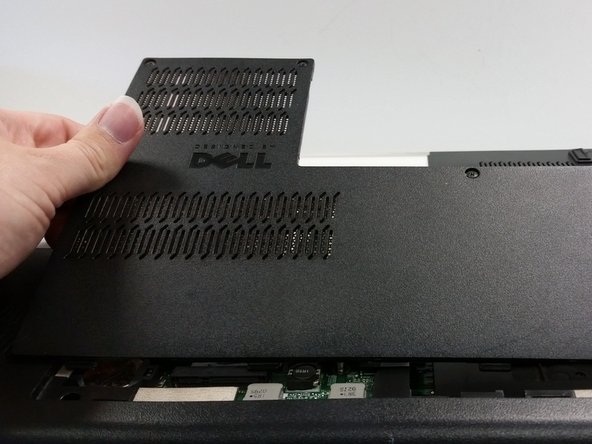
  • Pry the back panel off and set aside.

  • A little bit of force may be necessary in removing the panel as there are some minor plastic clips holding the panel in place in addition to the screws.

Insérez ici votre traduction

Insérez ici votre traduction

Insérez ici votre traduction

Insérez ici votre traduction

Vos contributions sont faites dans le cadre de la licence open source Creative Commons.