Traduction de l’étape 3
Étape 3


-
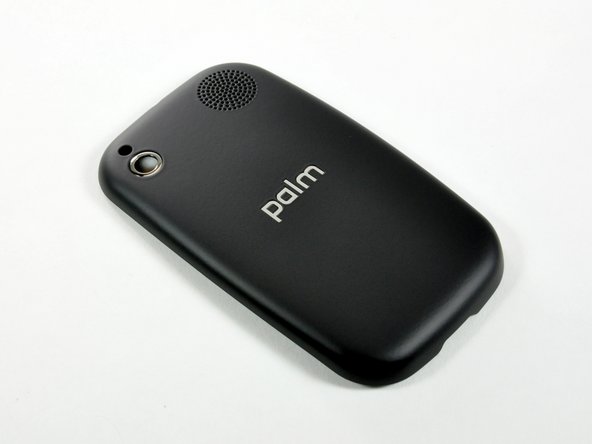
Side-by-side view of the Touchstone back and the standard Pre rear panel.
-
The outline of the induction loop (large circle) is visible on the inside of the Touchstone rear panel. The current produced by induction flows into the Pre via two gold plated pressure contacts.
-
The four small circles are magnets that align the Pre to the Touchstone dock, similar to the way Best Buy's iPod displays always align the iPod right side up.
Vos contributions sont faites dans le cadre de la licence open source Creative Commons.