Traduction de l’étape 4
Étape 4


-
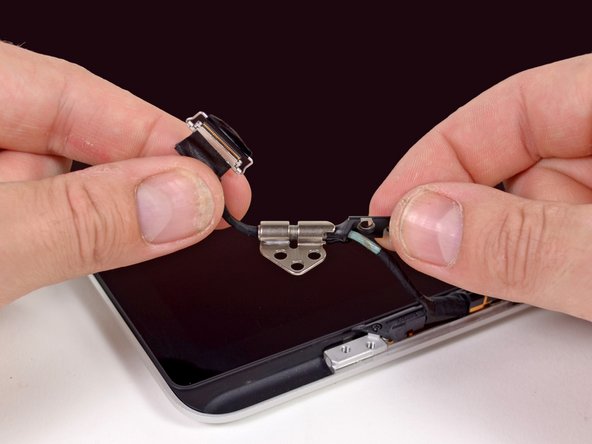
The left display hinge comes out with no issues, but good luck separating it from the display data cable.
-
Devices with cables fed through hinges can be a real bear to work on. None of that will be an issue with this machine, though, as the display hinge is pretty much sealed shut at the factory. Rather than routing the cable under a cable retainer -- as it's done in non-Retina MacBook Pros -- you just have to replace both cable and hinge together.
-
Don't think that the guys (and gals) who designed this machine are just out to get you. Routing the cables through the hinge is a way to save space and weight in the laptop.
Vos contributions sont faites dans le cadre de la licence open source Creative Commons.