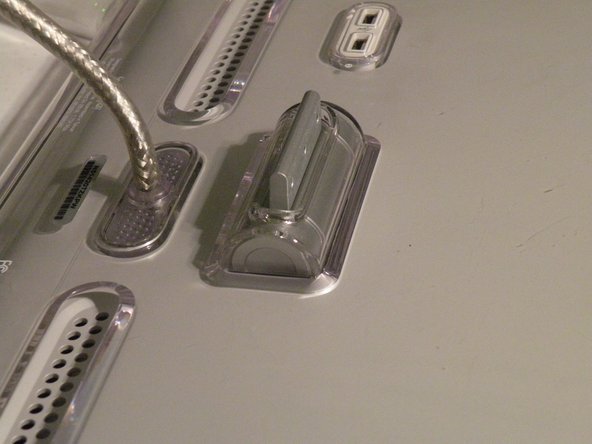
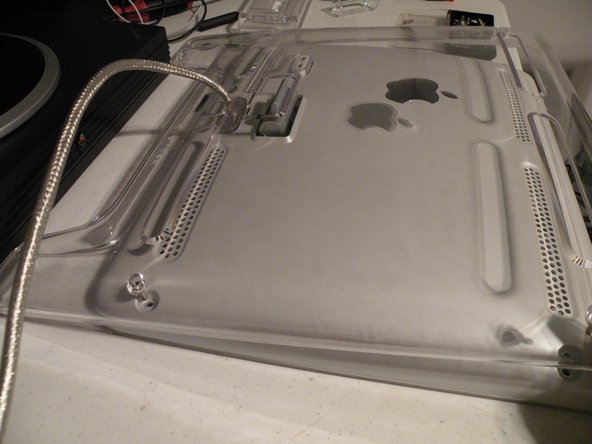
Aller au contenu principal

Ce dont vous avez besoin

Cette vue éclatée n'est pas un tutoriel de réparation. Pour réparer votre Apple Studio Display M7649, utilisez notre manuel de réparation.

  1. Apple Studio Display M7649 Teardown, Apple Studio Display M7649 Teardown: étape 1, image 1 de 2 Apple Studio Display M7649 Teardown, Apple Studio Display M7649 Teardown: étape 1, image 2 de 2
    • The Apple 17" ADC Studio Display

  2. Apple Studio Display M7649 Teardown: étape 2, image 1 de 3 Apple Studio Display M7649 Teardown: étape 2, image 2 de 3 Apple Studio Display M7649 Teardown: étape 2, image 3 de 3
    • Start by fliping the display so it is face down.

    • Remove these 3 hex screws on the swing arm of the display.

    • Then remove the swing arm, and the piece of plastic underneath it.

  3. Apple Studio Display M7649 Teardown: étape 3, image 1 de 2 Apple Studio Display M7649 Teardown: étape 3, image 2 de 2
    • The Swing Arm:

    • The Piece of plastic under the swing arm, you need to remove this(2nd Photo).

  4. Apple Studio Display M7649 Teardown: étape 4, image 1 de 3 Apple Studio Display M7649 Teardown: étape 4, image 2 de 3 Apple Studio Display M7649 Teardown: étape 4, image 3 de 3
    • To remove the back panel, remove these hex screws.

    • Then lift the panel from the top of the display.

  5. Apple Studio Display M7649 Teardown: étape 5, image 1 de 3 Apple Studio Display M7649 Teardown: étape 5, image 2 de 3 Apple Studio Display M7649 Teardown: étape 5, image 3 de 3
    • Removing the 2nd panel:

    • Grasp the bottom of the 2nd panel and lift it up, route the ADB cable through the hole.

    • This will reveal a shiney metal panel.

    • There may be tape here, remove it.

    • Remove this screw.

  6. Apple Studio Display M7649 Teardown: étape 6, image 1 de 3 Apple Studio Display M7649 Teardown: étape 6, image 2 de 3 Apple Studio Display M7649 Teardown: étape 6, image 3 de 3
    • Removing the metal shield:

    • After the tape and screw is removed, slide the panel towards you and lift it out.

    • Also, remove the clear USB port cover.

    • We now have full access to the electronics.

  7. Apple Studio Display M7649 Teardown: étape 7, image 1 de 1
    • To partially free the ADC cable, remove these 6 phillips screws, than remove the metal hinge and the cable elbow.

  8. Apple Studio Display M7649 Teardown: étape 8, image 1 de 1
    • Removing the USB Port Assembly:

    • Remove these 4 phillips screws, and this connector to free the port assembly.

  9. Apple Studio Display M7649 Teardown: étape 9, image 1 de 2 Apple Studio Display M7649 Teardown: étape 9, image 2 de 2
    • Removing the ADC Cable:

    • Remove these phillips screws.

    • Remove these 3 connectors CareFully!

    • The ADC cable should now be free from the rest of the monitor.

    • Remove this cable as well.

    • The ADC Cable, similar to DVI, provides power, signal, and USB to the display (2nd Photo).

  10. Apple Studio Display M7649 Teardown: étape 10, image 1 de 3 Apple Studio Display M7649 Teardown: étape 10, image 2 de 3 Apple Studio Display M7649 Teardown: étape 10, image 3 de 3
    • Removing the backlight inverter:

    • Remove these 4 connectors, it is important to remember their order!

    • Remove these 3 phillips screws.

  11. Apple Studio Display M7649 Teardown: étape 11, image 1 de 2 Apple Studio Display M7649 Teardown: étape 11, image 2 de 2
    • Removing the logic board:

    • Remove these two connectors.

    • This one too!

  12. Apple Studio Display M7649 Teardown: étape 12, image 1 de 2 Apple Studio Display M7649 Teardown: étape 12, image 2 de 2
    • Removing the logic board:

    • Remove these 4 phillips screws.

    • This connector isn't used, it is left disconnected, I am assuming that it is to test the display for Apple.

    • Lift the logic board out if the case and set it aside.

  13. Apple Studio Display M7649 Teardown: étape 13, image 1 de 3 Apple Studio Display M7649 Teardown: étape 13, image 2 de 3 Apple Studio Display M7649 Teardown: étape 13, image 3 de 3
    • Removing the inner rim and button assembly:

    • Using a flathead screwdriver, or spudger, remove the 4 pieces of plastic around the black frame.

    • This will reveal numerous phillips screws.

    • Remove them all.

  14. Apple Studio Display M7649 Teardown: étape 14, image 1 de 2 Apple Studio Display M7649 Teardown: étape 14, image 2 de 2
    • Once all of the screws are removed, lift the rim out.

  15. Apple Studio Display M7649 Teardown: étape 15, image 1 de 3 Apple Studio Display M7649 Teardown: étape 15, image 2 de 3 Apple Studio Display M7649 Teardown: étape 15, image 3 de 3
    • Removing the LCD Panel

    • Remove all of these screws from the metal frame.

  16. Apple Studio Display M7649 Teardown: étape 16, image 1 de 1
    • And, all of these:

  17. Apple Studio Display M7649 Teardown: étape 17, image 1 de 3 Apple Studio Display M7649 Teardown: étape 17, image 2 de 3 Apple Studio Display M7649 Teardown: étape 17, image 3 de 3
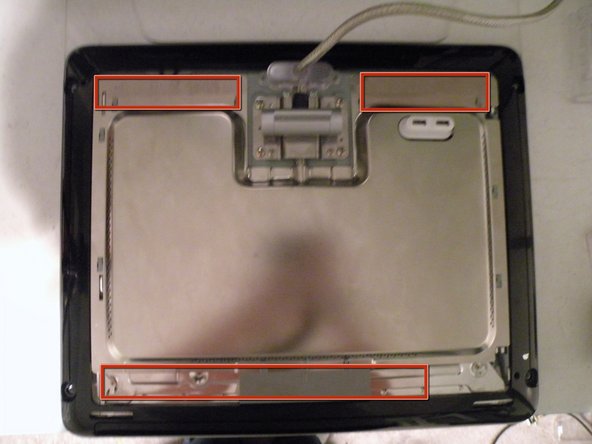
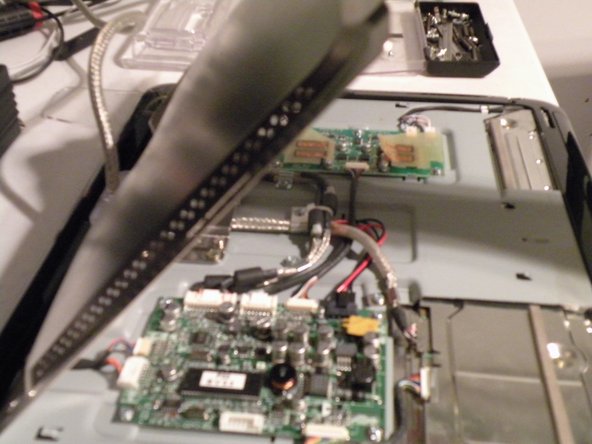
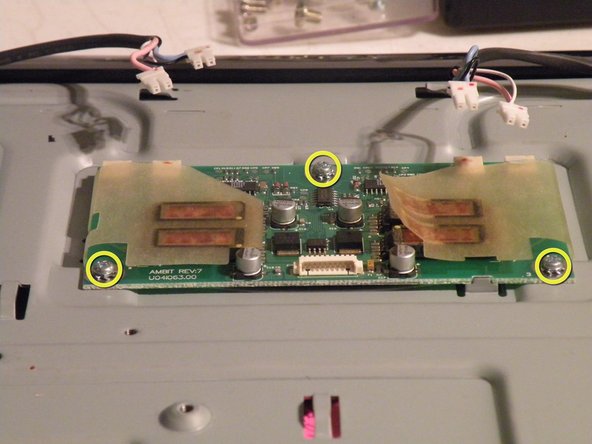
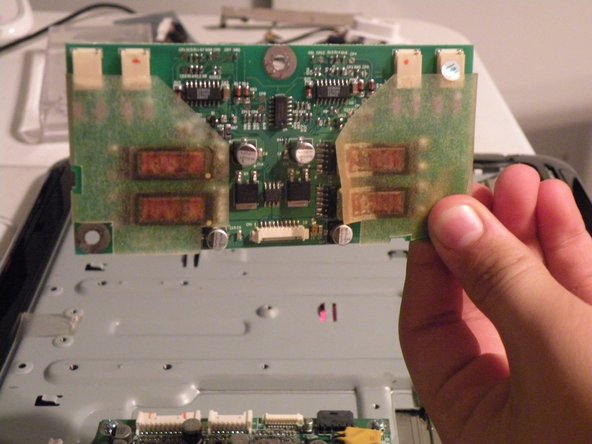
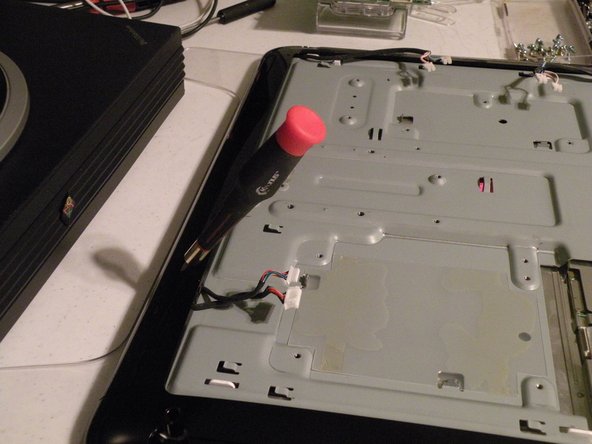
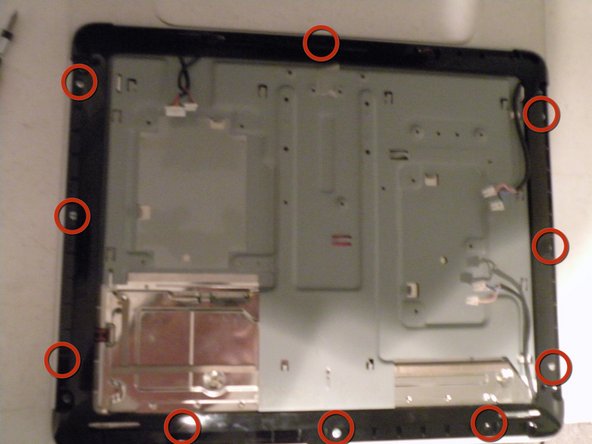
    • Once you have removed all of the screws, remove the rear metal panel, watching the inverter cables of course!, this will provide acess to the LCD Panel

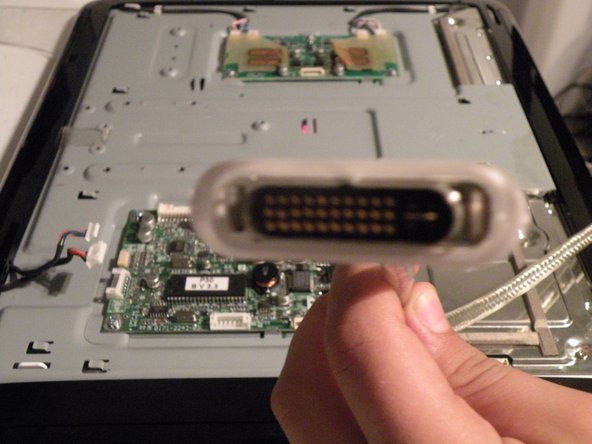
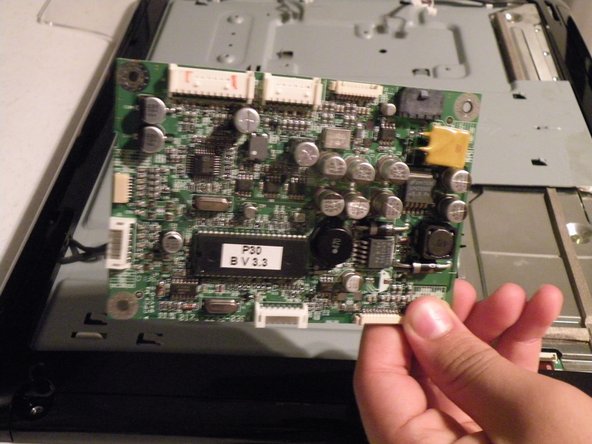
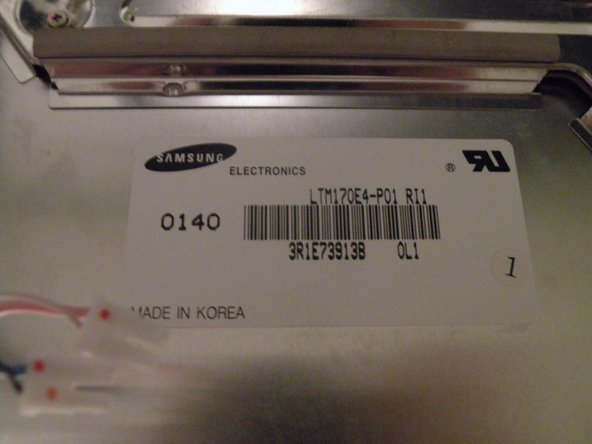
    • The Panel is manufactured by Samsung, and aparerntly, aren't easy to find, I Googled the model # and found 2 results.

    • Well, that's it for this teardown, good luck!

  18. Apple Studio Display M7649 Teardown: étape 18, image 1 de 1
    • My Window-Modded Studio Display

    • This is a neat thing to do to your display if you get bored, it doesn't affect function, but looks really cool!

Chris Green

Membre depuis le 10/11/09

36 978 Réputation

49 tutoriels rédigés

Équipe

Master Techs Membre de l'équipe Master Techs

Community

322 membres

2 521 tutoriels rédigés

2 commentaires

I've got to ask. Are my eyes deceiving me, or is there a NEXT cube in the background?

eweonardspock - Réponse

No that,s a nextstation

Luke -

Ajouter un commentaire

Nombre de vues :

Dernières 24 heures : 2

7 derniers jours : 13

30 derniers jours : 52

Total : 24,569