Aller au contenu principal

Ce dont vous avez besoin

Cette vue éclatée n'est pas un tutoriel de réparation. Pour réparer votre Apple USB Power Adapter, utilisez notre manuel de réparation.

  1. Apple USB Power Adapter Teardown, Separating the input panel: étape 1, image 1 de 3 Apple USB Power Adapter Teardown, Separating the input panel: étape 1, image 2 de 3 Apple USB Power Adapter Teardown, Separating the input panel: étape 1, image 3 de 3
    • Use a hammer and a small chisel to carefully force the input panel open

    • Clamping the device helps prop the input panel open but, do not pull the panel away from the device forcefully, as there are small wires connected to the device components.

    • Be careful not to force the chisel into the device as you could damage internal components.

  2. Apple USB Power Adapter Teardown, Removing plastic casing: étape 2, image 1 de 2 Apple USB Power Adapter Teardown, Removing plastic casing: étape 2, image 2 de 2
    • Use dyke and pliers to cut outside casing to pry open the shell and remove the circuitry.

    • Recommend using hand saw to cut around the plastic.

    • Be careful not to cut forcefully as to prevent the internal components from getting damaged.

  3. Apple USB Power Adapter Teardown, Isolating internal components: étape 3, image 1 de 3 Apple USB Power Adapter Teardown, Isolating internal components: étape 3, image 2 de 3 Apple USB Power Adapter Teardown, Isolating internal components: étape 3, image 3 de 3
    • Isolate the internal electrical components from the casing

    • Recommend unsoldering the wires from the input panel.

    • For help desoldering connections, follow this useful guide on Comment souder et dessouder des connexions.

    • Use caution when soldering. The heated tip may cause damage to the board, the components, or burn you.

  4. Apple USB Power Adapter Teardown, Accessing individual components: étape 4, image 1 de 3 Apple USB Power Adapter Teardown, Accessing individual components: étape 4, image 2 de 3 Apple USB Power Adapter Teardown, Accessing individual components: étape 4, image 3 de 3
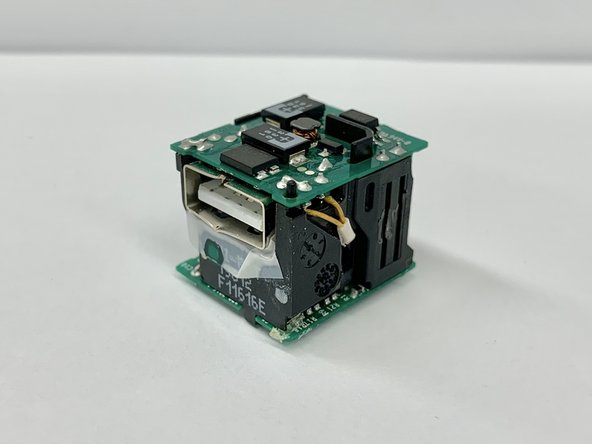
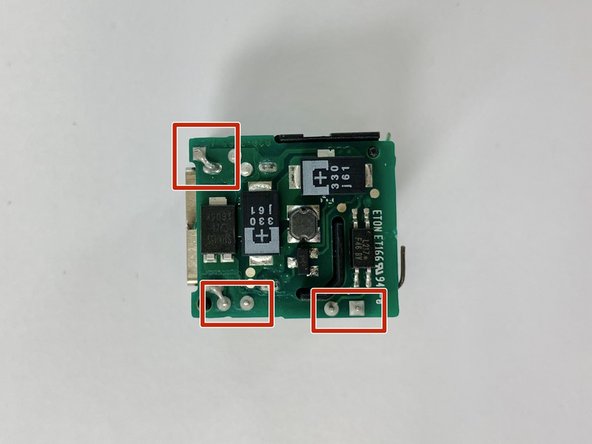
    • Unsolder components that connect to the bottom and top circuit boards.

    • Detach the top and bottom circuit boards from the plastic separator.

    • For help desoldering connections, follow this useful guide on Comment souder et dessouder des connexions.

    • Use caution when soldering. The heated tip may cause damage to the board, the components, or burn you.

  5. Apple USB Power Adapter Teardown, Exploration: étape 5, image 1 de 2 Apple USB Power Adapter Teardown, Exploration: étape 5, image 2 de 2
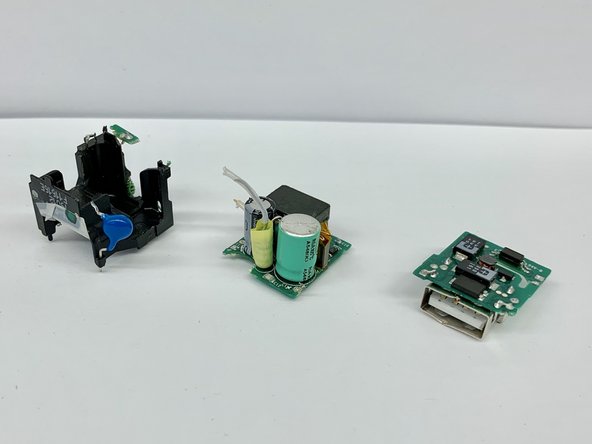
    • Observe that once the circuit boards are separated individual components can be accessed.

Juan Gonzalez

Membre depuis le 01/24/19

422 Réputation

2 tutoriels rédigés

Équipe

Cal Poly, Team S18-G1, White Winter 2019 Membre de l'équipe Cal Poly, Team S18-G1, White Winter 2019

CPSU-WHITE-W19S18G1

4 membres

21 tutoriels rédigés

0 commentaires

Ajouter un commentaire

Nombre de vues :

Dernières 24 heures : 3

7 derniers jours : 48

30 derniers jours : 214

Total : 15,618