Introduction
This hand-me-down baby monitor has a busted volume/on-off switch. Monitor only operates while pressing down on the volume dial. If you think I have the energy to hold down that dial while trying to sleep, you got another thing coming. Baby crying... gotta go.
Ce dont vous avez besoin
-
-
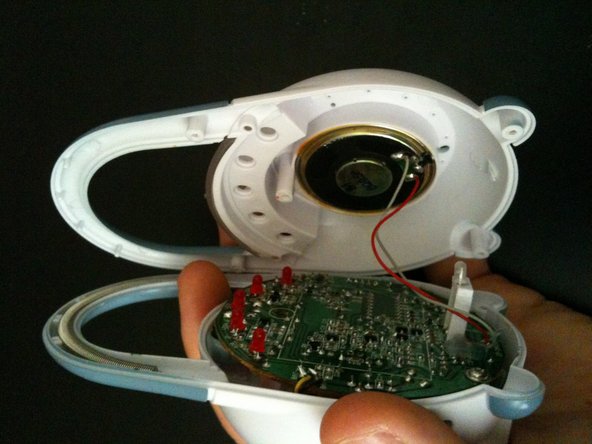
Here is the baby monitor in all its glory.
-
Start by turning the device speaker-side down.
-
Remove the flathead screw securing the battery cover using a flathead screwdriver.
-
Remove the battery cover after fully disengaging the screw.
-
-
-
Remove the batteries from the compartment.
-
Remove the five phillips screw holding the casing together using a phillips #1 screwdriver.
-
The fifth screw is hidden beneath the battery cover, toward the center of the monitor and is recessed deep into the casing.
-
-
-
-
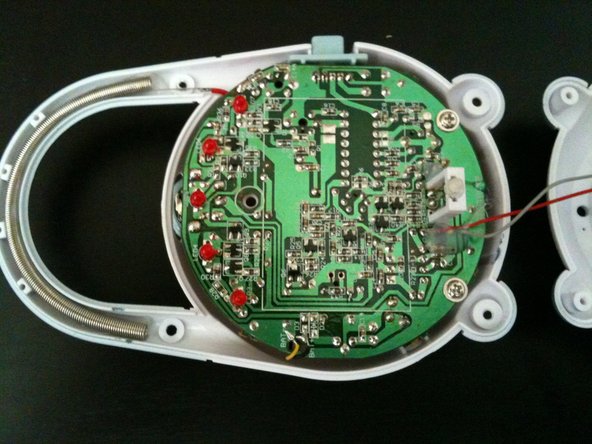
Pry lightly around the edge of the main board between the board and the casing to help free the board. Fingernails, a spudger, or plastic opening tools can be used for this task.
-
DO NOT TRY TO REMOVE THE MAIN BOARD COMPLETELY!!! There are soldered items that need to be dealt with. Follow along closely.
-
Gently, and I mean gently, pull up on the LED assembly to loosen the main board from the rear casing.
-
Any resistance should indicate that the board needs to be loosened from the casing, around the edges, more before proceeding.
-
-
-
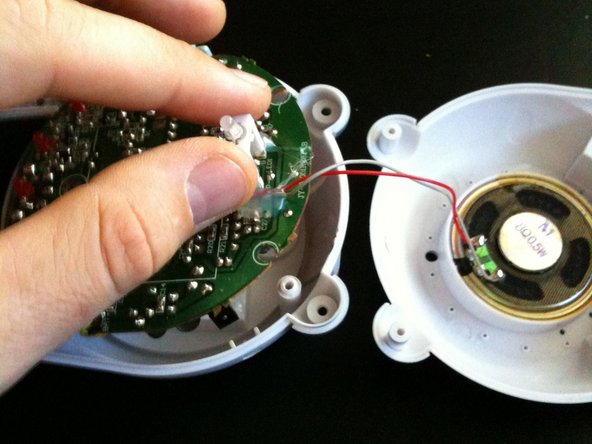
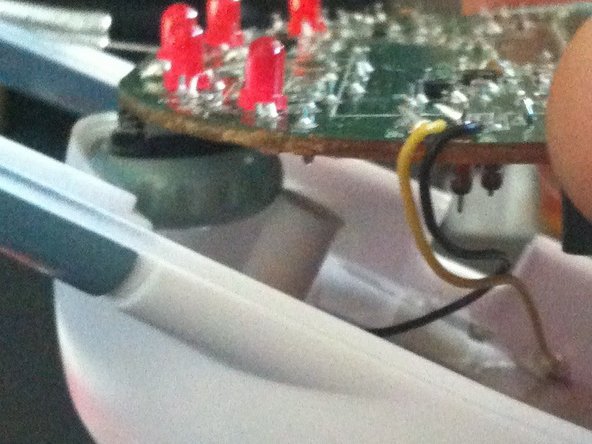
PROCEED WITH CAUTION!!! The antenna cable and the battery contacts are soldered onto the board.
-
Your monitor should look like this, with a small gap between the main board and the rear casing.
-
The next step will merely free the volume control dial from the casing and NOT free the main board from the casing.
-
To remove the main board from the casing, you MUST desolder the antenna cable and two battery contacts from the board.
-
-
-
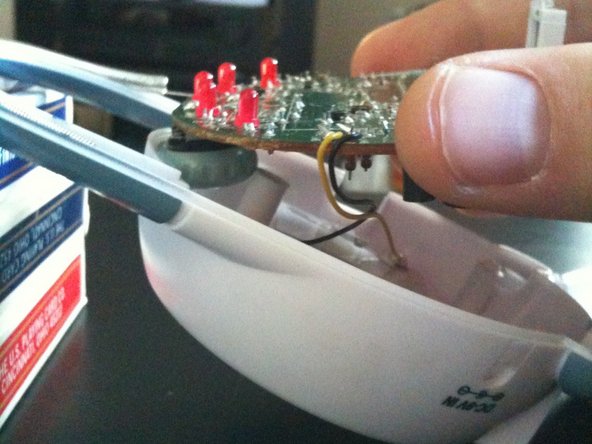
Create about a 30 degree angle between the rear casing and your workspace, lifting the casing by the top end. I used 3 decks of playing cards to prop up the casing from my workspace.
-
Lift the main board from the rear casing at the bottom, making sure the volume dial clears the screw retainer post. DO NOT COMPLETELY REMOVE MAIN BOARD!
-
Once free, set the main board back down on the casing.
-
You are now free to desolder any of the contacts that need repair. In my situation, I will be examining the volume dial and will not need to desolder.
-
Good luck!
-