Aller au contenu principal

Ce dont vous avez besoin

Cette vue éclatée n'est pas un tutoriel de réparation. Pour réparer votre Canon EOS M5, utilisez notre manuel de réparation.

  1. Canon EOS M5 Teardown, Remove Strap: étape 1, image 1 de 1
    • Canon EOS M5

    • Remove the strap, Or, it WILL cause mess during the teardown/repair. Remove it unless you are as SKILLFUL (lazy) as I am.

  2. Canon EOS M5 Teardown, Bottom: étape 2, image 1 de 3 Canon EOS M5 Teardown, Bottom: étape 2, image 2 de 3 Canon EOS M5 Teardown, Bottom: étape 2, image 3 de 3
    • FIRST remove battery and SD card.

    • remove 1 self-tap screw

    • remove 6 screws

    • These 2

    • And these 4

  3. Canon EOS M5 Teardown, Bottom Case: étape 3, image 1 de 2 Canon EOS M5 Teardown, Bottom Case: étape 3, image 2 de 2
    • Remove bottom cover

    • This is the NFC antenna(coil).

  4. Canon EOS M5 Teardown, Back Case, left: étape 4, image 1 de 1
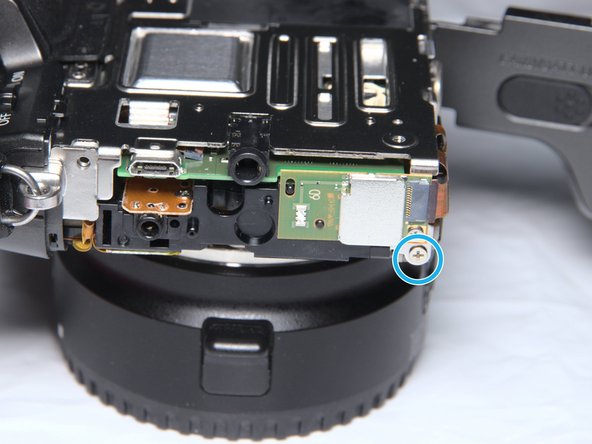
    • Left side:

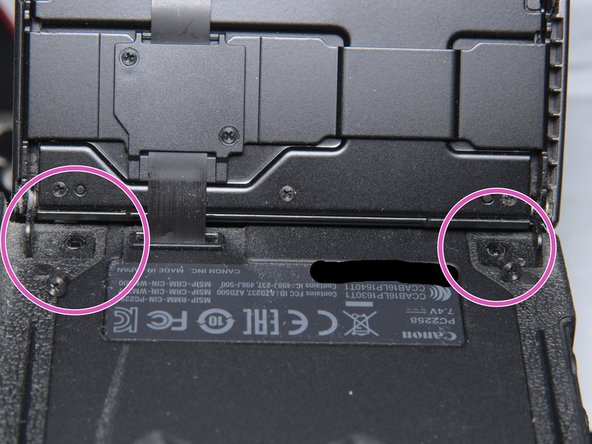
    • Remove metal thread screw

    • Remove self-tap screw

  5. Canon EOS M5 Teardown, Back Case, right: étape 5, image 1 de 1
    • Remove 1 screw.

  6. Canon EOS M5 Teardown, Back Case, back: étape 6, image 1 de 2 Canon EOS M5 Teardown, Back Case, back: étape 6, image 2 de 2
    • Remove 4 metal thread screw.

  7. Canon EOS M5 Teardown, Back Case, Detach FPC: étape 7, image 1 de 2 Canon EOS M5 Teardown, Back Case, Detach FPC: étape 7, image 2 de 2
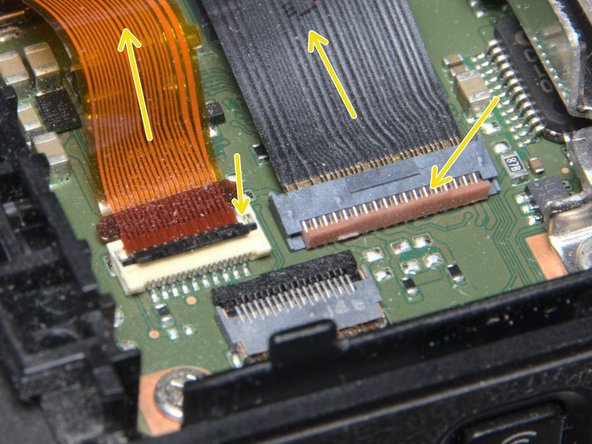
    • Gently, lift (towards back) and slide the back cover towards left (THE LEFT when you holding the camera)

    • Disconnect 2 FPC.

  8. Canon EOS M5 Teardown, The Back Case & Touch LCD.: étape 8, image 1 de 3 Canon EOS M5 Teardown, The Back Case & Touch LCD.: étape 8, image 2 de 3 Canon EOS M5 Teardown, The Back Case & Touch LCD.: étape 8, image 3 de 3
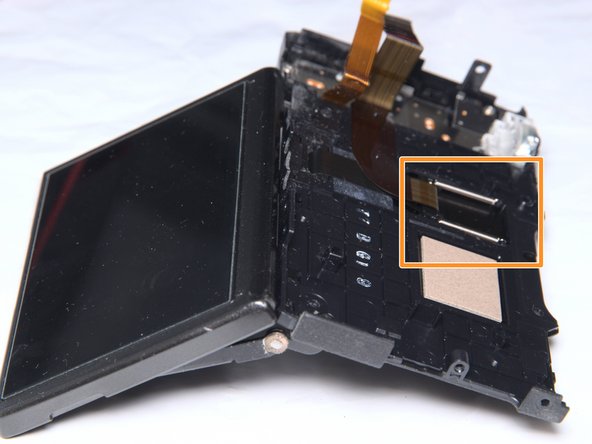
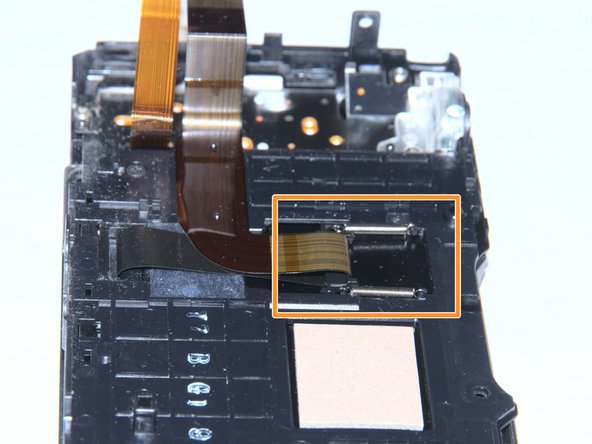
    • The back case with LCD assembly.

    • The beautiful LCD FPC stretcher

  9. Canon EOS M5 Teardown, Inside The Camera, Back: étape 9, image 1 de 1
    • We are in side the camera.

  10. Canon EOS M5 Teardown, Screw, Screw, Screw, Screw: étape 10, image 1 de 3 Canon EOS M5 Teardown, Screw, Screw, Screw, Screw: étape 10, image 2 de 3 Canon EOS M5 Teardown, Screw, Screw, Screw, Screw: étape 10, image 3 de 3
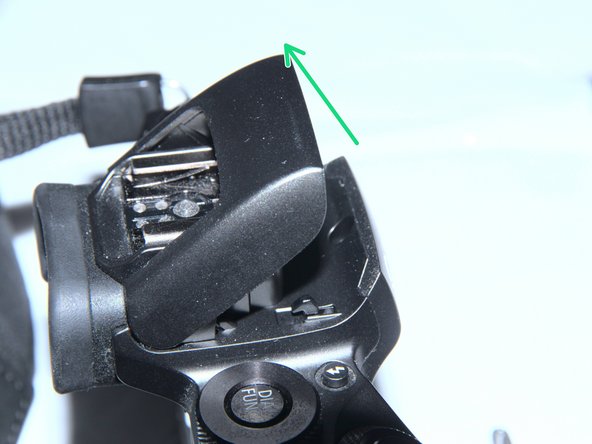
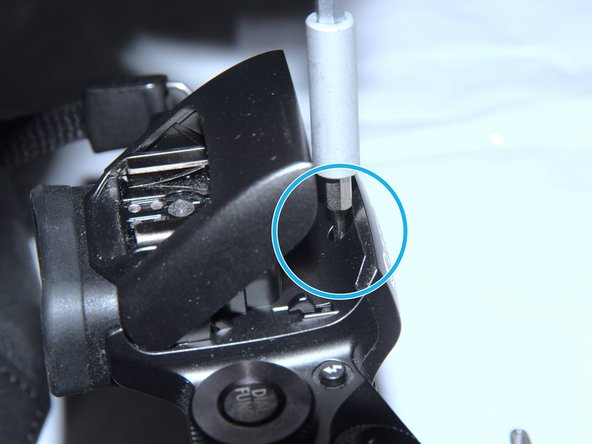
    • Remove 3 screws near the EVF. REMEMBER lengths and hole positions. The center one is longer. The left holes.

    • Pop the speedlight (flash)

    • Remove the screw covered by the speedlight.

  11. Canon EOS M5 Teardown, More Screw, Battery Compartment: étape 11, image 1 de 1
    • Remove 1 screw in battery bay.

    • There's only one. Trust me.

  12. Canon EOS M5 Teardown, Remove Front Case: étape 12, image 1 de 3 Canon EOS M5 Teardown, Remove Front Case: étape 12, image 2 de 3 Canon EOS M5 Teardown, Remove Front Case: étape 12, image 3 de 3
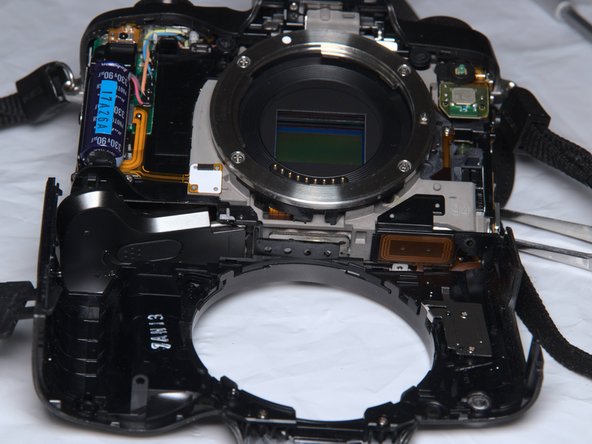
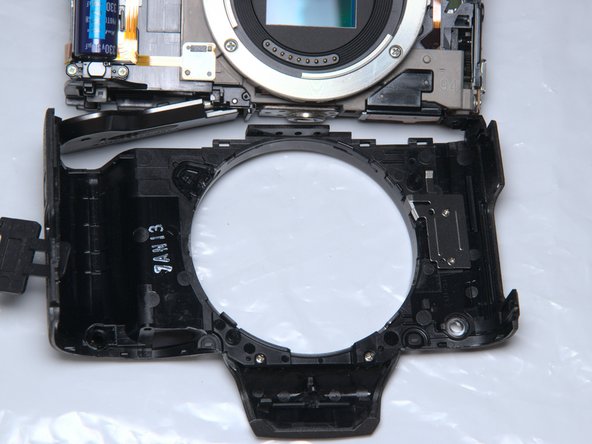
    • Now the front case comes off.

    • There are some clips, be gentle and patient.

  13. Canon EOS M5 Teardown, Front Case and Inside.: étape 13, image 1 de 3 Canon EOS M5 Teardown, Front Case and Inside.: étape 13, image 2 de 3 Canon EOS M5 Teardown, Front Case and Inside.: étape 13, image 3 de 3
    • Please keep body cap on as possible, for shielding again dust.

    • Front cover comes off with 2 small parts. Don't loose them.

  14. Canon EOS M5 Teardown, DISCHARGE the Capacitor!!!: étape 14, image 1 de 1
    • When you see the speedlight resevoire capacitor.

    • The capacitor

    • To avoid electric shock and damage, DISCHARGE IT with a 2kohm~10kohm resistor for more than 15 seconds, ASAP!!!

  15. Canon EOS M5 Teardown, Metal Frame, left, right: étape 15, image 1 de 2 Canon EOS M5 Teardown, Metal Frame, left, right: étape 15, image 2 de 2
    • Right side, remove 1 screw.

    • Left side: remove 1 screw.

  16. Canon EOS M5 Teardown, Metal Frame, back: étape 16, image 1 de 1
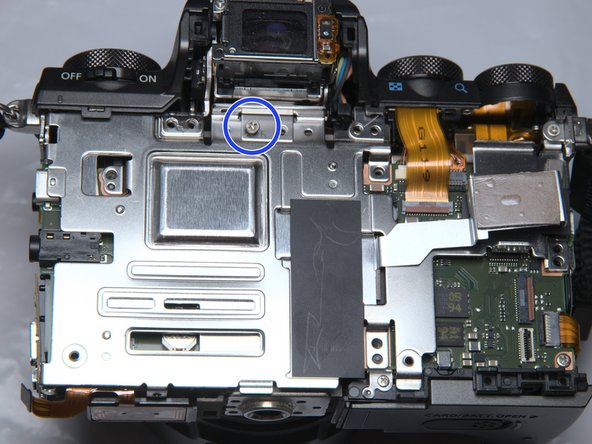
    • Remove 3 metal thread screw

    • Remove 1 self-tap screw.

  17. Canon EOS M5 Teardown, EVF Case: étape 17, image 1 de 3 Canon EOS M5 Teardown, EVF Case: étape 17, image 2 de 3 Canon EOS M5 Teardown, EVF Case: étape 17, image 3 de 3
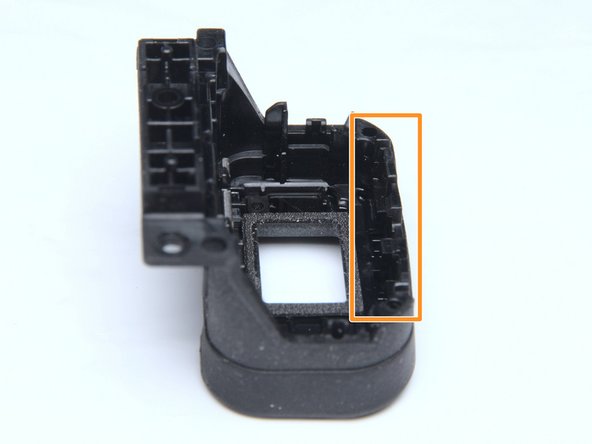
    • Remove EVF plastic case.

    • There are some clips.

    • Remove 1 screw, REMEMBER from which hole!

  18. Canon EOS M5 Teardown, Top Case, right: étape 18, image 1 de 1
    • Right side.: Remove 1 screw

  19. Canon EOS M5 Teardown, Top Case, FPC: étape 19, image 1 de 1
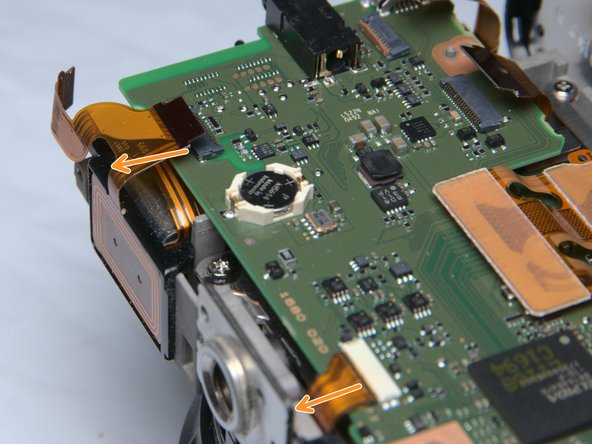
    • Detach FPC.

    • Be gentle enough We do NOT remove top case. Because it's kind of messy with some adhesive...

  20. Canon EOS M5 Teardown, Metal Frame: étape 20, image 1 de 3 Canon EOS M5 Teardown, Metal Frame: étape 20, image 2 de 3 Canon EOS M5 Teardown, Metal Frame: étape 20, image 3 de 3
    • When the top case is loosen. remove the metal frame.

    • Or you can remove this BlueTooth board if not being lazy.

  21. Canon EOS M5 Teardown, Main PCB, 11 FPC's: étape 21, image 1 de 3 Canon EOS M5 Teardown, Main PCB, 11 FPC's: étape 21, image 2 de 3 Canon EOS M5 Teardown, Main PCB, 11 FPC's: étape 21, image 3 de 3
    • IF you can count to 5:

    • PCB top left, detach 2 FPC. 1 ZIF, 1 non-ZIF

    • PCB top right, detach 4 FPC and 1 cable connector

    • PCB top center. detach sensor cable.

  22. Canon EOS M5 Teardown, Main PCB, more FPC's and screw: étape 22, image 1 de 2 Canon EOS M5 Teardown, Main PCB, more FPC's and screw: étape 22, image 2 de 2
    • PCB right bottom.

    • Remove 1 screw

    • Detach 1 FPC

    • Detach 2 FPC

  23. Canon EOS M5 Teardown, Enjoy (or Replace) the Main PCB: étape 23, image 1 de 2 Canon EOS M5 Teardown, Enjoy (or Replace) the Main PCB: étape 23, image 2 de 2
    • Ladies and gentlemen, the mother board

    • Digic and RAM

    • RTC battery

    • Some Flash

    • SD socket

    • Some power supply

  24. Canon EOS M5 Teardown, Under Main PCB.: étape 24, image 1 de 1
    • EVF

    • Sensor assemly

    • Shutter assembly

    • Without proper measuring devices, I did not mess with the sensor assembly. otherwise the back focal will be ruined.

Terrance

Membre depuis le 11/17/09

6 368 Réputation

17 tutoriels rédigés

10 commentaires

Anyone know where to purchase parts for the M5? I.e. Touch LCD assembly?

bflores - Réponse

China’s market, they recycle broken devices and sells parts.

Terrance -

Thank You!!

Is there a way to remove and replace the rubber eye cup without disassembly?

Donald Weldon - Réponse

I'm not quite sure, I sticks very tight. possibly glued or even moulded together

Terrance -

Does anybody know where to buy screws shown on step 6 or what size they are? One of those fell out of my camera.

Alexandr Kobzar - Réponse

Ajouter un commentaire

Nombre de vues :

Dernières 24 heures : 4

7 derniers jours : 13

30 derniers jours : 46

Total : 5,836