Aller au contenu principal

Cette vue éclatée est en cours – Recharger périodiquement pour voir les derniers changements !

Ce dont vous avez besoin

  1. Dell Quietkey SK-8000 Keyboard Teardown, Remove Back Plastic Body: étape 1, image 1 de 2 Dell Quietkey SK-8000 Keyboard Teardown, Remove Back Plastic Body: étape 1, image 2 de 2
    • Flip the keyboard over to expose 8 screws.

    • Use a Phillips screwdriver to unscrew and remove each screw.

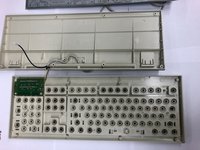
  2. Dell Quietkey SK-8000 Keyboard Teardown: étape 2, image 1 de 2 Dell Quietkey SK-8000 Keyboard Teardown: étape 2, image 2 de 2
    • Lift the keyboard upward from the bottom.

    • Do not pull too hard when lifting the base. Be careful not to destroy the wires connecting to the base of the keyboard.

    • Use a Phillips screwdriver to remove the remaining ten screws on the aluminum plate.

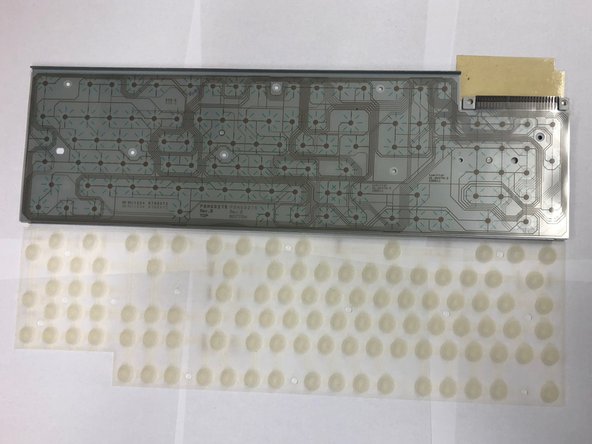
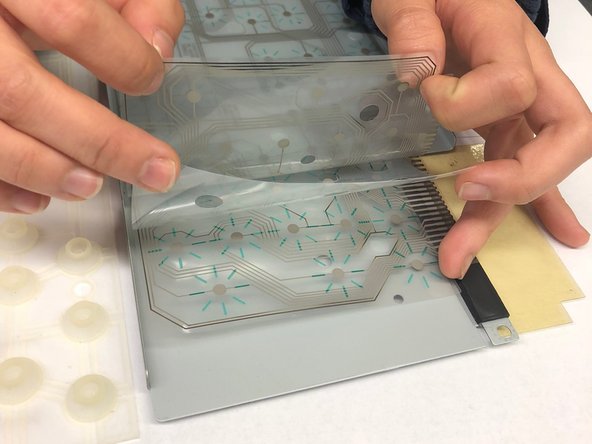
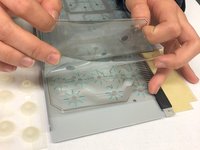
  3. Dell Quietkey SK-8000 Keyboard Teardown, Completion: étape 3, image 1 de 3 Dell Quietkey SK-8000 Keyboard Teardown, Completion: étape 3, image 2 de 3 Dell Quietkey SK-8000 Keyboard Teardown, Completion: étape 3, image 3 de 3
    • Carefully lift each part out. Each part should lift out very easily after the screws are removed.

  4. Dell Quietkey SK-8000 Keyboard Teardown, Siltek Chip Reveal: étape 4, image 1 de 1
    • The keyboard controller is seen to be a Siltek R4462.

Ion

Membre depuis le 09/29/15

479 Réputation

3 tutoriels rédigés

Équipe

Cal Poly, Team 10-5, Green Fall 2015 Membre de l'équipe Cal Poly, Team 10-5, Green Fall 2015

CPSU-GREEN-F15S10G5

3 membres

4 tutoriels rédigés

0 commentaires

Ajouter un commentaire

Nombre de vues :

Dernières 24 heures : 1

7 derniers jours : 4

30 derniers jours : 15

Total : 988