Aller au contenu principal

Ce dont vous avez besoin

Cette vue éclatée n'est pas un tutoriel de réparation. Pour réparer votre DrayTek Vigor 2820, utilisez notre manuel de réparation.

  1. DrayTek Vigor 2820 Teardown, remove the front plate: étape 1, image 1 de 2 DrayTek Vigor 2820 Teardown, remove the front plate: étape 1, image 2 de 2
    • The front plate is attached to the bottom with 3 clips.

    • Using a flathead screwdriver, pry open the first clip.

    • Use a flat object to hold the first clip open.

    • Use the flathead to open the remaining clips.

  2. DrayTek Vigor 2820 Teardown, disassemble case: étape 2, image 1 de 2 DrayTek Vigor 2820 Teardown, disassemble case: étape 2, image 2 de 2
    Outil utilisé dans cette étape :
    Flathead 3/32" or 2.5 mm Screwdriver
    $5.49
    J'achète
    • With the 2.5mm flathead, remove the rubber feet.

    • Unscrew the 4 screws holding the top and bottom parts of the case together.

  3. DrayTek Vigor 2820 Teardown, remove the ADSL module: étape 3, image 1 de 3 DrayTek Vigor 2820 Teardown, remove the ADSL module: étape 3, image 2 de 3 DrayTek Vigor 2820 Teardown, remove the ADSL module: étape 3, image 3 de 3
    • Unscrew the screws attaching the ADSL module to the mainboard.

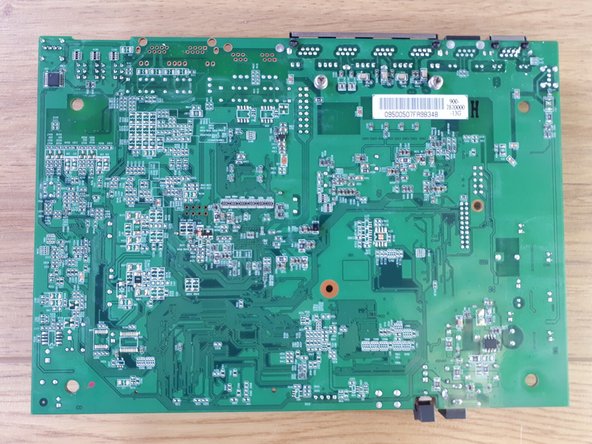
    • The mainboard:

    • Nanya Technology NT5DS16M16CS-5T 256Mb DDR SDRAM

    • Infineon Technologies PSB 6972 HL V1.2 Ethernet Switch Controller

    • Delta Electronics LFE8731

    • Delta Electronics LFE9208A

knipwim

Membre depuis le 09/01/18

8 685 Réputation

31 tutoriels rédigés

0 commentaires

Ajouter un commentaire

Nombre de vues :

Dernières 24 heures : 0

7 derniers jours : 2

30 derniers jours : 19

Total : 1,347