Aller au contenu principal

Ce dont vous avez besoin

Cette vue éclatée n'est pas un tutoriel de réparation. Pour réparer votre Dualshock 2, utilisez notre manuel de réparation.

  1. Dualshock 2 Teardown, Removing the Screws: étape 1, image 1 de 1
    • On the back of the controller there is screw holes

    • Using a Philip Screw driver remove the screws

  2. Dualshock 2 Teardown, Separating the controller pieces: étape 2, image 1 de 3 Dualshock 2 Teardown, Separating the controller pieces: étape 2, image 2 de 3 Dualshock 2 Teardown, Separating the controller pieces: étape 2, image 3 de 3
    • Using a pry tool separate the two controller pieces

  3. Dualshock 2 Teardown, All the buttons: étape 3, image 1 de 3 Dualshock 2 Teardown, All the buttons: étape 3, image 2 de 3 Dualshock 2 Teardown, All the buttons: étape 3, image 3 de 3
    • First remove the buttons

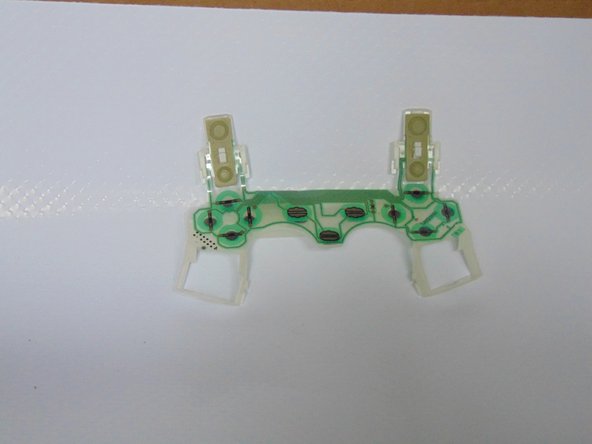
    • Most of my buttons fell off. Then left up on the sensor and set it aside.

  4. Dualshock 2 Teardown, DualShock support: étape 4, image 1 de 2 Dualshock 2 Teardown, DualShock support: étape 4, image 2 de 2
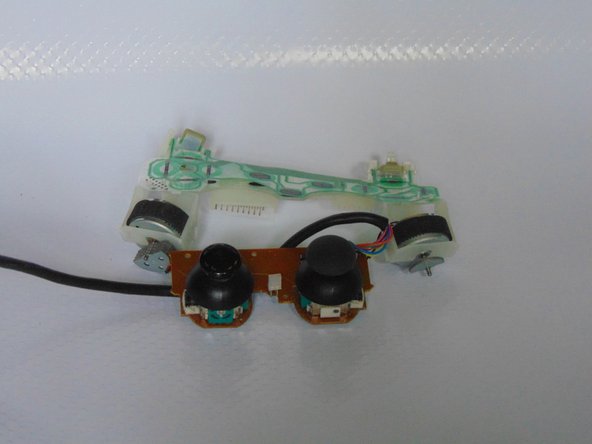
    • When I lifted the controller out of the chassis one of the dual shock motors fell off it soldering. I removed the other one.

  5. Dualshock 2 Teardown: étape 5, image 1 de 1
    • What you are left with

zachary

Membre depuis le 01/10/15

792 Réputation

2 tutoriels rédigés

0 commentaires

Ajouter un commentaire

Nombre de vues :

Dernières 24 heures : 2

7 derniers jours : 11

30 derniers jours : 77

Total : 9,789