Aller au contenu principal

Ce dont vous avez besoin

Cette vue éclatée n'est pas un tutoriel de réparation. Pour réparer votre Envision EN7410, utilisez notre manuel de réparation.

  1. Envision EN7410 Teardown, Removing the stand: étape 1, image 1 de 2 Envision EN7410 Teardown, Removing the stand: étape 1, image 2 de 2
    • Place the monitor on its screen side down

    • Remove the four screws holding the stand onto the monitor

  2. Envision EN7410 Teardown, Remove backing: étape 2, image 1 de 3 Envision EN7410 Teardown, Remove backing: étape 2, image 2 de 3 Envision EN7410 Teardown, Remove backing: étape 2, image 3 de 3
    • To remove the backing, remove the two screws holding the case in place.

    • The monitor is held in place with clips. Lightly bend the backing backwards to separate the frame from the screen

  3. Envision EN7410 Teardown, Remove lower circuit board screws: étape 3, image 1 de 2 Envision EN7410 Teardown, Remove lower circuit board screws: étape 3, image 2 de 2
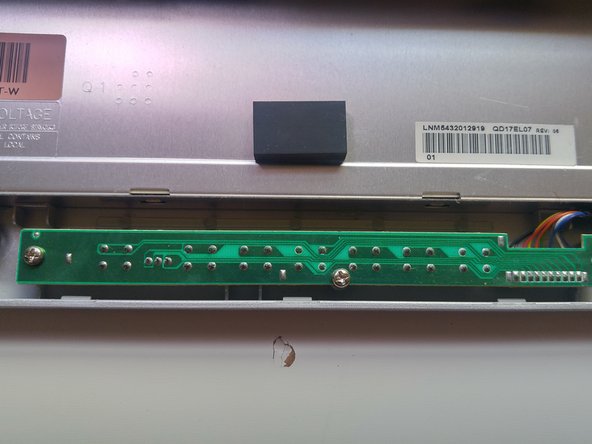
    • We must first remove the circuits connected to the buttons used to calibrate the monitor

    • Remove this section by unscrewing the three screws holding it in place

    • Remember that this section is connected by wires, and should be handled carefully

  4. Envision EN7410 Teardown, Disconnect  cable from top circuit board: étape 4, image 1 de 2 Envision EN7410 Teardown, Disconnect  cable from top circuit board: étape 4, image 2 de 2
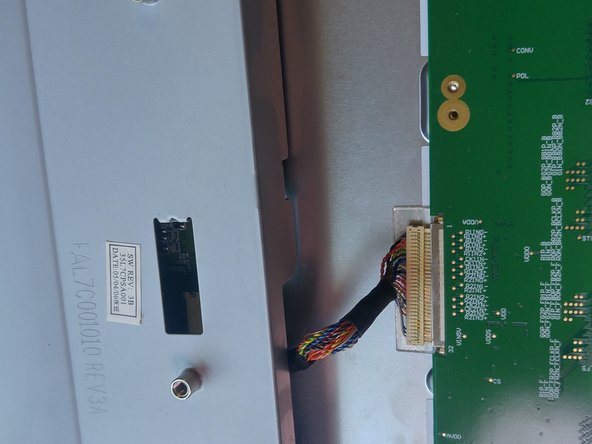
    • Hold right below the cables and pull the cable apart from the top circuit board

  5. Envision EN7410 Teardown, Remove side screws: étape 5, image 1 de 1
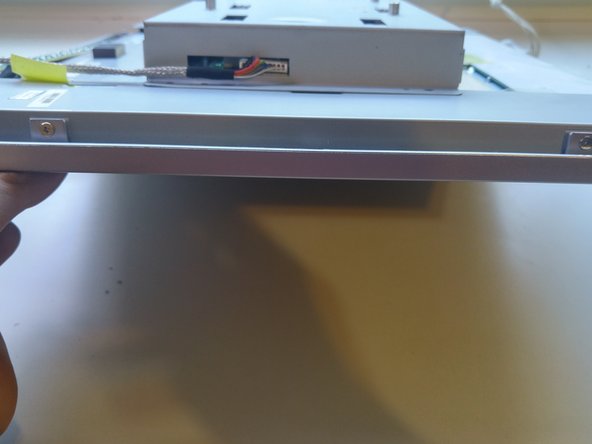
    • There are four screws on each side of the monitor that you must remove to disassemble the rest of the monitor

    • These screws are relatively tiny, so make sure that they are stored securely

  6. Envision EN7410 Teardown, Removing Circuit board casing: étape 6, image 1 de 2 Envision EN7410 Teardown, Removing Circuit board casing: étape 6, image 2 de 2
    • Remove the backing of the circuit board by unscrewing the four screws holding it in place

    • Make sure Step 3 was completed in full because it is connected to this part

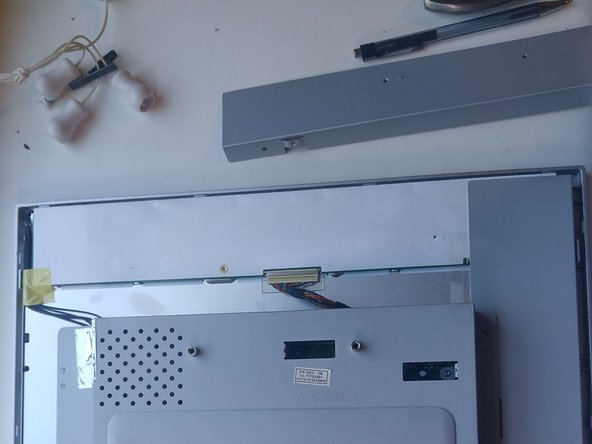
  7. Envision EN7410 Teardown, Remove side panels and tape: étape 7, image 1 de 3 Envision EN7410 Teardown, Remove side panels and tape: étape 7, image 2 de 3 Envision EN7410 Teardown, Remove side panels and tape: étape 7, image 3 de 3
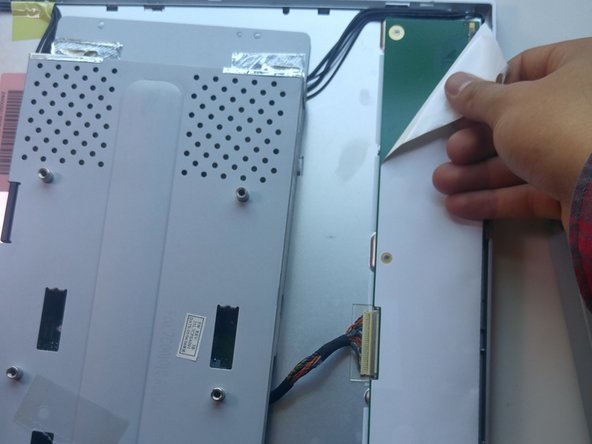
    • Remove these panels after the past steps have been completed in full

    • Remove the tape covering any of the screws or wires we will remove in future steps

  8. Envision EN7410 Teardown, Remove screws to upper circuit board: étape 8, image 1 de 1
    • Remove the three screws on the circuit board

    • Use the mini Philip's head

  9. Envision EN7410 Teardown, Remove screws from side circuit board: étape 9, image 1 de 1
    • Remove the two smaller screws on the side circuit board

    • Remember to use the mini Philip's head

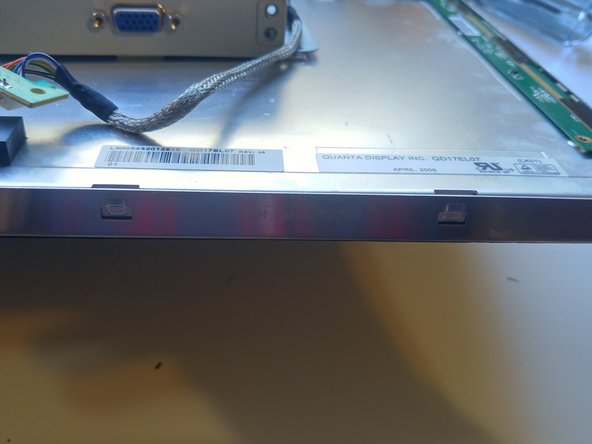
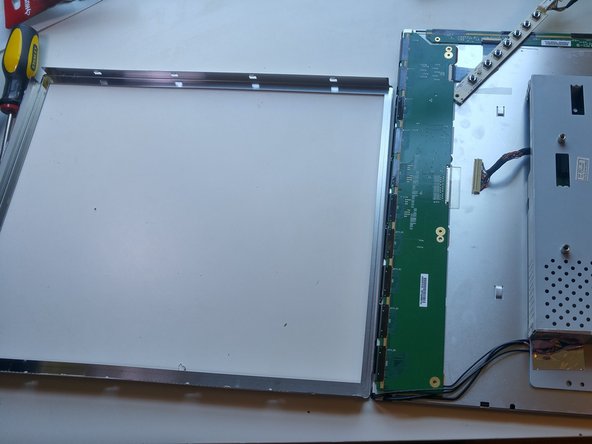
  10. Envision EN7410 Teardown, Removing metal frame: étape 10, image 1 de 3 Envision EN7410 Teardown, Removing metal frame: étape 10, image 2 de 3 Envision EN7410 Teardown, Removing metal frame: étape 10, image 3 de 3
    • Pop away the metal frame surrounding the LCD monitor

    • This is similar to removing the other frame in step 2

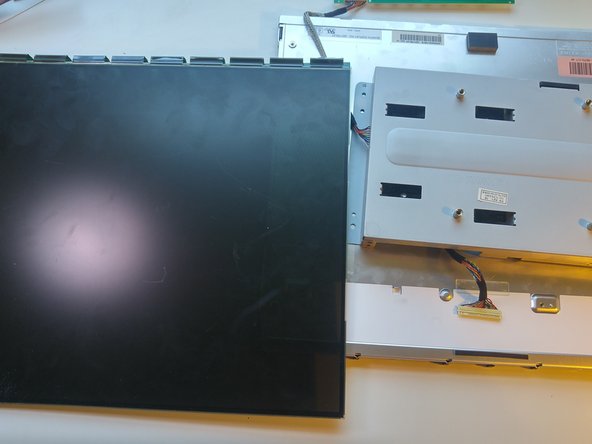
  11. Envision EN7410 Teardown, Removing the black LCD screen: étape 11, image 1 de 3 Envision EN7410 Teardown, Removing the black LCD screen: étape 11, image 2 de 3 Envision EN7410 Teardown, Removing the black LCD screen: étape 11, image 3 de 3
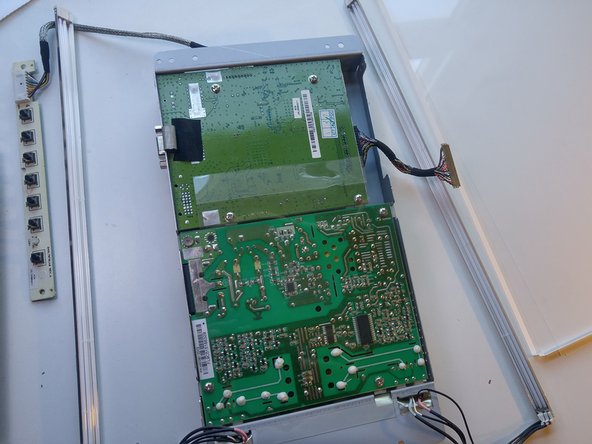
    • Raise the green circuit boards up

    • Holding the screen vertically, slide the black screen off

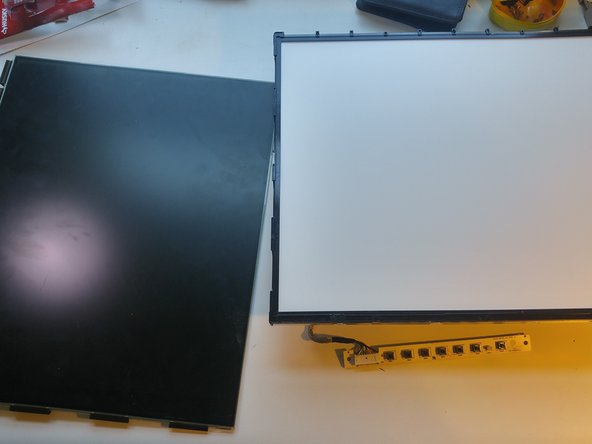
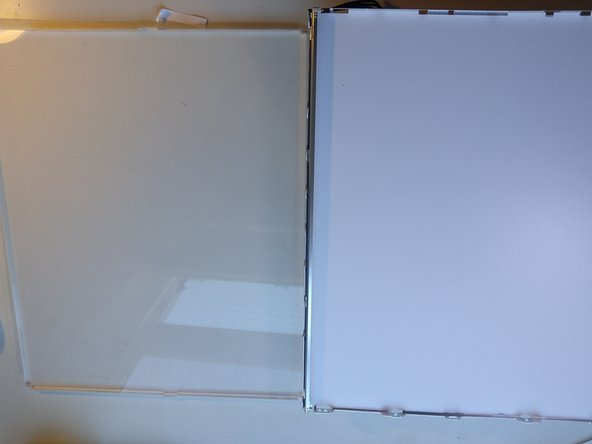
  12. Envision EN7410 Teardown, Removing the LCD Glass Panel: étape 12, image 1 de 3 Envision EN7410 Teardown, Removing the LCD Glass Panel: étape 12, image 2 de 3 Envision EN7410 Teardown, Removing the LCD Glass Panel: étape 12, image 3 de 3
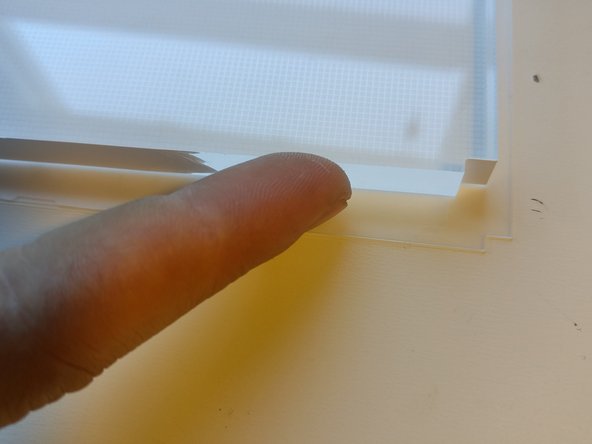
    • Remove the plastic filter sheets covering the LCD glass panel

    • Place your fingers on the sides of the glass panel and lift it upwards to remove it

  13. Envision EN7410 Teardown, Remove the inner black frame: étape 13, image 1 de 2 Envision EN7410 Teardown, Remove the inner black frame: étape 13, image 2 de 2
    • Place the monitor white side up

    • Just like the previous frames, pop the plastic black frame apart from the rest of the monitor

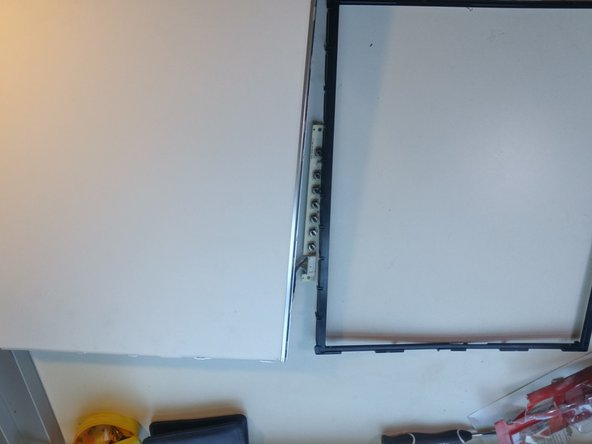
  14. Envision EN7410 Teardown, Removing electronics from monitor: étape 14, image 1 de 2 Envision EN7410 Teardown, Removing electronics from monitor: étape 14, image 2 de 2
    • gently lift the two metal bars connected to the circuit board.

    • This will separate the two components apart

    • You have successfully completed a teardown of the Envision EN7410 monitor

Anthony Fontes

Membre depuis le 06/15/16

111 Réputation

1 tutoriel rédigé

0 commentaires

Ajouter un commentaire

Nombre de vues :

Dernières 24 heures : 1

7 derniers jours : 3

30 derniers jours : 10

Total : 1,019