Introduction
The Aura came in with a broken display. It costed about 100euro and was acquired in 2017. I tried working out how to open up the unit. But it went from repair job, to tear-down. I hope by posting this, someone else might have more success.
I'm happy this brand isn't too famous, because repair this is a pain the the derriere.
Ce dont vous avez besoin
-
-
It comes in a very nice box with some nice cleaning tools and extra screens.
-
-
-
The mouthpiece easily comes off. After that, you can get the herb canister out.
-
The bottom part can be pride open with a thin screw driver.
-
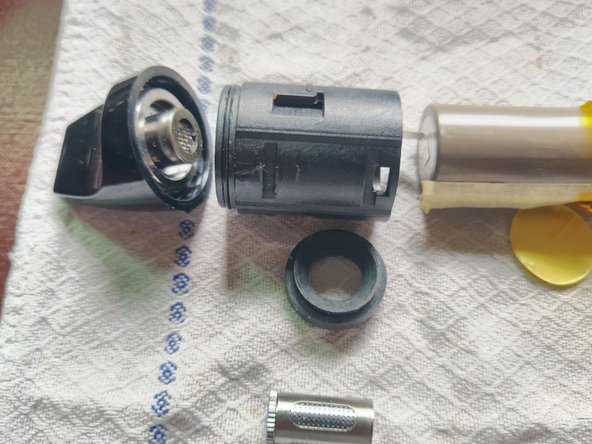
This is the part where the repair went to a teardown. I couldn't find which way the parts needed to come out next.
-
-
-
-
I decided to put some paper in the oven, and push with screwdriver, towards the bottom part. Parts broke, but I'm not sure pushing the other way would've been better.
-
-
-
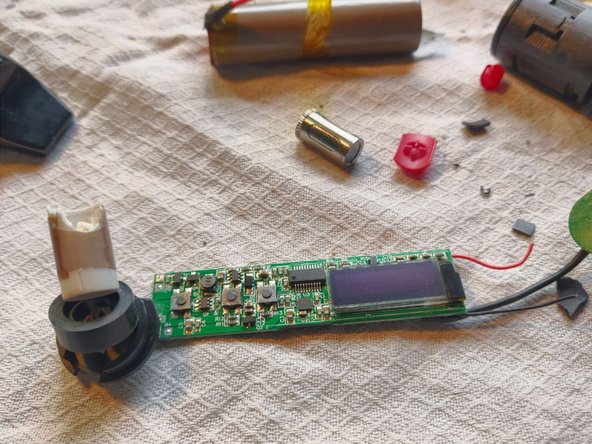
The external part of the oven could be removed from the top, but the wires are tight.
-
The PIC on the board is without any printing. The back of the PCB states "s214T-150119A"
-
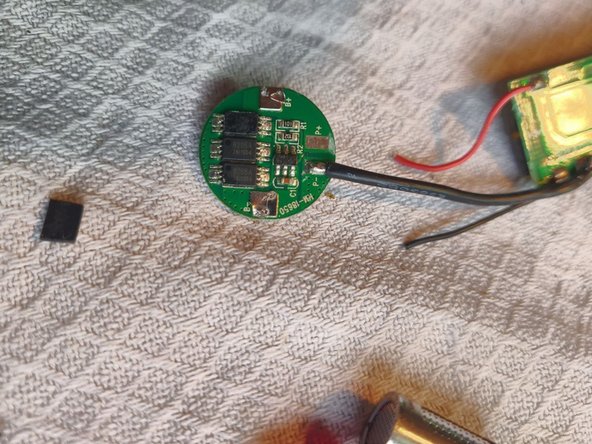
Driving the oven are three 8205A 5A 20V MOSFET's
-