Aller au contenu principal

Ce dont vous avez besoin

Cette vue éclatée n'est pas un tutoriel de réparation. Pour réparer votre Free Wheelchair Mission GEN 1, utilisez notre manuel de réparation.

  1. Free Wheelchair Mission GEN 1 Teardown, Remove Air Pump: étape 1, image 1 de 2 Free Wheelchair Mission GEN 1 Teardown, Remove Air Pump: étape 1, image 2 de 2
    • Start by finding the pump on the back of the wheelchair

    • Remove the screw holding the pump to the frame with a 10mm wrench

  2. Free Wheelchair Mission GEN 1 Teardown, Remove Footrest: étape 2, image 1 de 1
    • Remove the footrest by turning it upside down and use the 10 mm box wrench to take out all four of the screws

  3. Free Wheelchair Mission GEN 1 Teardown, Remove Seat Cushion: étape 3, image 1 de 1
    • Locate the 4 ties around the corners and back of the chair

    • Untie each of the knots by pulling the strings

    • Remove the cushion from the chair

  4. Free Wheelchair Mission GEN 1 Teardown, Remove Brakes: étape 4, image 1 de 1
    • Locate brakes on the back of the small frame behind the wheel.

    • Unscrew the two screws holding the brake to the frame using the 10 mm box wrench

    • Remove the brake from the frame

  5. Free Wheelchair Mission GEN 1 Teardown, Remove Wheel: étape 5, image 1 de 1
    • Use the 19mm socket wrench to unscrew the axle bolt.

    • Use 19mm crescent wrench to keep the nut from spinning

    • The Free Wheelchair Mission Multi-Purpose Tool can be used in place of the 19mm socket wrench

    • Slide the wheel off the frame

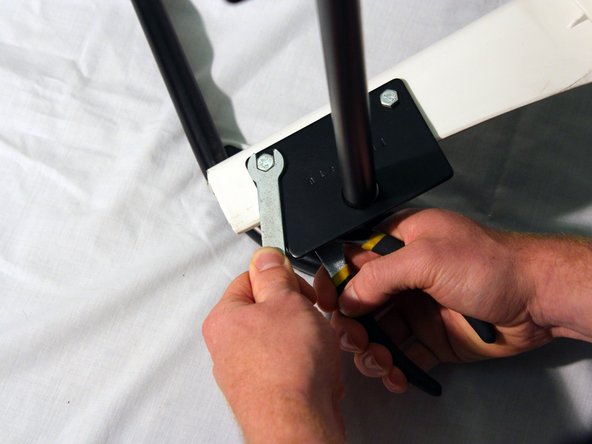
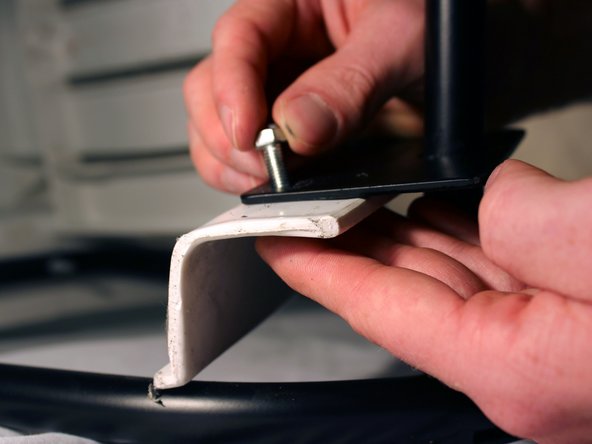
  6. Free Wheelchair Mission GEN 1 Teardown, Remove Axle Plates: étape 6, image 1 de 3 Free Wheelchair Mission GEN 1 Teardown, Remove Axle Plates: étape 6, image 2 de 3 Free Wheelchair Mission GEN 1 Teardown, Remove Axle Plates: étape 6, image 3 de 3
    • Turn the chair around and locate the two base plates that hold the axle to the back of the chair. There are two screws on each of the plates that connect the chair to the axle.

    • Hold the nut with a 10 mm wrench in one hand. In the other hand, use a wrench to remove the screw.

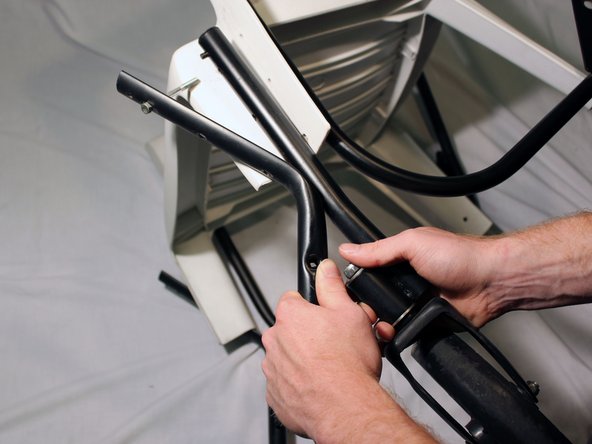
  7. Free Wheelchair Mission GEN 1 Teardown, Remove Front Frame and Castor Wheels: étape 7, image 1 de 2 Free Wheelchair Mission GEN 1 Teardown, Remove Front Frame and Castor Wheels: étape 7, image 2 de 2
    • Locate the screws that hold the back frame, chair, castor wheel, and front frame together. There is one screw on each side of the chair immediately above where the brakes are located.

    • Remove both of these screws using a 10mm wrench.

    • Separate the front frame and and the castor wheel from the chair.

  8. Free Wheelchair Mission GEN 1 Teardown, Remove Chair: étape 8, image 1 de 1
    • Remove the Chair from the frame

Mike Sevilla

Membre depuis le 04/05/13

348 Réputation

3 tutoriels rédigés

Équipe

Cal Poly, Team 14-7, Maness Spring 2013 Membre de l'équipe Cal Poly, Team 14-7, Maness Spring 2013

CPSU-MANESS-S13S14G7

5 membres

7 tutoriels rédigés

0 commentaires

Ajouter un commentaire

Nombre de vues :

Dernières 24 heures : 0

7 derniers jours : 0

30 derniers jours : 0

Total : 1,534