Aller au contenu principal

Cette vue éclatée n'est pas un tutoriel de réparation. Pour réparer votre glorious Model 02 Pro, utilisez notre manuel de réparation.

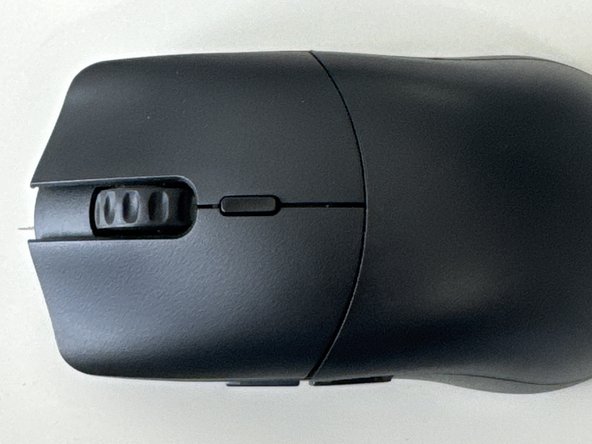
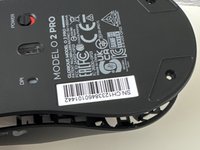
  1. Glorious Model O2 Pro Teardown, Flip Over: étape 1, image 1 de 2 Glorious Model O2 Pro Teardown, Flip Over: étape 1, image 2 de 2
    • Turn the mouse to the bottom

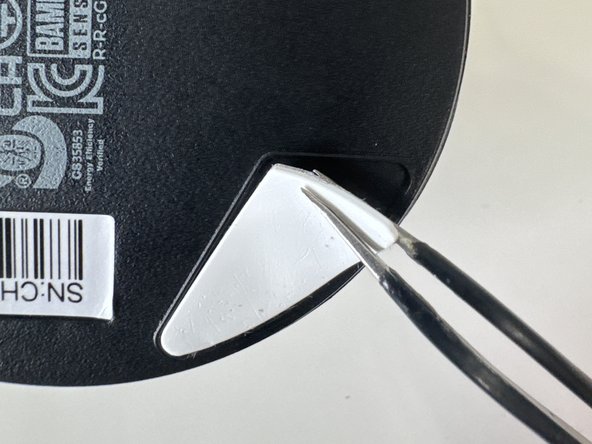
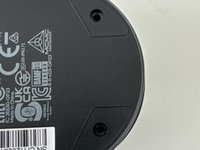
  2. Glorious Model O2 Pro Teardown, Remove feet: étape 2, image 1 de 3 Glorious Model O2 Pro Teardown, Remove feet: étape 2, image 2 de 3 Glorious Model O2 Pro Teardown, Remove feet: étape 2, image 3 de 3
    • Remove top and bottom feet

    • Make sure to keep these and don't loose then

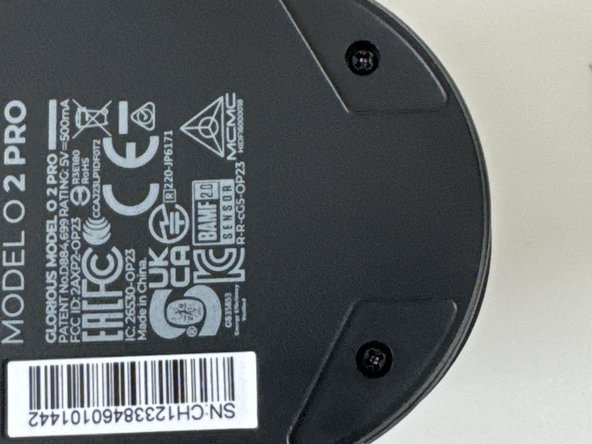
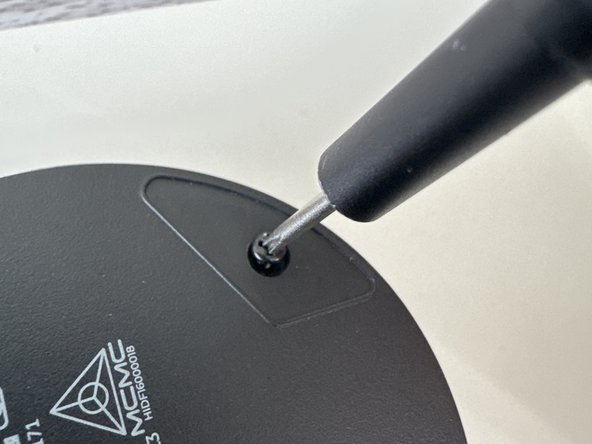
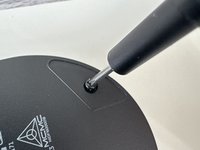
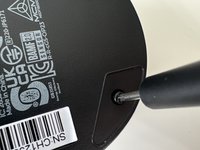
  3. Glorious Model O2 Pro Teardown, Remove Screws: étape 3, image 1 de 3 Glorious Model O2 Pro Teardown, Remove Screws: étape 3, image 2 de 3 Glorious Model O2 Pro Teardown, Remove Screws: étape 3, image 3 de 3
    • Use a PH001 Screwdriver to remove both screws

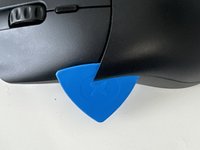
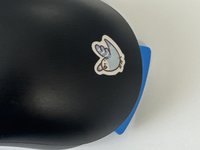
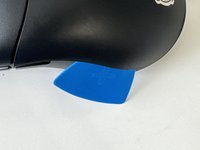
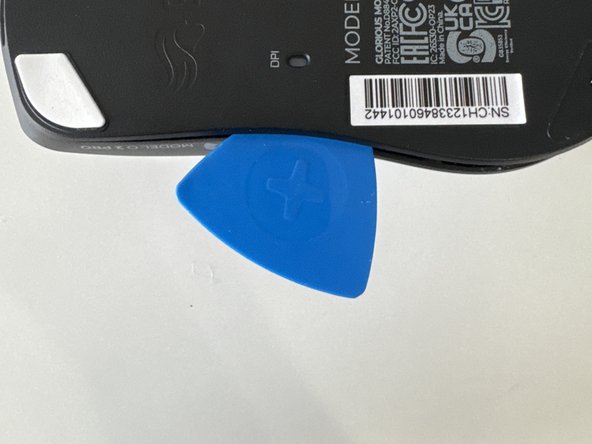
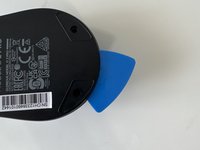
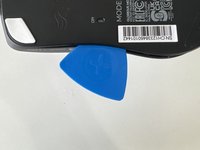
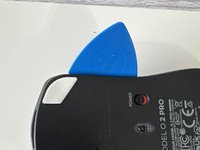
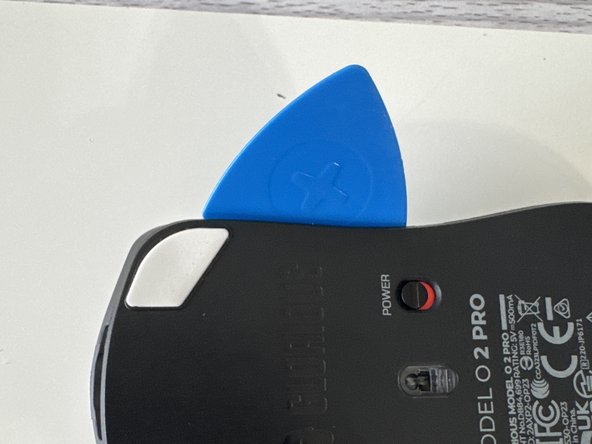
  4. Glorious Model O2 Pro Teardown, Unclip Plastic Piece: étape 4, image 1 de 3 Glorious Model O2 Pro Teardown, Unclip Plastic Piece: étape 4, image 2 de 3 Glorious Model O2 Pro Teardown, Unclip Plastic Piece: étape 4, image 3 de 3
    • (Ignore Bird Sticker)

    • Slide in an opening pick and gently wiggle across the plate

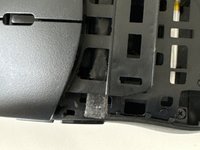
  5. Glorious Model O2 Pro Teardown, Same as step 4: étape 5, image 1 de 1
    • After undoing the last clip the playe should come off to reveal…. (Drum roll) More Clips!

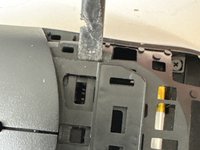
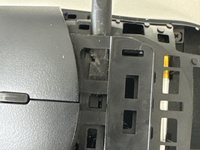
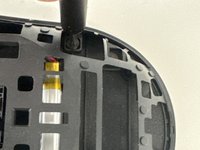
  6. Glorious Model O2 Pro Teardown, Remove Mouse Buttons: étape 6, image 1 de 3 Glorious Model O2 Pro Teardown, Remove Mouse Buttons: étape 6, image 2 de 3 Glorious Model O2 Pro Teardown, Remove Mouse Buttons: étape 6, image 3 de 3
    • Insert a plastic spudger through the clips

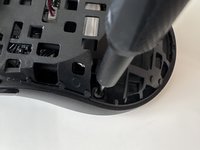
  7. Glorious Model O2 Pro Teardown, Unscew: étape 7, image 1 de 3 Glorious Model O2 Pro Teardown, Unscew: étape 7, image 2 de 3 Glorious Model O2 Pro Teardown, Unscew: étape 7, image 3 de 3
    • Make sure to get the 4th one that is horizontally straight from the other top screw

    • Keep these screws separate from the ones from the start these 4 are slightly smaller

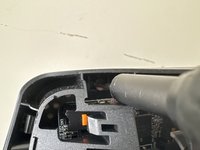
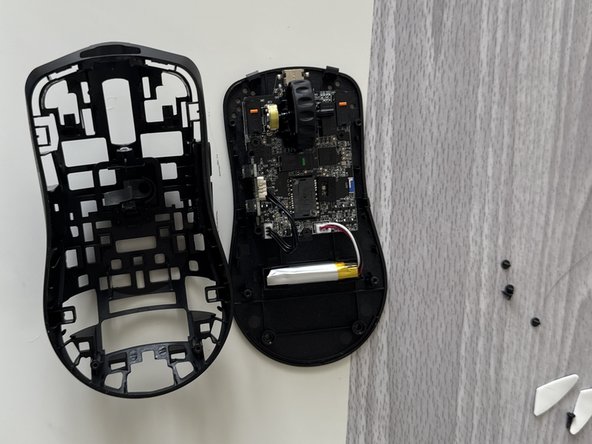
  8. Glorious Model O2 Pro Teardown, Remove Inner shell: étape 8, image 1 de 3 Glorious Model O2 Pro Teardown, Remove Inner shell: étape 8, image 2 de 3 Glorious Model O2 Pro Teardown, Remove Inner shell: étape 8, image 3 de 3
    • Do a combination of using the puck and prying with your hands use caution because the motherboard and battery cables can be damaged

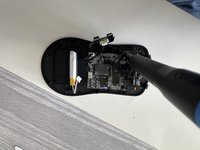
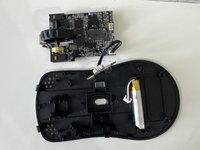
  9. Glorious Model O2 Pro Teardown, Remove housing: étape 9, image 1 de 2 Glorious Model O2 Pro Teardown, Remove housing: étape 9, image 2 de 2
    • Lift it from the housing

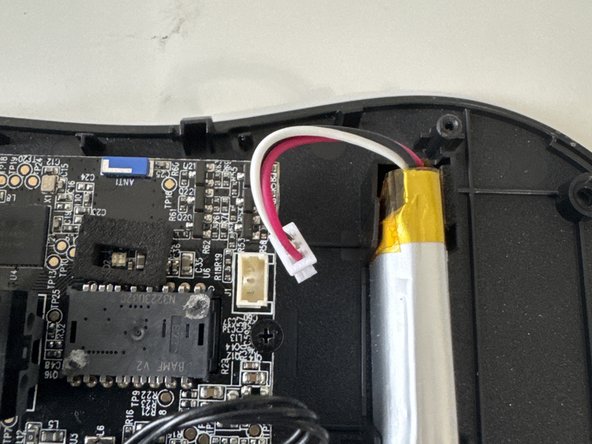
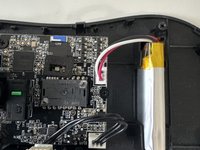
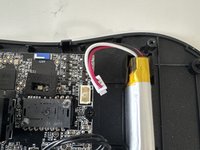
  10. Glorious Model O2 Pro Teardown, Unplug battery: étape 10, image 1 de 2 Glorious Model O2 Pro Teardown, Unplug battery: étape 10, image 2 de 2
    • Unplug the JST connector from the lipo-cell battery

  11. Glorious Model O2 Pro Teardown, Remove mainboard: étape 11, image 1 de 2 Glorious Model O2 Pro Teardown, Remove mainboard: étape 11, image 2 de 2
    • Unscew the 3 smaller screws then remove mainboard from housing

    • Thanks for reading my first ifixit guide (R.I.P my prying puck)

0DanDan0

Membre depuis le 08/17/23

252 Réputation

1 tutoriel rédigé

Un commentaire

They removed the last photo with all the pieces 😭

0DanDan0 - Réponse
Ajouter un commentaire

Nombre de vues :

Dernières 24 heures : 1

7 derniers jours : 25

30 derniers jours : 103

Total : 478