Aller au contenu principal

Ce dont vous avez besoin

Cette vue éclatée n'est pas un tutoriel de réparation. Pour réparer votre Hatch Restore, utilisez notre manuel de réparation.

  1. Hatch Restore Teardown, Intro: étape 1, image 1 de 2 Hatch Restore Teardown, Intro: étape 1, image 2 de 2
    • This device isn't hard to repair. Just keep track of your screws.

    • You will only need a PH1 screw driver for this entire teardown.

  2. Hatch Restore Teardown, Rubber Feet: étape 2, image 1 de 3 Hatch Restore Teardown, Rubber Feet: étape 2, image 2 de 3 Hatch Restore Teardown, Rubber Feet: étape 2, image 3 de 3
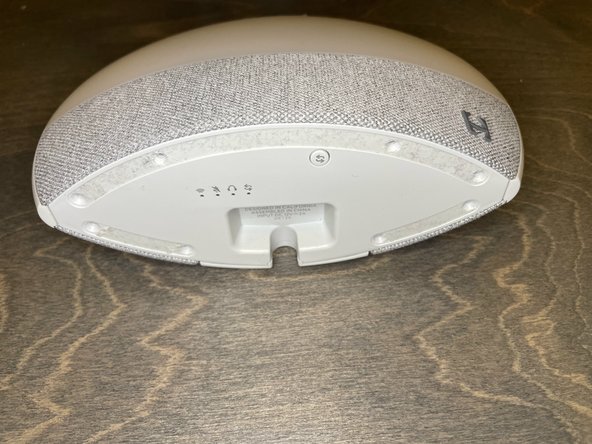
    • Remove the rubber feet from the bottom of the device.

  3. Hatch Restore Teardown, Bottom Screws: étape 3, image 1 de 2 Hatch Restore Teardown, Bottom Screws: étape 3, image 2 de 2
    • Remove these 8 screws.

    • You may need to remove adhesive from the screws before you can remove them.

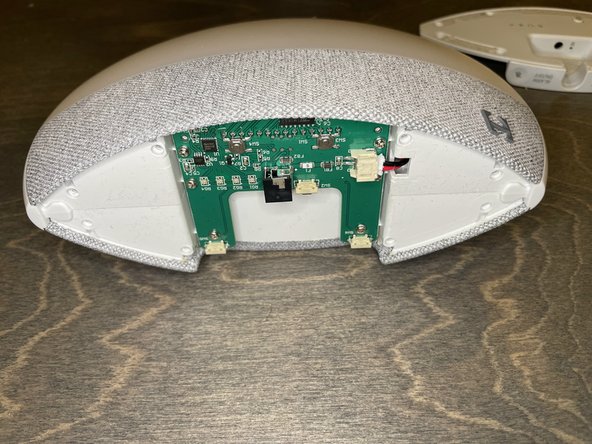
  4. Hatch Restore Teardown, Bottom Cover: étape 4, image 1 de 2 Hatch Restore Teardown, Bottom Cover: étape 4, image 2 de 2
    • Pry the bottom cover off using a pry tool.

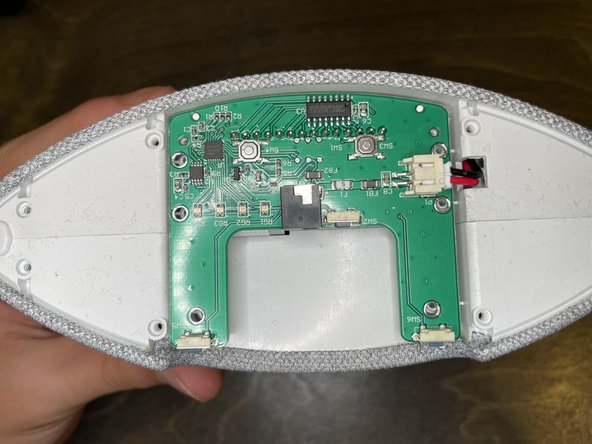
  5. Hatch Restore Teardown, Buttom Circuit Board Screws: étape 5, image 1 de 2 Hatch Restore Teardown, Buttom Circuit Board Screws: étape 5, image 2 de 2
    • Remove the 6 screws from the circuit board.

  6. Hatch Restore Teardown, Bottom Circuit Board Power Cable: étape 6, image 1 de 2 Hatch Restore Teardown, Bottom Circuit Board Power Cable: étape 6, image 2 de 2
    • Disconnect the power connector from the circuit board.

    • Do not pull the circuit board too far away from the device. There is a ribbon cable on the bottom.

  7. Hatch Restore Teardown, Bottom Circuit Board Ribbon Cable: étape 7, image 1 de 2 Hatch Restore Teardown, Bottom Circuit Board Ribbon Cable: étape 7, image 2 de 2
    • Push the black tabs on the ZIF connector towards the cable, then remove the cable.

    • The cable should have no resistance when pulled out. Do not forcefully remove the cable.

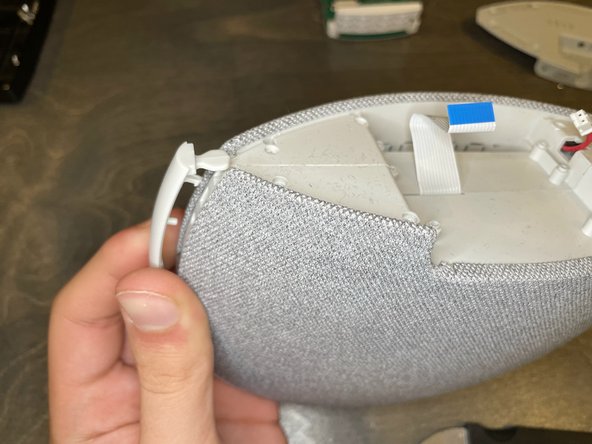
  8. Hatch Restore Teardown, Outer Button Ring: étape 8, image 1 de 3 Hatch Restore Teardown, Outer Button Ring: étape 8, image 2 de 3 Hatch Restore Teardown, Outer Button Ring: étape 8, image 3 de 3
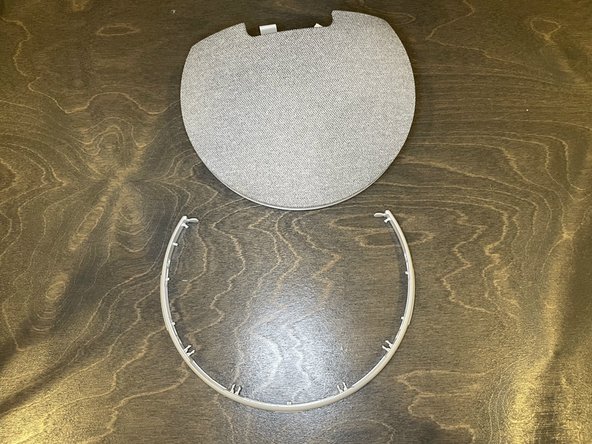
    • Remove the outer button ring using a pry tool.

  9. Hatch Restore Teardown, Outer Ring Screws: étape 9, image 1 de 2 Hatch Restore Teardown, Outer Ring Screws: étape 9, image 2 de 2
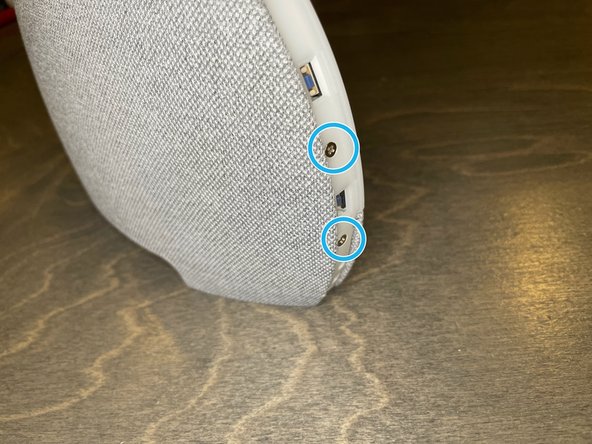
    • Remove 2 screws from both sides of the device, 4 screws total.

  10. Hatch Restore Teardown, Outer Ring Tabs: étape 10, image 1 de 3 Hatch Restore Teardown, Outer Ring Tabs: étape 10, image 2 de 3 Hatch Restore Teardown, Outer Ring Tabs: étape 10, image 3 de 3
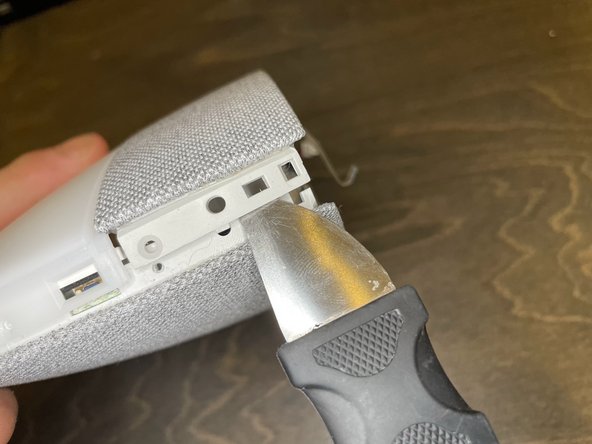
    • Release the tabs around the ring.

    • Remove the light diffuser.

  11. Hatch Restore Teardown, LED Array: étape 11, image 1 de 3 Hatch Restore Teardown, LED Array: étape 11, image 2 de 3 Hatch Restore Teardown, LED Array: étape 11, image 3 de 3
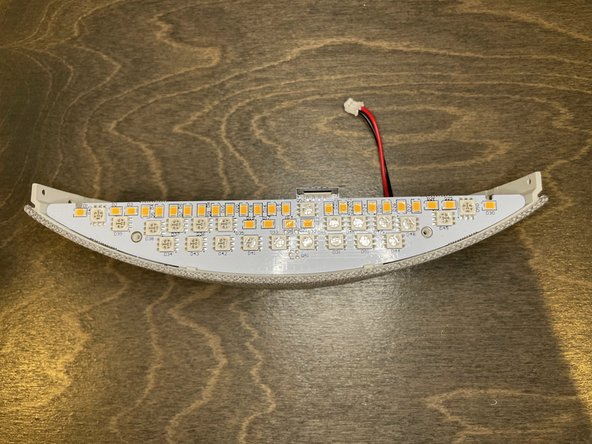
    • After disconnecting the ribbon cable, we can inspect the LED array.

    • It has both warm and cold colored LEDs.

    • There is a weight glued in below the LED.

  12. Hatch Restore Teardown, Inside Panel Screws: étape 12, image 1 de 2 Hatch Restore Teardown, Inside Panel Screws: étape 12, image 2 de 2
    • Remove these 7 screws.

  13. Hatch Restore Teardown, Motherboard Audio Cable: étape 13, image 1 de 2 Hatch Restore Teardown, Motherboard Audio Cable: étape 13, image 2 de 2
    • The panel feels heavy and weighted. There is also a weight glued in under the LED array, seemingly in an attempt to make the device feel more premium.

    • Disconnect the audio cable

  14. Hatch Restore Teardown, Motherboard: étape 14, image 1 de 2 Hatch Restore Teardown, Motherboard: étape 14, image 2 de 2
    • Here we can see the motherboard. It has an ESP32 processor.

    • There is a blank area that could possibly hold a second ESP32

    • There is also a 32GB MicroSD card

    • To remove the MicroSD card, stick your nail into the slot on the metal latch, and slide it towards the ESP32.

    • The MicroSD card contents can be found here.

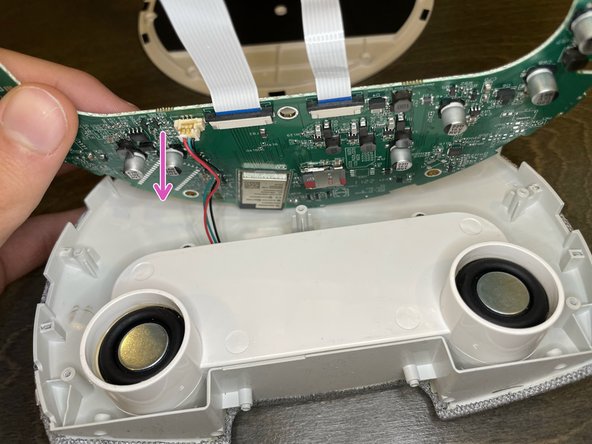
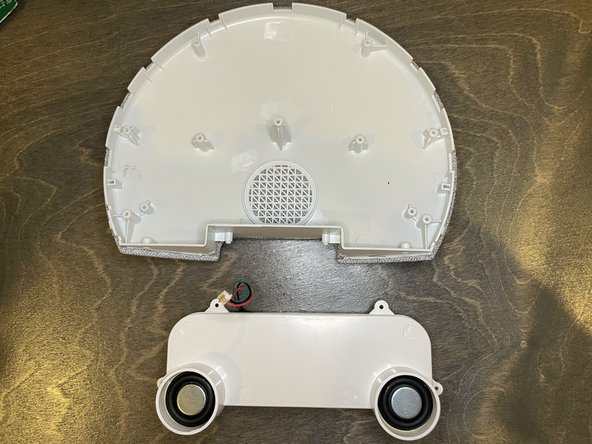
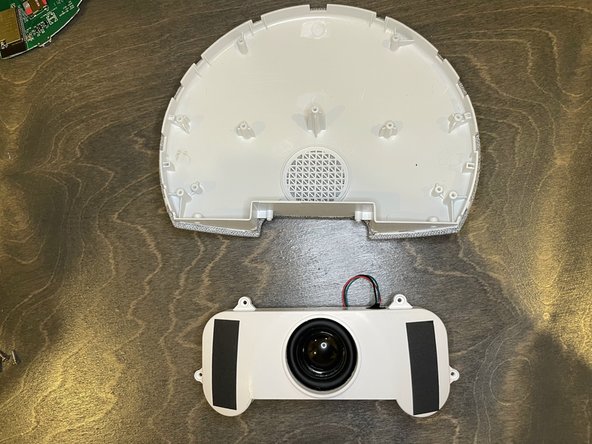
  15. Hatch Restore Teardown, Speaker Assembly: étape 15, image 1 de 3 Hatch Restore Teardown, Speaker Assembly: étape 15, image 2 de 3 Hatch Restore Teardown, Speaker Assembly: étape 15, image 3 de 3
    • Remove the 4 screws holding the speaker assembly in place.

    • The speaker assembly is fused, and should not be opened.

9021007

Membre depuis le 07/13/18

4 599 Réputation

25 tutoriels rédigés

0 commentaires

Ajouter un commentaire

Nombre de vues :

Dernières 24 heures : 2

7 derniers jours : 31

30 derniers jours : 107

Total : 2,235