Aller au contenu principal

Ce dont vous avez besoin

Cette vue éclatée n'est pas un tutoriel de réparation. Pour réparer votre Hyppe Max Air 5000, utilisez notre manuel de réparation.

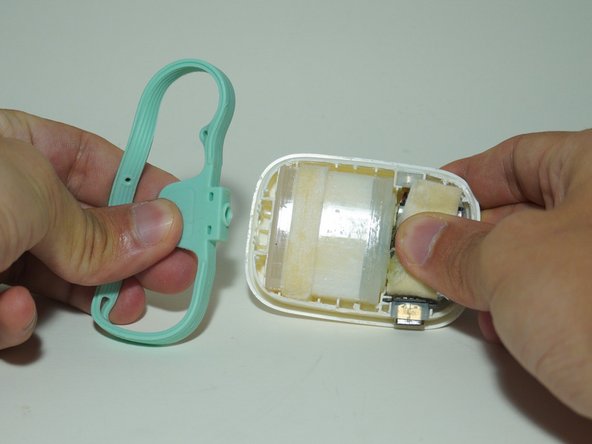
  1. Hyppe Max Air 5000 Teardown, Bumper Removal: étape 1, image 1 de 3 Hyppe Max Air 5000 Teardown, Bumper Removal: étape 1, image 2 de 3 Hyppe Max Air 5000 Teardown, Bumper Removal: étape 1, image 3 de 3
    • Remove rubber bumper

  2. Hyppe Max Air 5000 Teardown, Shell Removal: étape 2, image 1 de 1
    • The plastic shell is ultrasonically welded shut

    • This is due to the disposable nature of the device

    • I don't have images of the removal process but I used a razor to lightly go along the seam and then spit it apart with a spudger

  3. Hyppe Max Air 5000 Teardown, Mouthpiece Removal: étape 3, image 1 de 2 Hyppe Max Air 5000 Teardown, Mouthpiece Removal: étape 3, image 2 de 2
    • Lift upwards

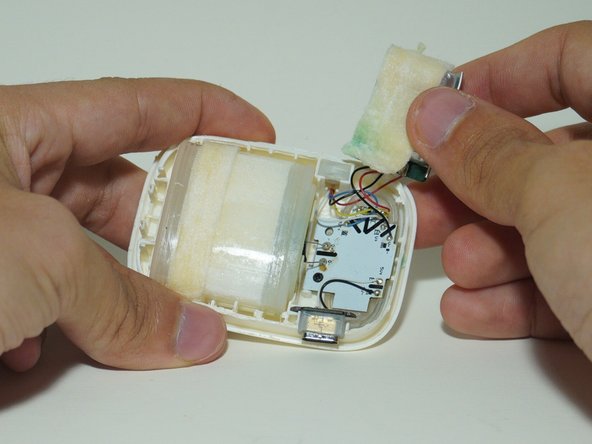
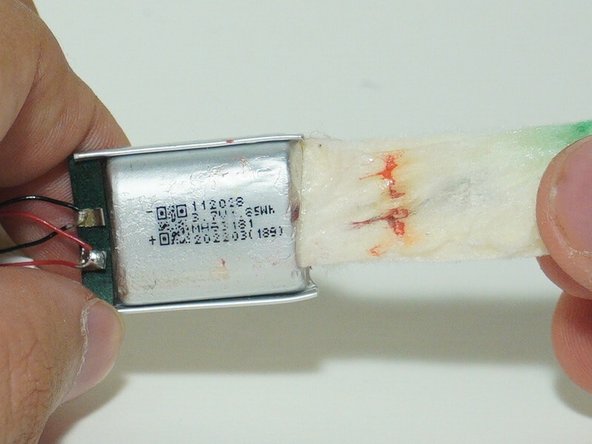
  4. Hyppe Max Air 5000 Teardown, Battery Removal: étape 4, image 1 de 3 Hyppe Max Air 5000 Teardown, Battery Removal: étape 4, image 2 de 3 Hyppe Max Air 5000 Teardown, Battery Removal: étape 4, image 3 de 3
    • Lift up the battery

    • 3.7V 1.85Wh

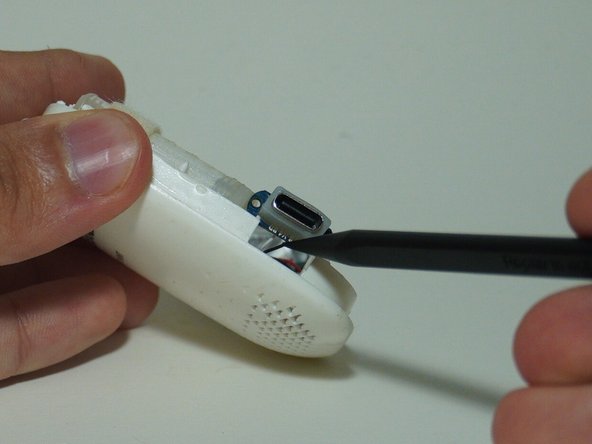
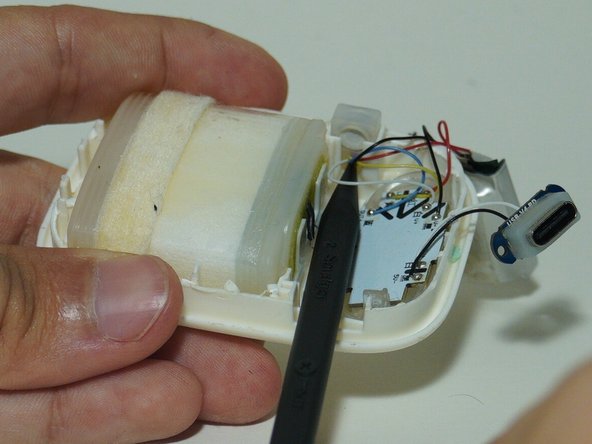
  5. Hyppe Max Air 5000 Teardown, Charge Port Removal: étape 5, image 1 de 2 Hyppe Max Air 5000 Teardown, Charge Port Removal: étape 5, image 2 de 2
    • Use the point part of the spudger to get under the port and pry it up

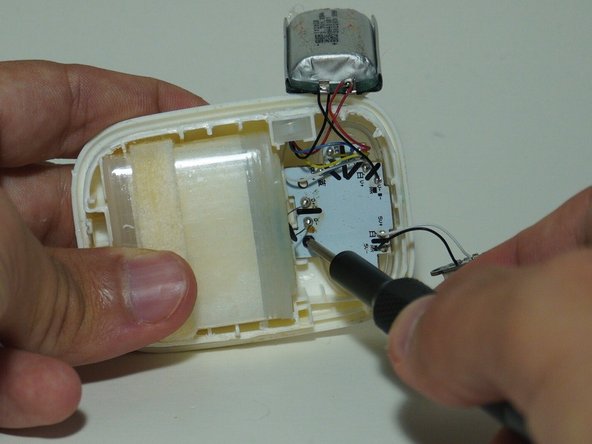
  6. Hyppe Max Air 5000 Teardown, Motherboard screw: étape 6, image 1 de 2 Hyppe Max Air 5000 Teardown, Motherboard screw: étape 6, image 2 de 2
    • Remove the PH00 screw

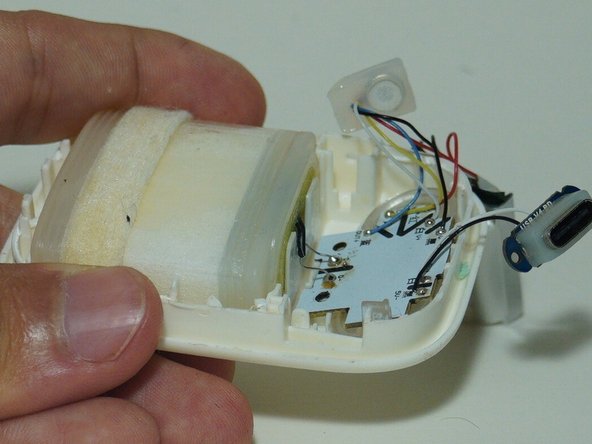
  7. Hyppe Max Air 5000 Teardown, Airflow sensor: étape 7, image 1 de 3 Hyppe Max Air 5000 Teardown, Airflow sensor: étape 7, image 2 de 3 Hyppe Max Air 5000 Teardown, Airflow sensor: étape 7, image 3 de 3
    • Use the ponty end of the spudger to lift up the airflow sensor

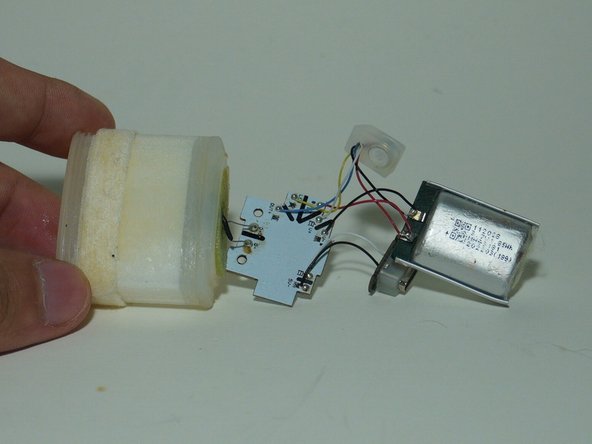
  8. Hyppe Max Air 5000 Teardown, Electronics Removal: étape 8, image 1 de 2 Hyppe Max Air 5000 Teardown, Electronics Removal: étape 8, image 2 de 2
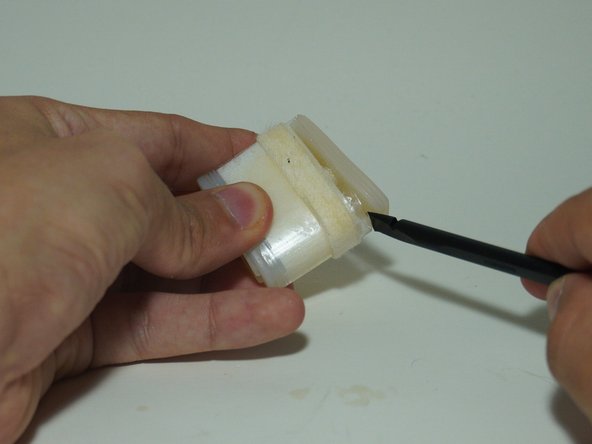
    • Use flat end of spudger to pry out chamber

    • Everything should now be come out of the plastic housing

  9. Hyppe Max Air 5000 Teardown, PCB Closeup: étape 9, image 1 de 2 Hyppe Max Air 5000 Teardown, PCB Closeup: étape 9, image 2 de 2
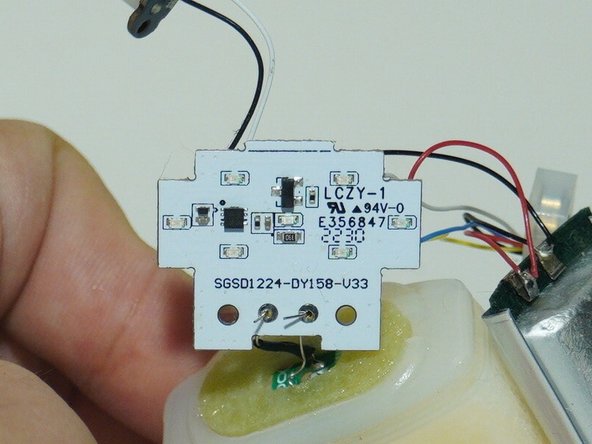
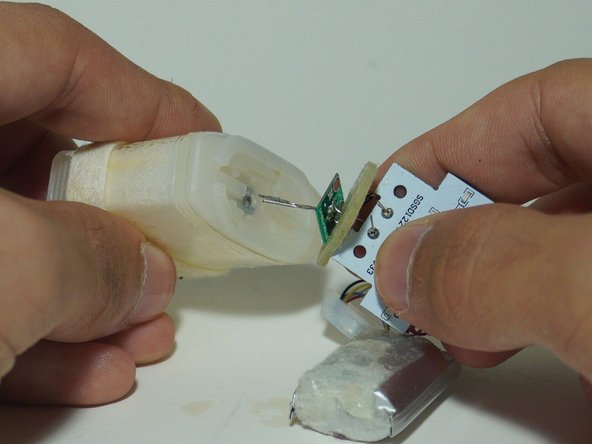
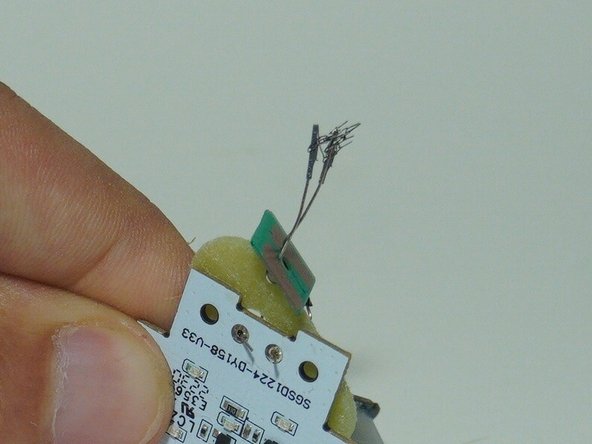
    • Some close up images of the PCB

  10. Hyppe Max Air 5000 Teardown, Heater Removal: étape 10, image 1 de 3 Hyppe Max Air 5000 Teardown, Heater Removal: étape 10, image 2 de 3 Hyppe Max Air 5000 Teardown, Heater Removal: étape 10, image 3 de 3
    • Pull on the heater and it should just pop out

    • It's interesting to see that the heater geometry is just a mesh

  11. Hyppe Max Air 5000 Teardown, Chamber Lid Removal: étape 11, image 1 de 2 Hyppe Max Air 5000 Teardown, Chamber Lid Removal: étape 11, image 2 de 2
    • Use the spudger to pop off the rubber lid of the chamber

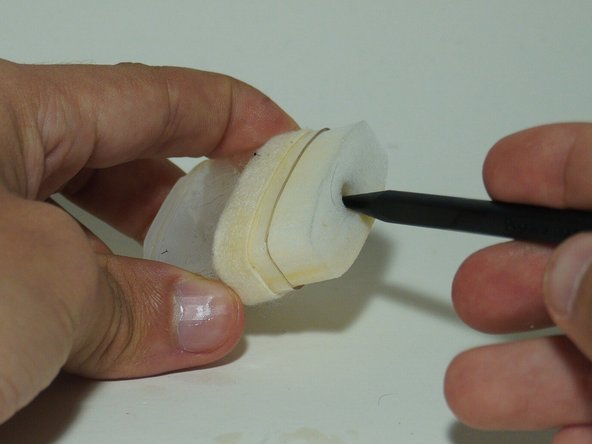
  12. Hyppe Max Air 5000 Teardown, Wicking Material: étape 12, image 1 de 2 Hyppe Max Air 5000 Teardown, Wicking Material: étape 12, image 2 de 2
    • Pull out the foam-like material

  13. Hyppe Max Air 5000 Teardown, Metal Core: étape 13, image 1 de 3 Hyppe Max Air 5000 Teardown, Metal Core: étape 13, image 2 de 3 Hyppe Max Air 5000 Teardown, Metal Core: étape 13, image 3 de 3
    • Use spudger to push out core

    • The heating element sits inside the sleeve. There is some wicking material on the inside to bring the nicotine liquid close to the heating mesh.

ShellingRook27

Membre depuis le 08/21/19

1 790 Réputation

7 tutoriels rédigés

Équipe

Repair For You Membre de l'équipe Repair For You

Business

1 membre

11 tutoriels rédigés

0 commentaires

Ajouter un commentaire

Nombre de vues :

Dernières 24 heures : 3

7 derniers jours : 31

30 derniers jours : 113

Total : 1,785