Introduction
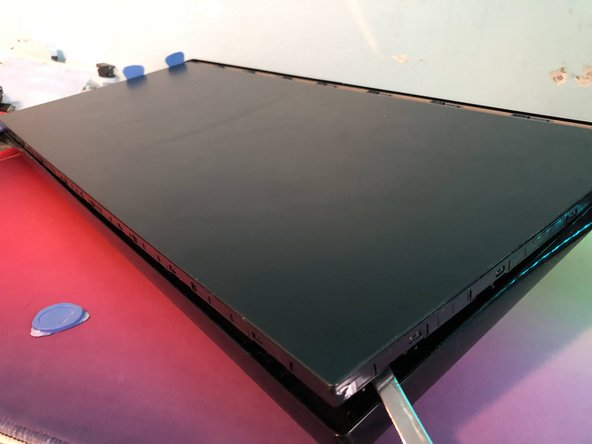
I broke my LG 25UM58-P LCD panel. Since there weren't any teardowns or disassembly guides online, it was only fitting to do one before it went in the bin.
Ce dont vous avez besoin
-
-
The base plate can be removed by undoing the screw as seen in the second image.
-
Captive D-Ring screw
-
-
-
The stand is secrured to the monitor frame with 2 Phillips screws.
-
The small cover needs to be pushed down to disengage the clip.
-
Slide up in order to reveal the screws.
-
2 x Phillips #1 screws
-
-
-
There are 2 Phillips #2 screws holding the lower trim, with the LG logo, onto the monitor.
-
-
-
The lower trim piece lifts off with some persuasion.
-
The screen is held on with an overengineered system of clip and tabs. The only method that personally worked, was to pry at the display and lever it out.
-
The guitar picks were used to hold the display panel up and prevent it from clipping back in.
-
-
-
-
Once you work your way around the edge of the display, and release all the clips, the panel will be free.
-
-
-
The rear cover separates from the LCD panel, revealing the surprisingly tiny control board
-
-
-
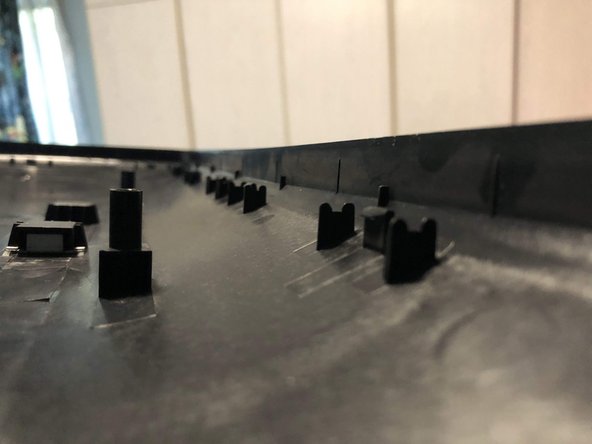
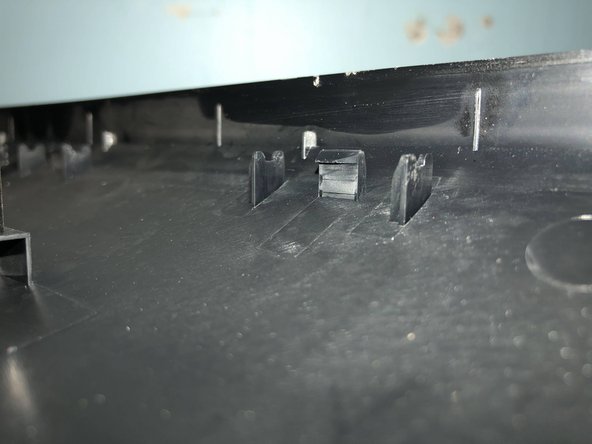
Some close-ups of the clips and mechanism used to secure the rear cover to the LCD panel
-
-
-
The panel model appears to be: LM250WW1
-
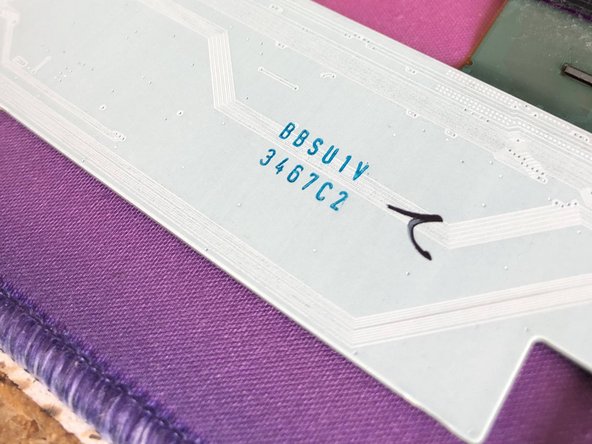
The LCD itself has the part number: BBSU1V 3467C2
-
The rear housing is stamped with the part number: MCK67880501
-
-
-
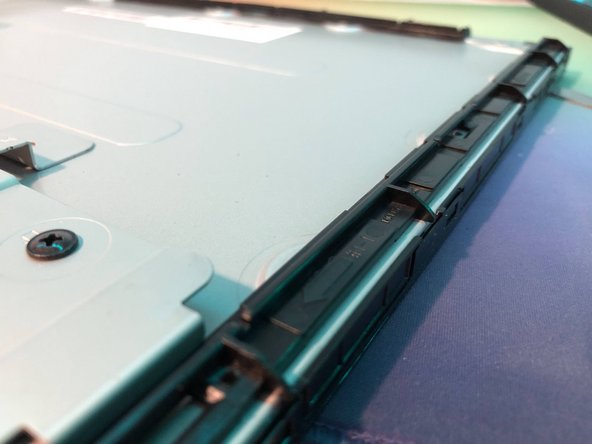
A closer look at the mounting method shows that there are a series of plastic "rods" that slide into slots on the LCD panel frame. The "rods" then attach to the clips on the rear housing as seen in Step 8.
-
-
-
Judging by the markings on the motherboard, it appears that the same PCB is used for the 34UM58.
-
The part number of the board appears to be: 692M000F-002 63624404
-
-
-
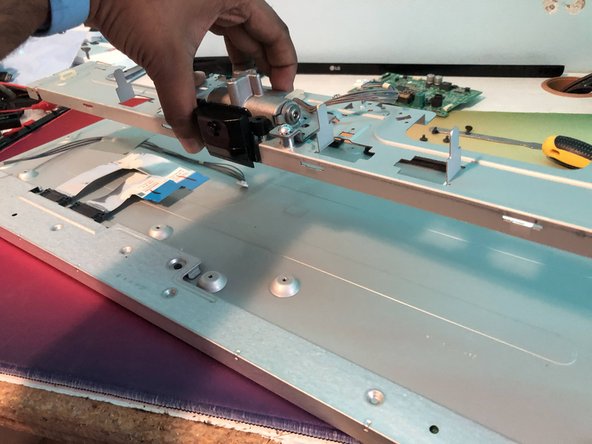
4 x #1 Phillips screws are used to secure the hinge plate to the back of the LCD panel.
-
2 x #2 Phillips screws are used to secure the hinge itself to the LCD panel.
-
-
-
Carefully route the cables away, from the hinge panel.
-
With the 6 screws removed from the previous step, the hinge assembly can be lifted away.
-
-
-
The LCD panel itself can be separated from the backlight.
-
Part number: BBSU1V 3467C2
-
-
-
A fairly tricky monitor to disassemble.
-
I'm 90% sure that removal of the LCD panel from the housing/frame will cause it to shatter (if it wasn't already damaged).
-
Replacement panels are about the same cost as replacing the entire monitor itself, making repairs unfeasible.
-


5 commentaires
Sorry to hear that happened. But it made for a really good teardown
I have 25UM57 internals are literally the same. same panel
Hi, quick question. Do you know if that long skinny board on the bottom has the T Con board integrated into it? Or is that located on the main board centered on the back? Any info would be helpful as I believe I have a T Con issue with mine. Thanks so much!
I quickly googled what the T-con is…
Do you know what specifically I should look for, maybe a chip? I’ll have a look through my unpublished pictures