Aller au contenu principal

Ce dont vous avez besoin

Cette vue éclatée n'est pas un tutoriel de réparation. Pour réparer votre Linksys router WRT54G2 V1, utilisez notre manuel de réparation.

  1. Linksys WRT54G2 V1 Teardown, Getting Ready!: étape 1, image 1 de 2 Linksys WRT54G2 V1 Teardown, Getting Ready!: étape 1, image 2 de 2
    • looks like my desk is a mess! Time to clean up!

    • This may take a while.

  2. Linksys WRT54G2 V1 Teardown: étape 2, image 1 de 2 Linksys WRT54G2 V1 Teardown: étape 2, image 2 de 2
    • Much Better.

    • The lighting looks good with minifigure holding a spudger.

    • Do not attempt to make a minifigure hold a spudger. he could fall over and get hurt.

  3. Linksys WRT54G2 V1 Teardown, Actually being productive.: étape 3, image 1 de 3 Linksys WRT54G2 V1 Teardown, Actually being productive.: étape 3, image 2 de 3 Linksys WRT54G2 V1 Teardown, Actually being productive.: étape 3, image 3 de 3
    • this is the linksys WRT54G2 V1.

    • The Internet in jack.

    • The 4 Ethernet out jacks

    • One reset button.

    • One 12 Volt DC .5 amp inlet.

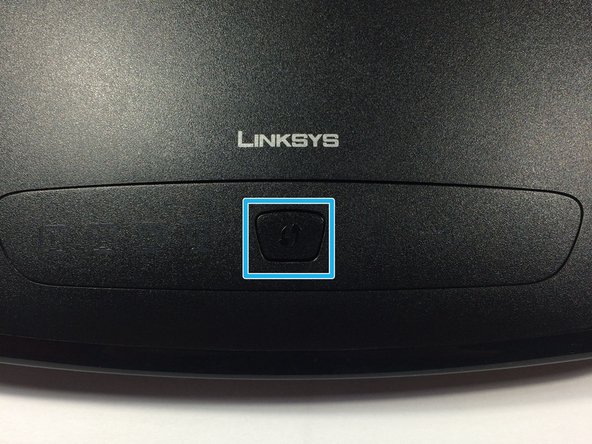
    • 1 WPS button.

  4. Linksys WRT54G2 V1 Teardown, Taking it apart!: étape 4, image 1 de 3 Linksys WRT54G2 V1 Teardown, Taking it apart!: étape 4, image 2 de 3 Linksys WRT54G2 V1 Teardown, Taking it apart!: étape 4, image 3 de 3
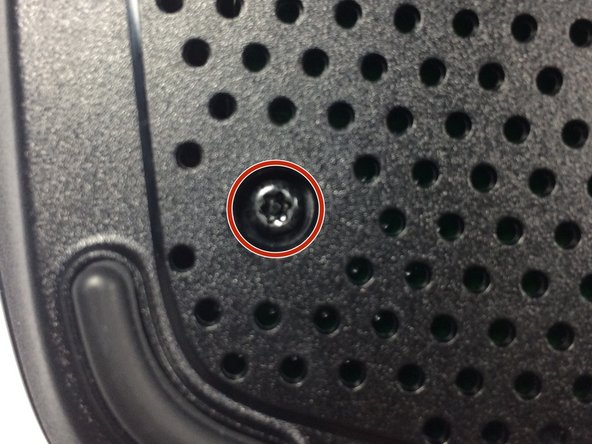
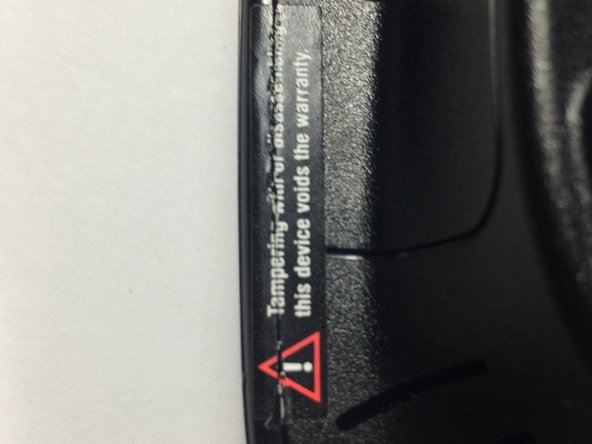
    • This is the back of the router. and 4 of its screws must be removed

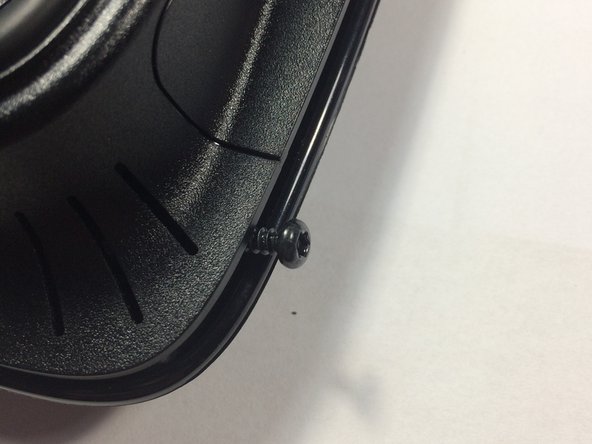
    • WHAT IS THIS? A new screw!

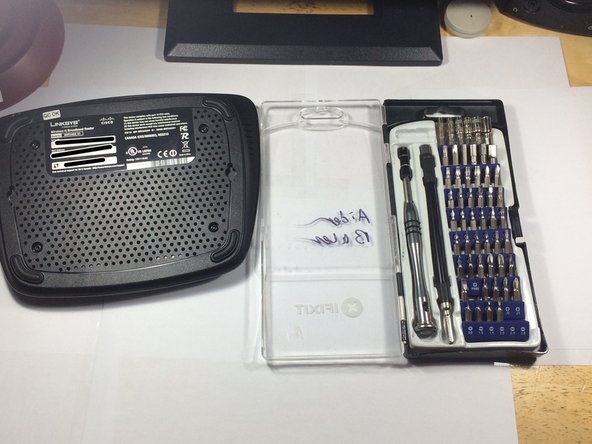
    • Nothing but the best equipment to tackle this! @kelsea recommended I should use my tools more.

  5. Linksys WRT54G2 V1 Teardown, Resistance: étape 5, image 1 de 3 Linksys WRT54G2 V1 Teardown, Resistance: étape 5, image 2 de 3 Linksys WRT54G2 V1 Teardown, Resistance: étape 5, image 3 de 3
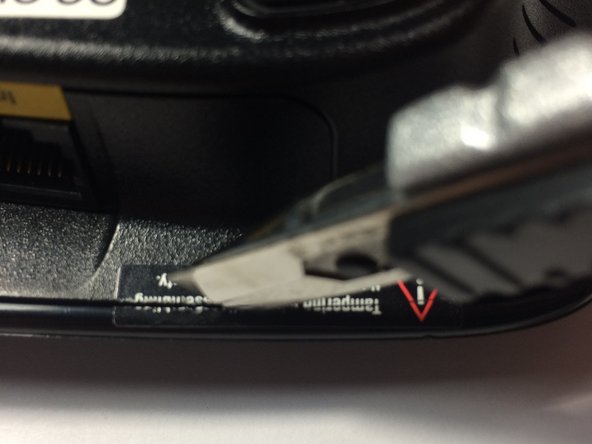
    • I feel a disturbance in this repair...

    • AHA! its darth voider! WE MUST DESTROY HIM!

    • iFixit emerges once again! VICTORY!

  6. Linksys WRT54G2 V1 Teardown, Back to your regularly scheduled programming: étape 6, image 1 de 3 Linksys WRT54G2 V1 Teardown, Back to your regularly scheduled programming: étape 6, image 2 de 3 Linksys WRT54G2 V1 Teardown, Back to your regularly scheduled programming: étape 6, image 3 de 3
    Outil utilisé dans cette étape :
    iFixit Opening Tool
    $1.99
    J'achète
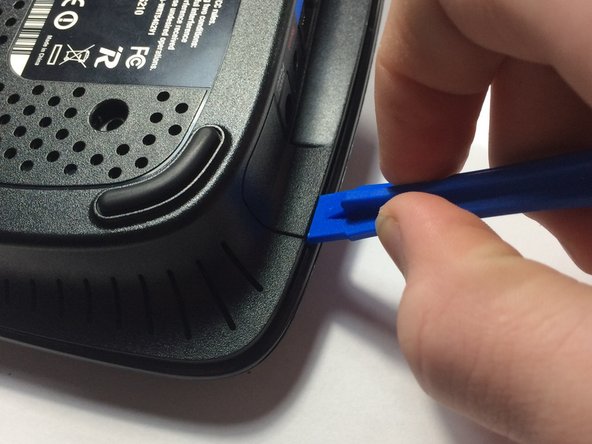
    • How do we open this? Rip it open? No... As tempting as that is there must be a more elegant way...

    • iFixit tools are elegant right? Use a iFixit Opening Tool to do the trick. mostly in the back corners.

    • The cover seems to pop back with nothing holding it. I used a screw from the router to hold it.

  7. Linksys WRT54G2 V1 Teardown: étape 7, image 1 de 1
    • only popping the back corners does not appear to be enough.

    • The front area seems stronger, and it feels like it may snap my opening tool. onto the big guns!

  8. Linksys WRT54G2 V1 Teardown, THE SPUDGENATOR 9000!: étape 8, image 1 de 3 Linksys WRT54G2 V1 Teardown, THE SPUDGENATOR 9000!: étape 8, image 2 de 3 Linksys WRT54G2 V1 Teardown, THE SPUDGENATOR 9000!: étape 8, image 3 de 3
    Outil utilisé dans cette étape :
    Metal Spudger
    $2.99
    J'achète
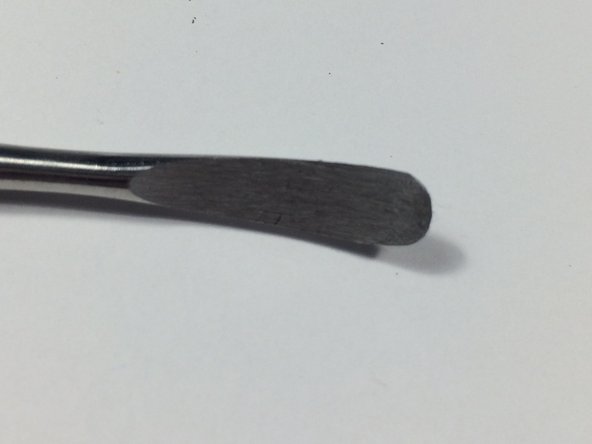
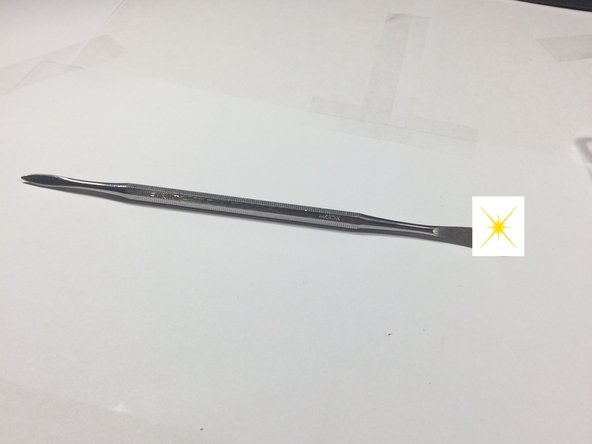
    • Engraved with the word IFIXIT to show authenticity.

    • Made with REAL metal

    • Look at that obviously not edited in shine!

    • Luckily I own one of these beauties. you can buy one too! BUY THE SPUDGENATOR 9000 HERE!

  9. Linksys WRT54G2 V1 Teardown: étape 9, image 1 de 3 Linksys WRT54G2 V1 Teardown: étape 9, image 2 de 3 Linksys WRT54G2 V1 Teardown: étape 9, image 3 de 3
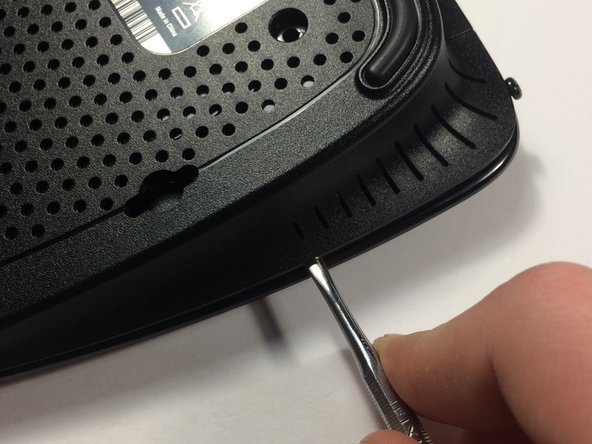
    • insert the SPUDGENATOR 9000 and slide it through the split until you here pops.

    • POP!

    • POP!

    • POP!

    • Eventually it will open.

  10. Linksys WRT54G2 V1 Teardown: étape 10, image 1 de 3 Linksys WRT54G2 V1 Teardown: étape 10, image 2 de 3 Linksys WRT54G2 V1 Teardown: étape 10, image 3 de 3
    • Here is the back of the WPS button.

    • These tabs are held in too much for my fingers to get! Time for the SPUNGENATOR 9000! use it to pry those tough tabs.

    • Aaaaand its out! (after breaking a tab)

  11. Linksys WRT54G2 V1 Teardown: étape 12, image 1 de 3 Linksys WRT54G2 V1 Teardown: étape 12, image 2 de 3 Linksys WRT54G2 V1 Teardown: étape 12, image 3 de 3
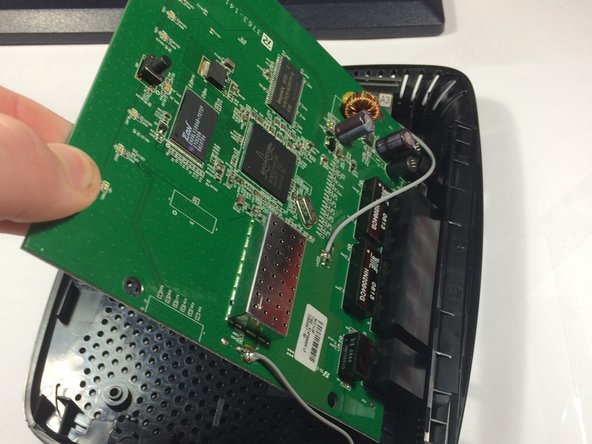
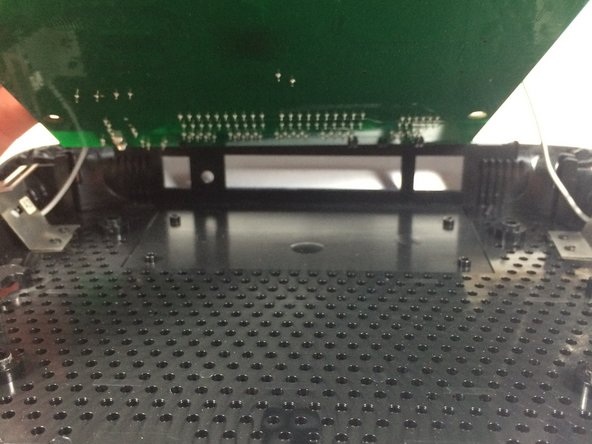
    • Removal of the logic board motherboard includes no screws.

    • I'm not removing the motherboard because that would involve cutting the wires, and I want to use this later! (not in the mood for soldering today. =p)

  12. Linksys WRT54G2 V1 Teardown, THE END!: étape 13, image 1 de 2 Linksys WRT54G2 V1 Teardown, THE END!: étape 13, image 2 de 2
    • All the parts.

    • Thumbs up not included.

  13. Linksys WRT54G2 V1 Teardown, SETUP: étape 14, image 1 de 3 Linksys WRT54G2 V1 Teardown, SETUP: étape 14, image 2 de 3 Linksys WRT54G2 V1 Teardown, SETUP: étape 14, image 3 de 3

Aiden

Membre depuis le 09/19/15

17 486 Réputation

21 tutoriels rédigés

0 commentaires

Ajouter un commentaire

Nombre de vues :

Dernières 24 heures : 0

7 derniers jours : 5

30 derniers jours : 23

Total : 2,089