Introduction
Qu'y a-t-il à côté de cet appareil photo en forme de boule ?
Ce dont vous avez besoin
-
-
La caméra Circle n'a pas de vis externes. La première étape pour entrer nécessite une spatule en plastique : l'anneau de couleur foncée est maintenu par un double ruban adhésif.
-
Remarque : l'anneau est en plastique transparent infrarouge et comprend des lentilles pour aider à diriger les LED de vision nocturne.
-
-
-
Ce sont toutes des vis à partir de maintenant: beaucoup d'entre elles. Envisagez d'utiliser des sacs pour maintenir les groupes de vis ensemble pour le remontage.
-
Dévissez les quatre vis entourées afin de retirer la première bague.
-
-
-
-
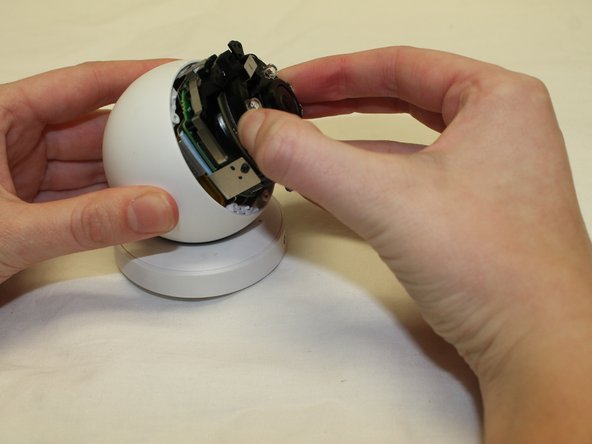
Veillez à ne pas endommager le câble flexible. Sur le connecteur, relevez la came en plastique noir pour libérer le câble. Vous pouvez ensuite retirer l'ensemble caméra/batterie de la boule.
-
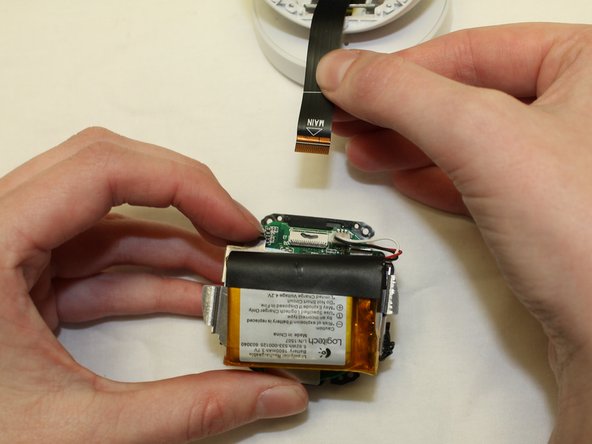
Notez l'utilisation intensive de dissipateurs thermiques et de matériaux d'interface thermique (TIM). Cette caméra est délicatement équilibrée thermiquement.
-
-
-
Ho ! Qu'est-ce que c'est? Sous un point faible de la base se trouve un connecteur USB caché, probablement utilisé pour le chargement du micrologiciel en production.
-
Pour démonter la base, trouvez 3 vis sous le point mou, percez à l'aide d'un tournevis et retirez les vis. Après cela, les deux parties peuvent être facilement séparées.
-
-
-
L'anneau extérieur a des lentilles pour focaliser la lumière infrarouge et un trou pour l'objectif de la caméra.
-
Les six LED infrarouges sont sur une carte épaisse, avec un dissipateur de chaleur en aluminium et une connexion à deux blocs métalliques solides fixés à la carte du capteur.
-
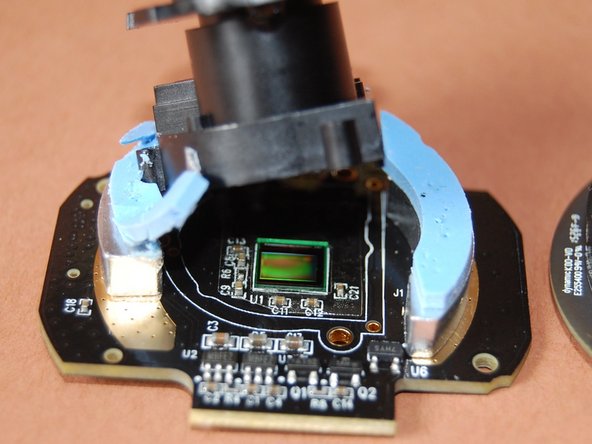
L'objectif est mis au point manuellement et fixé avec ce qui ressemble à de la colle thermofusible (cela peut causer des problèmes de mise au point au fil du temps).
-
Il n'y a qu'un seul morceau de verre filtrant, retourné en place pour le mode jour (les caméras haut de gamme utilisent un verre séparé pour le mode jour et nuit).
-
Le capteur optique se trouve au bas de la pile. Il est entouré d'un autocollant en plastique transparent (si vous savez pourquoi, postez-le dans les commentaires !).
-


Merci à ces traducteurs :
100%
[deleted] nous aide à réparer le monde ! Vous voulez contribuer ?
Commencez à traduire ›

25 commentaires
any ideas where get a replacement ribbon cable? I dropped the camera when opening the box and the base and camera separated (ribbon cable tore). I was able to disassemble with this guide, but now I need a new cable and Logitech is no help (I asked).
Thanks
David
We just had it fall off the table it was on and it did exactly the same thing... the base and camera separated (ribbon cable tore).
I emailed the manufacturer of the cable to see if they can help, will let you know if they answer.
any word from them?
Nothing yet, I'll have to send another email.
That company sent me to Logitech, which was a dead end. So looks like we have some spare parts going forward. I may rummage through some old broken laptops I have to see if there might be something in those.
Im in need of a ribbon cable as well.
Unfortunately I dropped the camera too. The ball separated from the mount and the cable broke.
I would be very interested in a replacement ribbon too. But even if I had the replacement cable I wouldn't know how to assemble the cable, the ball and the mount again...
I'm in the same boat. I was able to get into the base of the camera and disassembled it enough to get the cable out. Its got a part number printed on it but I haven't been able to locate it yet. Maybe someone else has better luck finding it from this picture
Has anyone been lucky enough to get the flex cable yet?, It is a shame that there is nothing to do but throwing this thing away.
Just purchased this and it works for me. http://m.ebay.com/itm/31PIN-120mm-0-3mm-...
about a 4 hour job but mine works after some serious redesign work. I ordered mine about 4 weeks ago. When I installed it I had to make several modifications. I removed the old silver skinny metal piece that held the camera on to the base and replaced it with two screws with nuts (the same size as light and plug cover screws in the house), one screw on each side of the new ribbon cable. I also had to remove some of the plastic on the base side to allow the screws and new cable to fit. I added some regular 3M electrical tape to protect the new cable. I also had to bend the new cable 90 degrees because it’s a flat cable. Pretty tough job but it works.
What exact model number and specifications for the cable? Digikey is usually a good source for such things.
Or can I buy the battery? I have two dead?