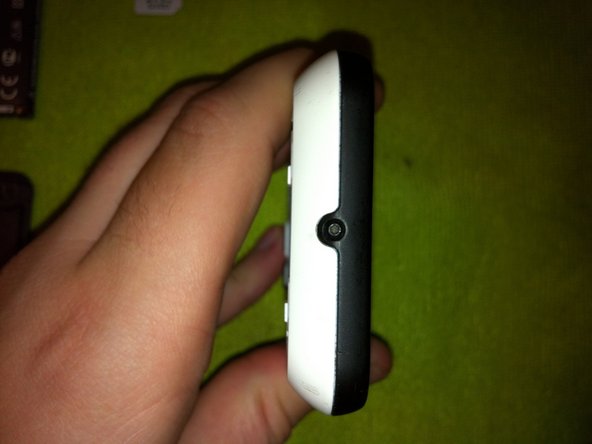
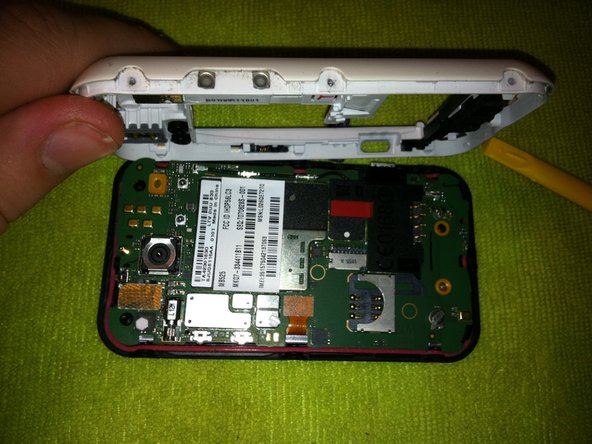
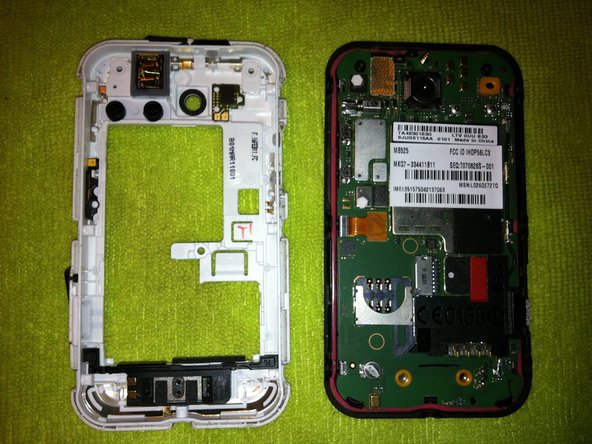
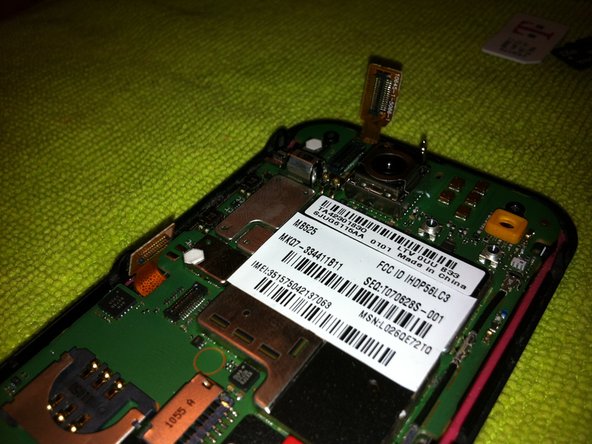
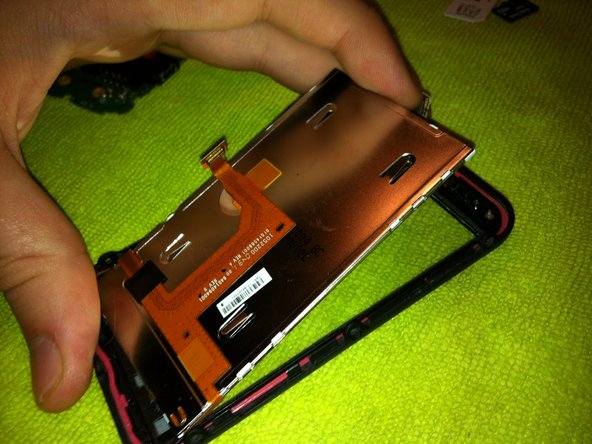
Aller au contenu principal

Ce dont vous avez besoin

Cette vue éclatée n'est pas un tutoriel de réparation. Pour réparer votre Motorola Defy, utilisez notre manuel de réparation.

  1. Motorola Defy Teardown, Motorola Defy Teardown: étape 1, image 1 de 1
    • Power down the phone

  2. Motorola Defy Teardown: étape 2, image 1 de 2 Motorola Defy Teardown: étape 2, image 2 de 2
    • On the back there is a slider that locks the back cover on slide this over to unlock it.

  3. Motorola Defy Teardown: étape 3, image 1 de 1
    • Remove the battery and sim card as well as the micro sd if one.

  4. Motorola Defy Teardown: étape 4, image 1 de 1
    • Remove the two torx screws in each corner.

  5. Motorola Defy Teardown: étape 5, image 1 de 2 Motorola Defy Teardown: étape 5, image 2 de 2
    • Remove the 3 torx screws on both sides.

    • Now remove one more torx screw on the bottom.

  6. Motorola Defy Teardown: étape 6, image 1 de 1
    • Use the pry tool and insert in between the black and white plastic. Slide across all sides to unlock the clips holding it together.

  7. Motorola Defy Teardown: étape 7, image 1 de 3 Motorola Defy Teardown: étape 7, image 2 de 3 Motorola Defy Teardown: étape 7, image 3 de 3
    • Remove the the back case (white section) revealing the logic board.

  8. Motorola Defy Teardown: étape 8, image 1 de 3 Motorola Defy Teardown: étape 8, image 2 de 3 Motorola Defy Teardown: étape 8, image 3 de 3
    • Use the pry tool and detach the digitizer cable and LCD cable from the board.

  9. Motorola Defy Teardown: étape 9, image 1 de 1
    • Lift the logic board out of the phone revealing the LCD.

  10. Motorola Defy Teardown: étape 10, image 1 de 1
    • Use pry tool to gently lift the LCD out of the phone revealing the digitizer.

  11. Motorola Defy Teardown: étape 11, image 1 de 1
    • Now all that is left is the digitizer frame holding the digitizer.

    • To remove a broken digitizer heat the front edges of this frame to soften the digitizer adhesive and pry away from the frame.

  12. Motorola Defy Teardown: étape 12, image 1 de 1
    • Thats it now just follow these steps in reverse to put your phone back together.

Jared

Membre depuis le 02/14/11

530 Réputation

1 tutoriel rédigé

5 commentaires

Brilliant! Many thanks. Things to watch: the volume rocker and on switch tend to fall out, so secured them to the back with a little bit of masking tape while I reassembled. Helped to slightly lift one end of the motherboard so the case can go around the USB power socket. After that it fits back together with only minor persuasion.

Gareth Dart - Réponse

Hi,

my Search "button" stop lightning. The other 3 "buttons" are ok.

Did someone know the reason?

Thank you!

timarzoltan83 - Réponse

Thanks for help! Real great Guide.

Daniel - Réponse

Help! I bought a t5 torx screwdriver to open my motorola and the screwdriver seems too smal! Wtf? Many dismount video says that this is a t5 model, I don't understand...

Pierre Flq - Réponse

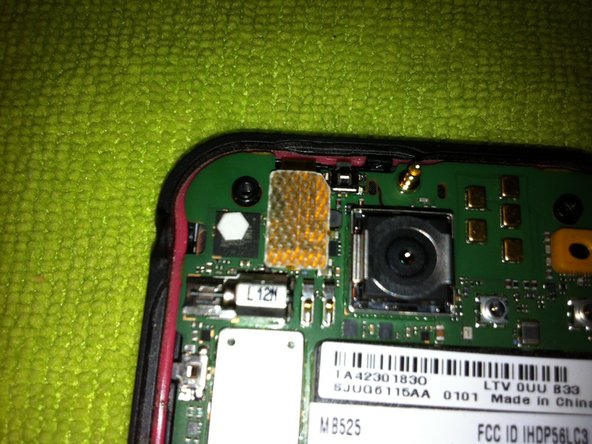
can you mark ram on that board ?

demon leaks - Réponse

Ajouter un commentaire

Nombre de vues :

Dernières 24 heures : 0

7 derniers jours : 3

30 derniers jours : 16

Total : 22,251