Aller au contenu principal

Ce dont vous avez besoin

Cette vue éclatée n'est pas un tutoriel de réparation. Pour réparer votre Nikko La Nera Junior, utilisez notre manuel de réparation.

  1. Nikko La Nera Junior Teardown, Nikko La Nera Junior Teardown: étape 1, image 1 de 1
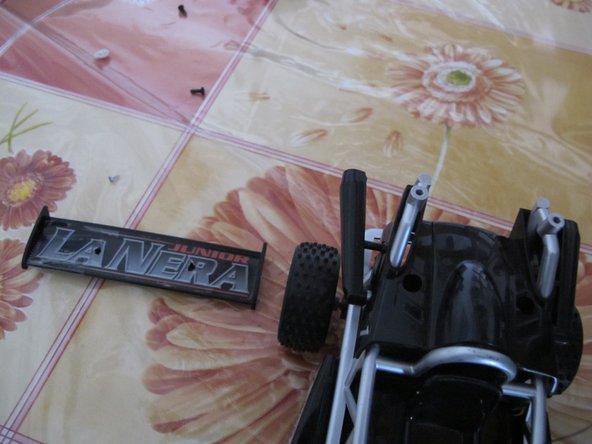
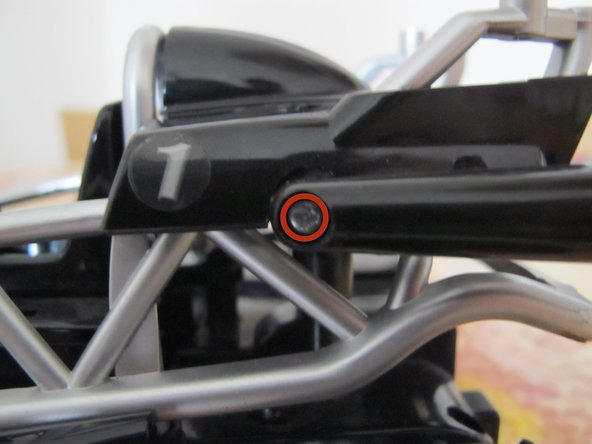
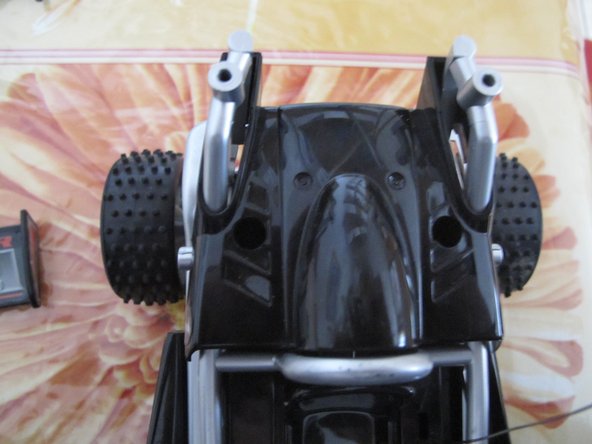
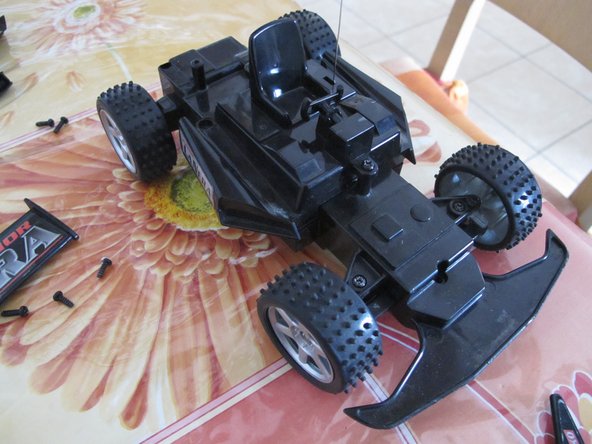
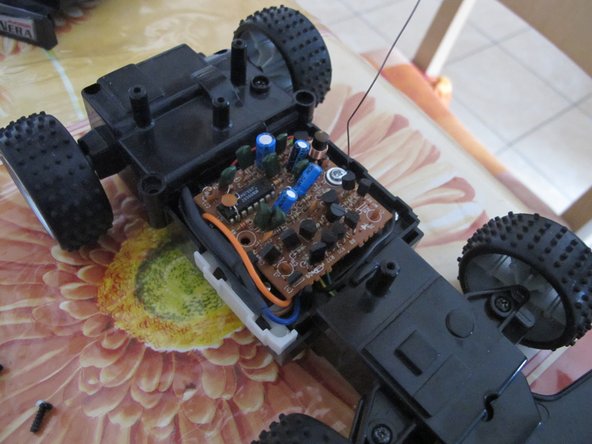
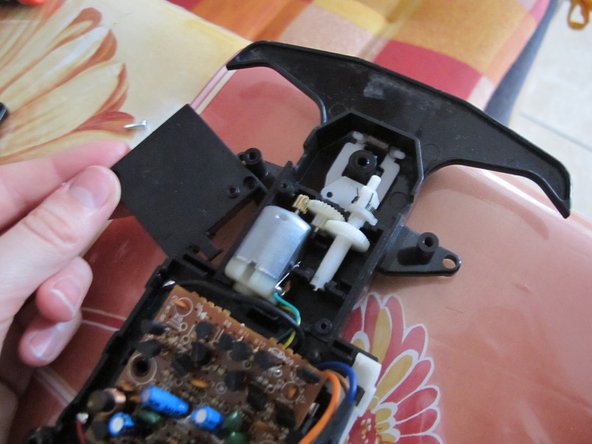
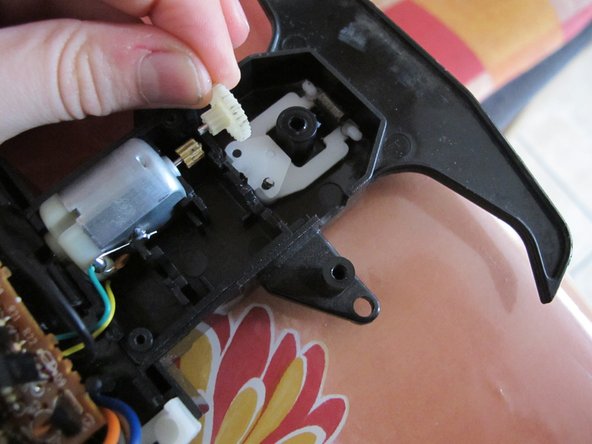
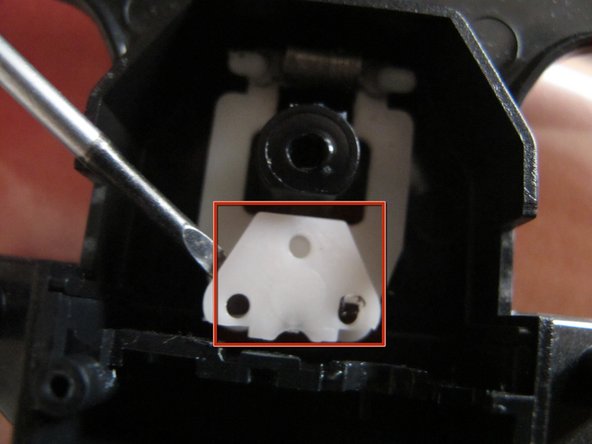
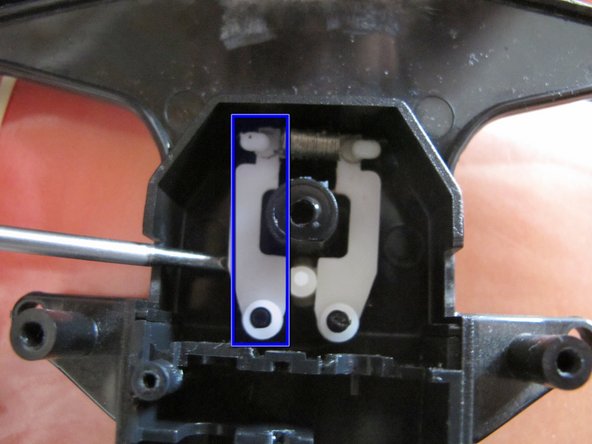
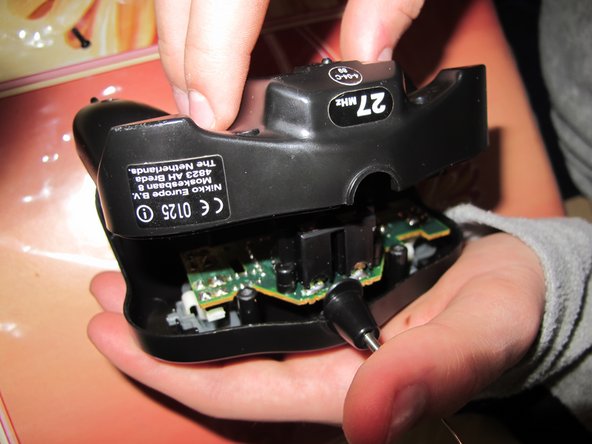
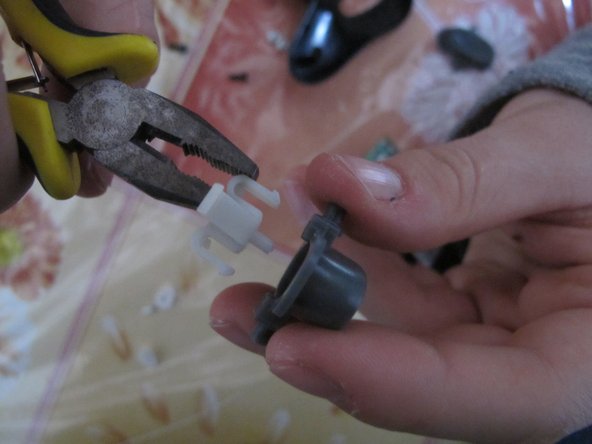
    • The Car, the Remote Control and a Phillips screwdriver.

  2. Nikko La Nera Junior Teardown: étape 2, image 1 de 1
    • Let's start!

    • Remove this screw.

  3. Nikko La Nera Junior Teardown: étape 3, image 1 de 2 Nikko La Nera Junior Teardown: étape 3, image 2 de 2
    • The rear wing

    • Unscrew this black screws

    • Remove the wing

  4. Nikko La Nera Junior Teardown: étape 4, image 1 de 3 Nikko La Nera Junior Teardown: étape 4, image 2 de 3 Nikko La Nera Junior Teardown: étape 4, image 3 de 3
    • The Exhausts

    • Remove these screws

    • Remove the exhausts

  5. Nikko La Nera Junior Teardown: étape 5, image 1 de 1
    • The Rear Cover

    • Remove these screws

  6. Nikko La Nera Junior Teardown: étape 6, image 1 de 2 Nikko La Nera Junior Teardown: étape 6, image 2 de 2
    • The "tubolar" body

    • Flip the car

    • Remove these screws.

    • Remove the body

  7. Nikko La Nera Junior Teardown: étape 7, image 1 de 2 Nikko La Nera Junior Teardown: étape 7, image 2 de 2
    • The seat

    • Remove these screws (one of these is back of the seat)

    • Remove the seat.

  8. Nikko La Nera Junior Teardown: étape 8, image 1 de 3 Nikko La Nera Junior Teardown: étape 8, image 2 de 3 Nikko La Nera Junior Teardown: étape 8, image 3 de 3
    • The antenna

    • Remove this screw

    • Raise the circuit board

    • Remove the antenna

  9. Nikko La Nera Junior Teardown: étape 9, image 1 de 2 Nikko La Nera Junior Teardown: étape 9, image 2 de 2
    • The "engine"

    • Remove these screws

    • Remove the gears cover

    • Remove the engine block

  10. Nikko La Nera Junior Teardown: étape 10, image 1 de 3 Nikko La Nera Junior Teardown: étape 10, image 2 de 3 Nikko La Nera Junior Teardown: étape 10, image 3 de 3
    • Remove the gear and his hinge

    • Remove this piece of plastic

    • The Engine!

  11. Nikko La Nera Junior Teardown: étape 11, image 1 de 1
    • Remove the wheels from the car

  12. Nikko La Nera Junior Teardown: étape 12, image 1 de 3 Nikko La Nera Junior Teardown: étape 12, image 2 de 3 Nikko La Nera Junior Teardown: étape 12, image 3 de 3
    • The Steering Mechanism

    • Remove these screws

    • Remove the cover

    • Lift the wheels

  13. Nikko La Nera Junior Teardown: étape 13, image 1 de 2 Nikko La Nera Junior Teardown: étape 13, image 2 de 2
    • Remove the steering bar...

    • ...the two screws...

    • ...and the cover.

  14. Nikko La Nera Junior Teardown: étape 14, image 1 de 2 Nikko La Nera Junior Teardown: étape 14, image 2 de 2
    • Remove the first "gear"...

    • ...and the second.

  15. Nikko La Nera Junior Teardown: étape 15, image 1 de 3 Nikko La Nera Junior Teardown: étape 15, image 2 de 3 Nikko La Nera Junior Teardown: étape 15, image 3 de 3
    • Remove the steering motor

    • Remove the plastic cover

    • Be careful!

    • Remove this piece

  16. Nikko La Nera Junior Teardown: étape 16, image 1 de 1
    • Remove the second piece...

    • ...and the spring.

    • Congratulations! The car is torn down!

  17. Nikko La Nera Junior Teardown: étape 17, image 1 de 2 Nikko La Nera Junior Teardown: étape 17, image 2 de 2
    • Let's tear down the remote!

    • Remove these screws

  18. Nikko La Nera Junior Teardown: étape 18, image 1 de 3 Nikko La Nera Junior Teardown: étape 18, image 2 de 3 Nikko La Nera Junior Teardown: étape 18, image 3 de 3
    • Remove the screw in the PCB

    • Remove the screw in the piece of plastic at the end of the antenna

    • Remove the plastic piece around the beginning of the antenna

  19. Nikko La Nera Junior Teardown: étape 19, image 1 de 3 Nikko La Nera Junior Teardown: étape 19, image 2 de 3 Nikko La Nera Junior Teardown: étape 19, image 3 de 3
    • Carefully de-route the antenna from the PCB

  20. Nikko La Nera Junior Teardown: étape 20, image 1 de 2 Nikko La Nera Junior Teardown: étape 20, image 2 de 2
    • Detach the two parts of eat key.

    • Congratulations! You've ended the teardown!

Federico Barutto

Membre depuis le 06/12/11

306 Réputation

2 tutoriels rédigés

0 commentaires

Ajouter un commentaire

Nombre de vues :

Dernières 24 heures : 0

7 derniers jours : 1

30 derniers jours : 9

Total : 1,789