Aller au contenu principal

Ce dont vous avez besoin

Cette vue éclatée n'est pas un tutoriel de réparation. Pour réparer votre Pantech Crux, utilisez notre manuel de réparation.

  1. Pantech Crux Teardown, Pantech Crux Teardown: étape 1, image 1 de 3 Pantech Crux Teardown, Pantech Crux Teardown: étape 1, image 2 de 3 Pantech Crux Teardown, Pantech Crux Teardown: étape 1, image 3 de 3
    • Let's see what's inside!

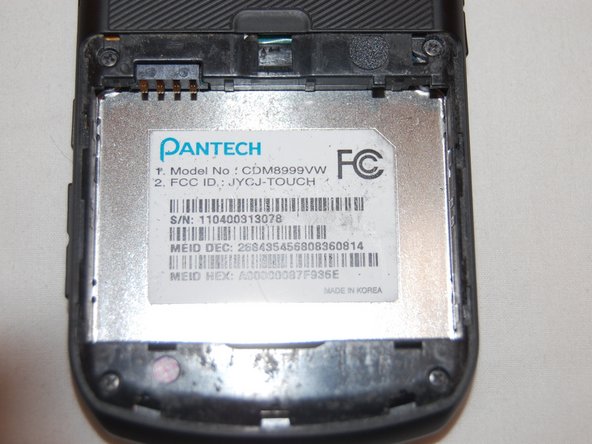
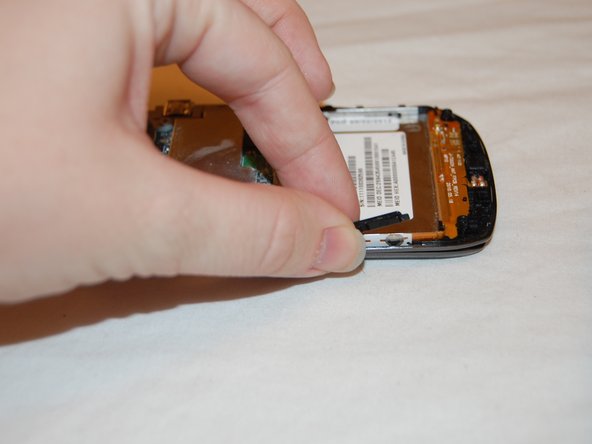
    • Turn your Pantech Crux so that the back cover is facing upwards.

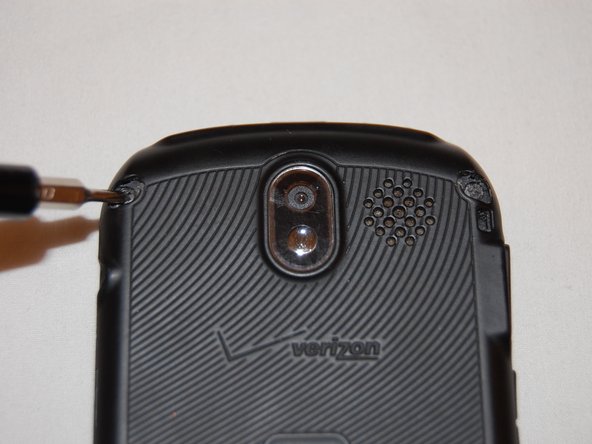
    • Press the indented area at the top of the back cover with one thumb and slide down the cover with your other thumb.

    • Remove back cover and set it to the side.

  2. Pantech Crux Teardown: étape 2, image 1 de 2 Pantech Crux Teardown: étape 2, image 2 de 2
    • Place your thumbnail in the groove at the bottom of the battery.

    • Lift your thumbnail up to remove the battery from the battery casing.

  3. Pantech Crux Teardown: étape 3, image 1 de 3 Pantech Crux Teardown: étape 3, image 2 de 3 Pantech Crux Teardown: étape 3, image 3 de 3
    • Grab something with a Phillips #000 Screwdriver head.

    • Locate the four screws on the corners of where the back cover was.

    • Use the Phillips #000 Screwdriver to remove these screws.

  4. Pantech Crux Teardown: étape 4, image 1 de 2 Pantech Crux Teardown: étape 4, image 2 de 2
    • Locate the two screw covers at the top of the phone.

    • Grab a 0.8 SIM Eject bit.

    • Use this bit to get underneath the cover and lift up.

    • Remove both covers.

    • Use the Phillips #000 Screwdriver to remove both screws.

  5. Pantech Crux Teardown: étape 5, image 1 de 3 Pantech Crux Teardown: étape 5, image 2 de 3 Pantech Crux Teardown: étape 5, image 3 de 3
    • Flip your Pantech Crux so the screen is facing upwards.

    • Locate the sticker above your screen (it has a lock on it).

    • Use the 0.8 SIM Eject bit to get underneath the sticker.

    • Peel up the sticker.

    • Use a Phillips #000 Screwdriver to remove the screw that was beneath the sticker.

  6. Pantech Crux Teardown: étape 6, image 1 de 3 Pantech Crux Teardown: étape 6, image 2 de 3 Pantech Crux Teardown: étape 6, image 3 de 3
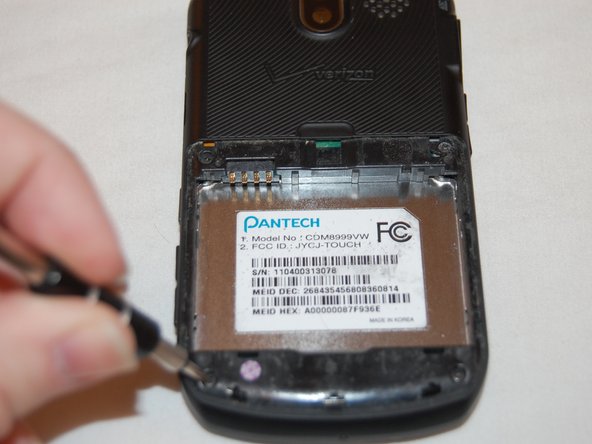
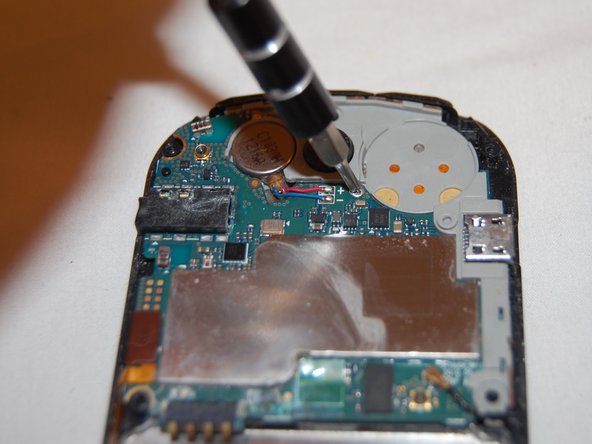
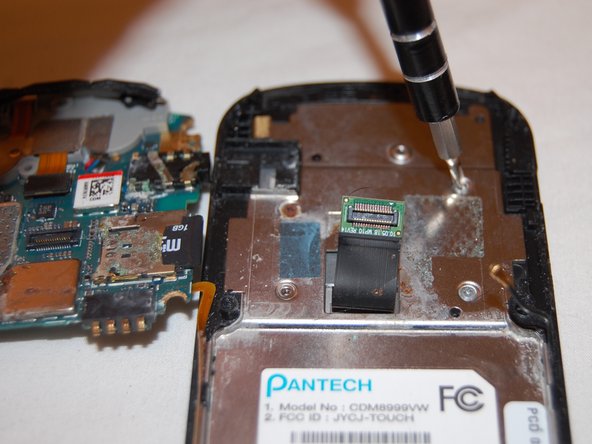
    • Locate the area where the back case meets the silver outlining.

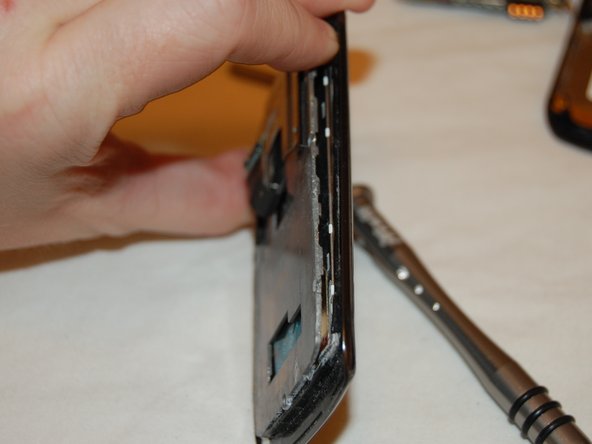
    • Use your thumb or the 0.8 SIM Eject bit to lift the back case up.

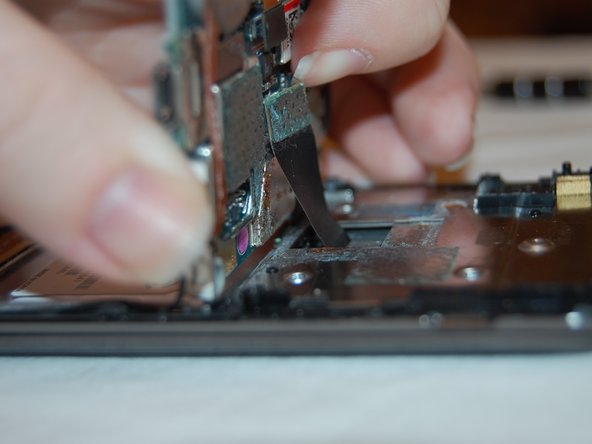
    • Slide either your thumb or the 0.8 SIM Eject bit between the back case and the silver outlining until the back case comes free.

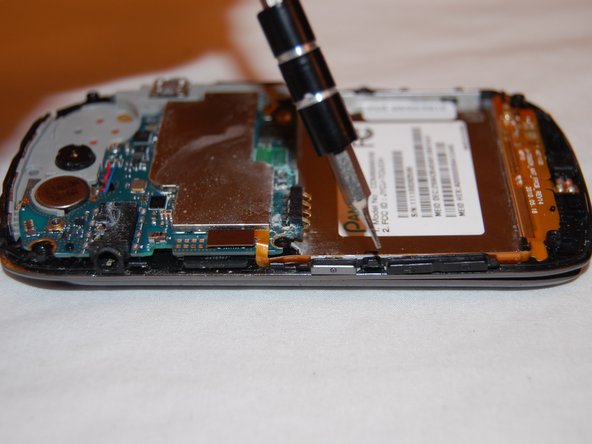
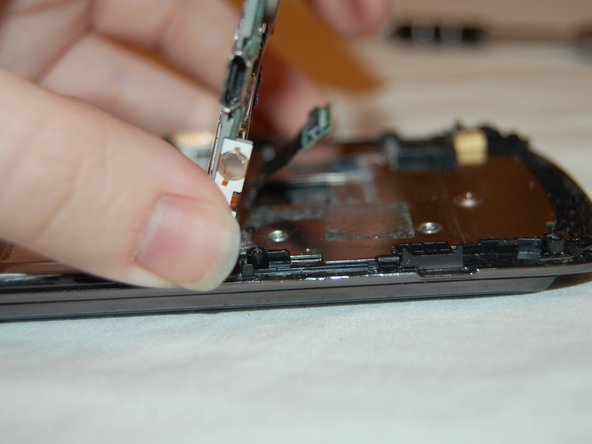
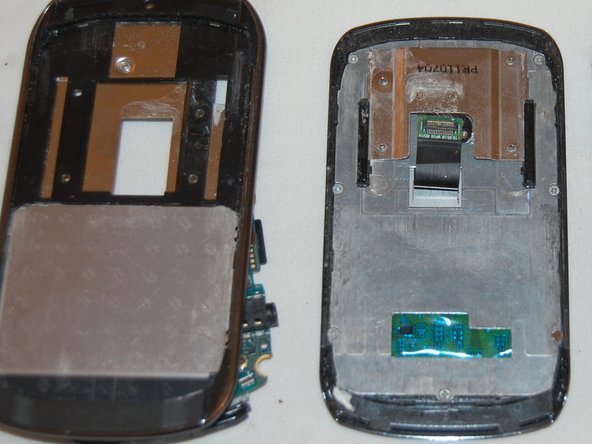
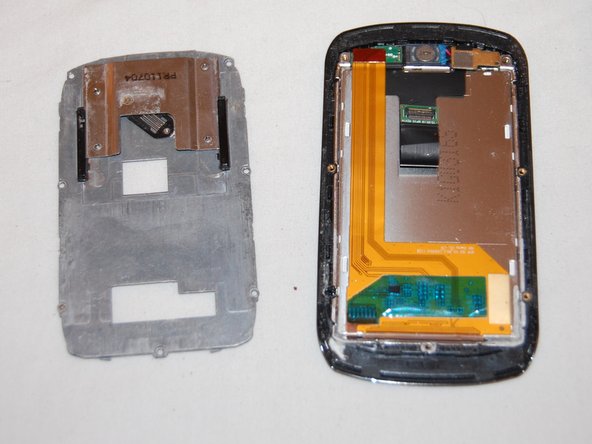
    • Lift and remove the back case from the phone.

    • Place phone with the screen facing downwards.

  7. Pantech Crux Teardown: étape 7, image 1 de 3 Pantech Crux Teardown: étape 7, image 2 de 3 Pantech Crux Teardown: étape 7, image 3 de 3
    • Locate the buttons on the side of the phone that are now loose.

    • Remove these buttons by pulling on them with your thumb and pointer finger.

  8. Pantech Crux Teardown: étape 8, image 1 de 2 Pantech Crux Teardown: étape 8, image 2 de 2
    • Locate the screw that is in the middle of the motherboard.

    • Use the Phillips #000 Screwdriver to remove this screw.

  9. Pantech Crux Teardown: étape 9, image 1 de 1
    • Loosen the motherboard from the front case.

  10. Pantech Crux Teardown: étape 10, image 1 de 1
    • Locate the small wire in the bottom right corner of the motherboard.

    • Release this wire by gently pulling up on it with your thumb and pointer finger.

  11. Pantech Crux Teardown: étape 11, image 1 de 3 Pantech Crux Teardown: étape 11, image 2 de 3 Pantech Crux Teardown: étape 11, image 3 de 3
    • Lift the motherboard.

    • Locate the cable that attaches the motherboard to the front case.

    • Use the 0.8 SIM Eject bit or your nail to lift up and pop off the piece that attaches the cable to the motherboard.

  12. Pantech Crux Teardown: étape 12, image 1 de 2 Pantech Crux Teardown: étape 12, image 2 de 2
    • Flip the motherboard to the left of the front case.

    • Locate the four screws that were below the motherboard.

    • Use the Phillips #000 Screwdriver to remove all four screws.

  13. Pantech Crux Teardown: étape 13, image 1 de 2 Pantech Crux Teardown: étape 13, image 2 de 2
    • Use your thumb or the 0.8 SIM Eject bit to lift up the layer containing the motherboard from the front of the phone.

    • Run your thumb or the 0.8 SIM Eject bit along the edge of this layer to loosen it.

    • Remove the layer when it becomes loose enough.

  14. Pantech Crux Teardown: étape 14, image 1 de 3 Pantech Crux Teardown: étape 14, image 2 de 3 Pantech Crux Teardown: étape 14, image 3 de 3
    • Underneath the layer you just removed is a piece of metal with seven screws on it.

    • Use a Phillips #000 Screwdriver to remove all seven screws.

    • Use your finger or the 0.8 SIM Eject bit to remove this metal piece from the front of the phone.

  15. Pantech Crux Teardown: étape 15, image 1 de 2 Pantech Crux Teardown: étape 15, image 2 de 2
    • What you see is the back of the screen.

    • To remove the screen lift it up from the side.

  16. Pantech Crux Teardown: étape 16, image 1 de 1
    • Congratulations! You have completed a teardown of the Pantech Crux.

Megan Voss

Membre depuis le 09/17/13

79 Réputation

1 tutoriel rédigé

Un commentaire

Thanks for the help. It was fun to take apart my phone and see if I could fix it before trading in for a new one.

The screen is black: it shows light, but it is just projecting a black screen. Since this is a touch screen, that means that I can't see anything that I am doing or even make a phone call. I have memorized where the "answer" button is, so I can receive...

Thanks again!

BustoJuice - Réponse

Ajouter un commentaire

Nombre de vues :

Dernières 24 heures : 0

7 derniers jours : 2

30 derniers jours : 16

Total : 998