Aller au contenu principal

Ce dont vous avez besoin

Cette vue éclatée n'est pas un tutoriel de réparation. Pour réparer votre Redragon K585RGB, utilisez notre manuel de réparation.

  1. Redragon K585RGB Teardown, Open the back: étape 1, image 1 de 3 Redragon K585RGB Teardown, Open the back: étape 1, image 2 de 3 Redragon K585RGB Teardown, Open the back: étape 1, image 3 de 3
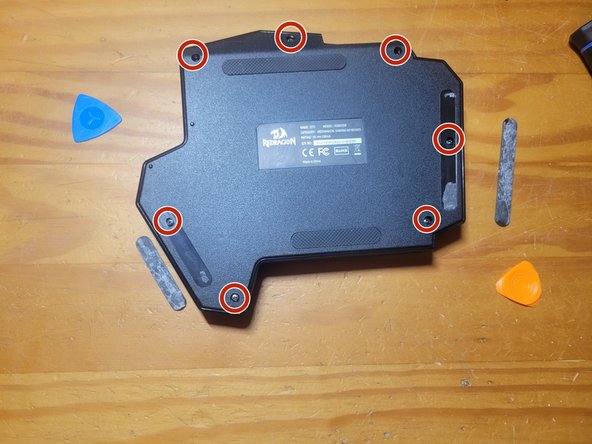
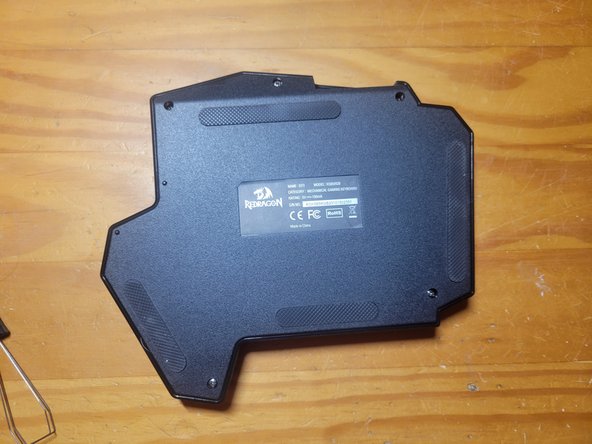
    • The back of the keyboard has four grip pads and you will need to remove two, (shown in the pictures), the screws are hidden under them. Then take off the screws and flip it around.

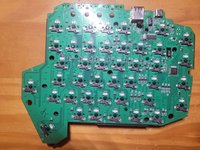
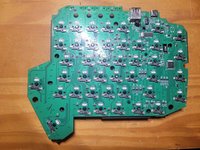
    • Make sure to check all the images and that your keyboard is the same.

  2. Redragon K585RGB Teardown: étape 2, image 1 de 2 Redragon K585RGB Teardown: étape 2, image 2 de 2
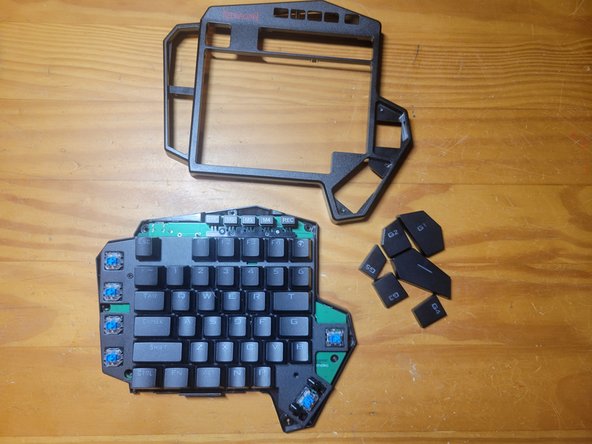
    • Now take off all of the G keys (G1, G2, G3, G4, G5) and the space keys, then carefully pry at the back sides off with your fingers and push the keys through.

    • You NEED to take these keys off otherwise it won't come apart.

  3. Redragon K585RGB Teardown: étape 3, image 1 de 2 Redragon K585RGB Teardown: étape 3, image 2 de 2
    • So, all we have to do is unscrew the macro keys and the screws by the switches (circled in red).

  4. Redragon K585RGB Teardown: étape 4, image 1 de 3 Redragon K585RGB Teardown: étape 4, image 2 de 3 Redragon K585RGB Teardown: étape 4, image 3 de 3
    • This is as far as I went.. I might mess with the key switches in the future.

Eclipse Nox

Membre depuis le 01/28/25

469 Réputation

2 tutoriels rédigés

0 commentaires

Ajouter un commentaire

Nombre de vues :

Dernières 24 heures : 0

7 derniers jours : 2

30 derniers jours : 22

Total : 29