Aller au contenu principal

Ce dont vous avez besoin

Cette vue éclatée n'est pas un tutoriel de réparation. Pour réparer votre redragon m686, utilisez notre manuel de réparation.

  1. Redragon m686 Teardown, Redragon m686 Teardown: étape 1, image 1 de 3 Redragon m686 Teardown, Redragon m686 Teardown: étape 1, image 2 de 3 Redragon m686 Teardown, Redragon m686 Teardown: étape 1, image 3 de 3
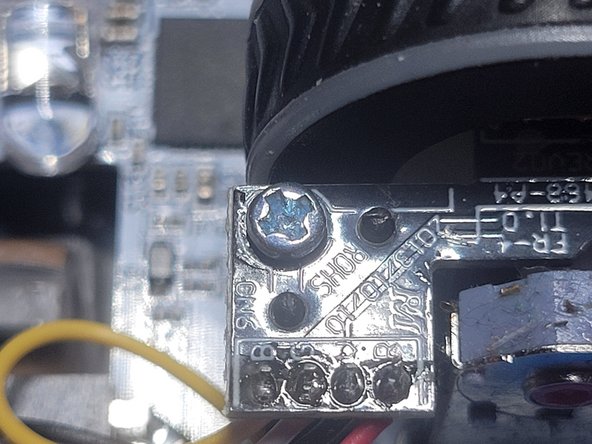
    • You need to remove the pads and unscrew the five hidden screws. after that, there is a pesky clip (shown in the blue circle)

  2. Redragon m686 Teardown: étape 2, image 1 de 2 Redragon m686 Teardown: étape 2, image 2 de 2
    • After you survive that clip, open the shell like a book and carefully unplug the cable connecting the halves.

  3. Redragon m686 Teardown: étape 3, image 1 de 1
    • If you managed not to break them, take out the screws in the top.

    • I used the J1 bit and used a lot of force because that was the bit I had that fit the best and that wouldn't strip it. You can use whatever you like but be cautions of it stripping!

  4. Redragon m686 Teardown: étape 4, image 1 de 3 Redragon m686 Teardown: étape 4, image 2 de 3 Redragon m686 Teardown: étape 4, image 3 de 3
    • On the bottom part, you just have to take out the screw by the mouse wheel to take the rest out.

Eclipse Nox

Membre depuis le 01/28/25

469 Réputation

2 tutoriels rédigés

0 commentaires

Ajouter un commentaire

Nombre de vues :

Dernières 24 heures : 2

7 derniers jours : 20

30 derniers jours : 62

Total : 143