Aller au contenu principal

Ce dont vous avez besoin

Cette vue éclatée n'est pas un tutoriel de réparation. Pour réparer votre Rowenta AC6221, utilisez notre manuel de réparation.

  1. Rowenta AC6221 Teardown, Rowenta AC6221 Teardown: étape 1, image 1 de 3 Rowenta AC6221 Teardown, Rowenta AC6221 Teardown: étape 1, image 2 de 3 Rowenta AC6221 Teardown, Rowenta AC6221 Teardown: étape 1, image 3 de 3
    • The 4.8 Rowenta vacuum can be used for a variety of purposes.

    • It is charged through its pedestal. The power of the pedestal is:

    • Input: 230V - 50 Hz - 7W (AC)

    • Output: 7.5V - 300 mA (DC)

  2. Rowenta AC6221 Teardown: étape 2, image 1 de 3 Rowenta AC6221 Teardown: étape 2, image 2 de 3 Rowenta AC6221 Teardown: étape 2, image 3 de 3
    • This vacuum has several parts:

    • The tip

    • The reservoir which holds the dust and debris

    • The engine (4.8V)

    • The pedestal

    • The power supply

    • From top to bottom, the reservoir contains 3 parts: the housing, container, and filter.

  3. Rowenta AC6221 Teardown: étape 3, image 1 de 3 Rowenta AC6221 Teardown: étape 3, image 2 de 3 Rowenta AC6221 Teardown: étape 3, image 3 de 3
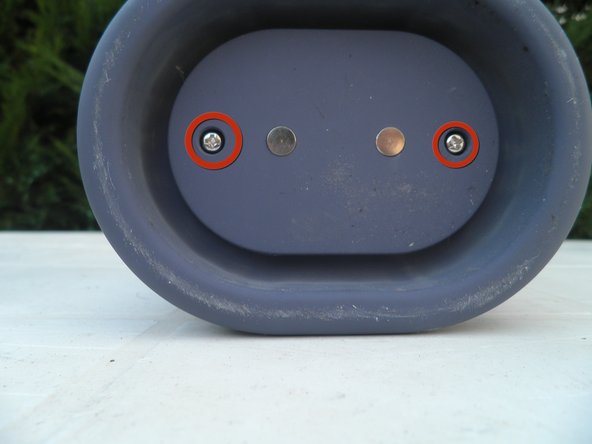
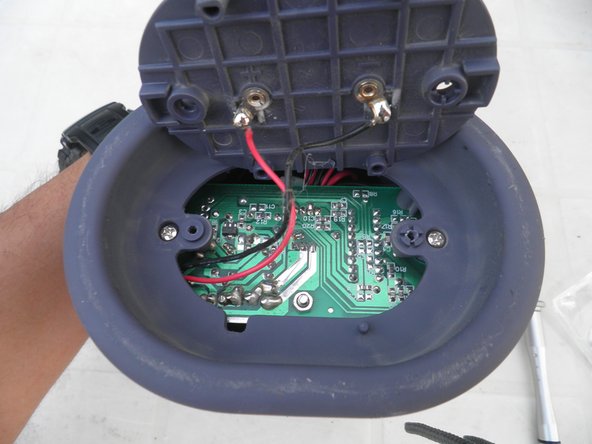
    • Remove the two outer Philips #00 screws from the bottom of the engine.

    • The back of the circuit board will now be visible.

  4. Rowenta AC6221 Teardown: étape 4, image 1 de 3 Rowenta AC6221 Teardown: étape 4, image 2 de 3 Rowenta AC6221 Teardown: étape 4, image 3 de 3
    • Remove the two inner screws.

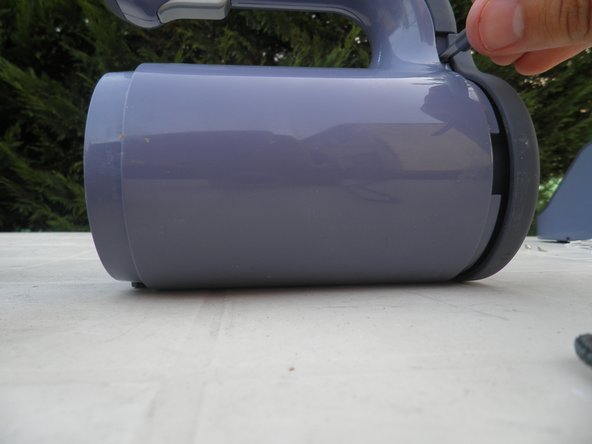
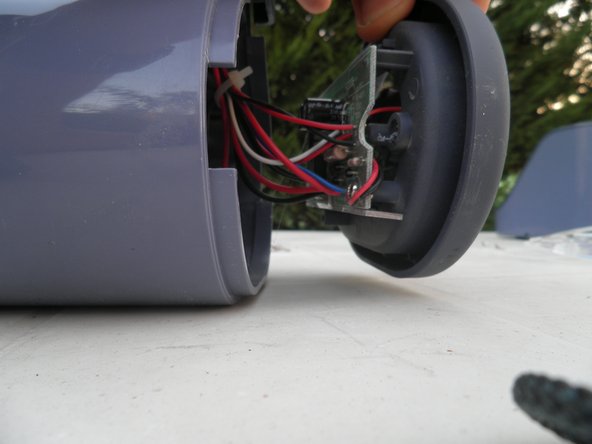
    • Insert a flat screwdriver between the cover and the base of the engine and remove the cover.

    • The wires of the vacuum are now visible.

  5. Rowenta AC6221 Teardown: étape 6, image 1 de 2 Rowenta AC6221 Teardown: étape 6, image 2 de 2
    • The wires of the vacuum are now visible.

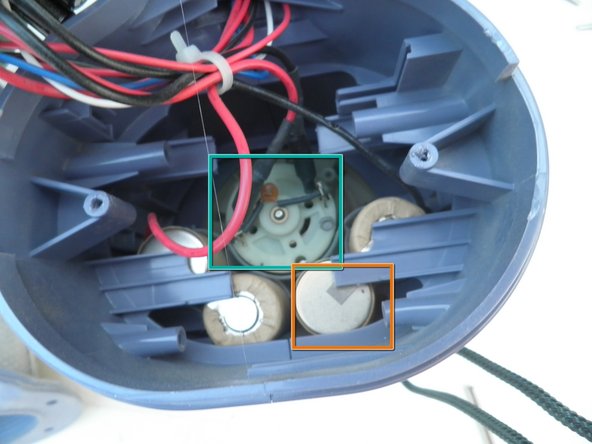
    • The wires connect the charger light, switch,engine, and power wires.

    • The green box labels the engine.

    • The orange box labels one of the four batteries (4*1.2V)

  6. Rowenta AC6221 Teardown: étape 7, image 1 de 2 Rowenta AC6221 Teardown: étape 7, image 2 de 2
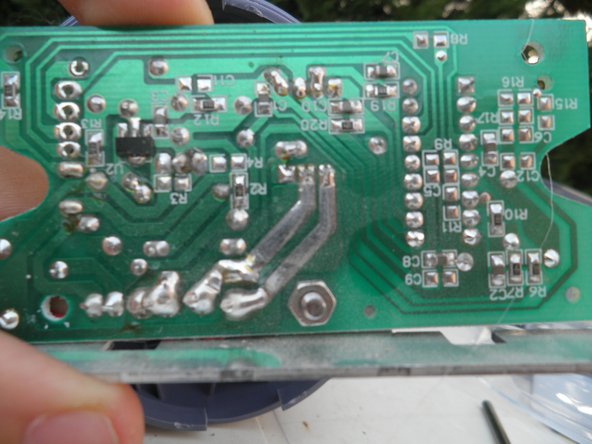
    • The top of the circuit board contains components including capacitors, resistors, wires, and a chip.

    • The bottom side shows the tracks that connect the components.

  7. Rowenta AC6221 Teardown: étape 8, image 1 de 2 Rowenta AC6221 Teardown: étape 8, image 2 de 2
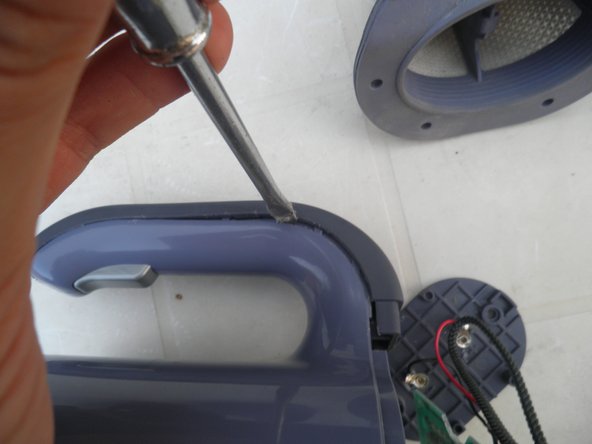
    • Remove the screw securing the handle with a screwdriver.

    • Open the handle to see the inside using the flat screwdriver.

    • Warning: The handle is difficult to open

    • Warning: In this procedure, the handle was not opened to keep the vacuum intact.

  8. Rowenta AC6221 Teardown: étape 9, image 1 de 1
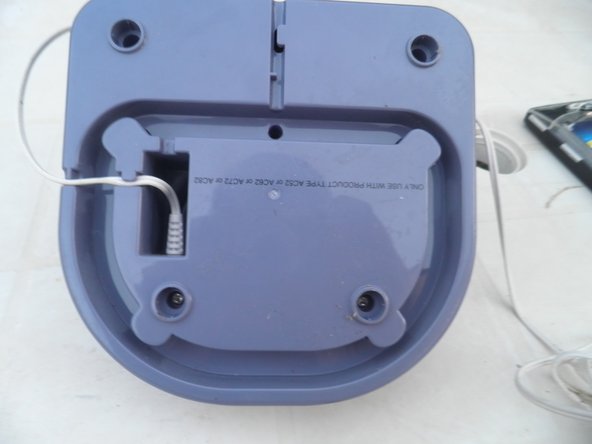
    • This is the pedestal that will be torn down.

  9. Rowenta AC6221 Teardown: étape 10, image 1 de 3 Rowenta AC6221 Teardown: étape 10, image 2 de 3 Rowenta AC6221 Teardown: étape 10, image 3 de 3
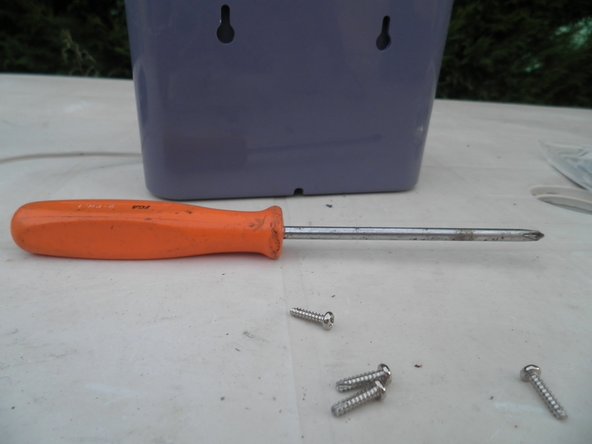
    • At the bottom of the pedestal, remove the 4 rubber pieces.

    • Note: This step provides access to 4 Philips screws.

    • Remove screws using a screwdriver.

  10. Rowenta AC6221 Teardown: étape 11, image 1 de 1
    • Lift the plastic piece carefully from the bottom of the pedestal.

  11. Rowenta AC6221 Teardown: étape 12, image 1 de 1
    • Inside the pedestal, the power cable separates into 2 wires. Each wire is connected to a conductive piece.

    • This completes the vacum cleaner teardown

Bob

Membre depuis le 04/17/10

760 Réputation

3 tutoriels rédigés

Un commentaire

This could use some discussion of how to replace the rechargeable batteries used in portable vacuum cleaners.

Wayne Seltzer - Réponse

Ajouter un commentaire

Nombre de vues :

Dernières 24 heures : 0

7 derniers jours : 3

30 derniers jours : 15

Total : 7,209