Introduction
The first of the Android Wear teardowns are here: Say hello to our little Samsung Gear Live and LG G Watch friends! Join us as we journey inside two of the newest smartwatches.
Can't get your fix fill from the teardowns? Come say hello on Facebook, see iFixit's internal workings on Instagram, or learn about repair on Twitter!
Ce dont vous avez besoin
Vidéo d'introduction
-
-
We could very well be witnessing the birth of the smartwatch revolution. Google has unleashed not one, not two, but three smartwatches onto the battlefield. We have before us the Gear Live of those three fabled smartwatches.
-
The official tech specs:
-
1.63” Super AMOLED display with a resolution of 320 x 320 pixels (278 ppi)
-
1.2 GHz processor
-
300 mAh Battery (rated at max 1 day of usage)
-
4 GB internal flash storage with 512 MB RAM
-
Digital compass, accelerometer, gyroscope, heart rate monitor
-
Bluetooth 4.0 Low Energy
-
-
-
Taking a page out of the "If it ain't broke, don't fix it" book, the new Gear Live looks eerily similar to the Samsung Gear 2 we took apart back in April.
-
This will warrant more than a few comparisons between the two—after all, you don't want to buy the wrong smartwatch, arewerite?
-
If your smartwatch was ever arrested, would you be able to identify it out of a police lineup of smartwatches?
-
-
-
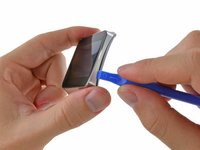
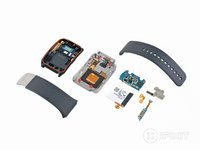
The bands come off in a snap. It's the same design geared towards replaceability as found in the Gear 2. A neat little pull lever disengages one of the holding pins, allowing the band to roam free from the watch.
-
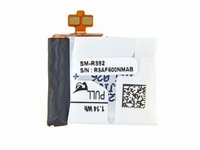
The back of the smartwatch houses the heart rate monitor and reveals the true model number: SM-R382.
-
-
-
Off come the Torx T5 screws found on the back of the Gear Live — the same type and size as in the LG G Watch.
-
Coincidence? We think so.
-
-
-
Unbeknownst to unsuspecting fixers—but knownst to us—these otherwise amiable T5 Torx screws are non-magnetic. Curses!
-
Our best guess though, is that it was done to prevent Magneto or a metal bender from taking complete control of a Gear Live smartwatch.
-
-
-
Outil utilisé dans cette étape :Tweezers$4.99
-
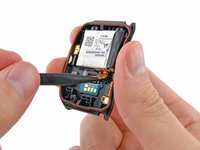
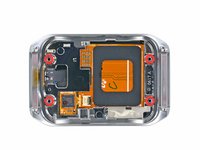
First off, let's take a peek at the Gear Live's battery.
-
We use a spudger to pry the lightly-adhered battery contact pad from its roost in the rear cover, and then use some sweet tweezers to pull the powerhouse out of the rear panel.
-
The battery inscription says "1.14 Wh." According to mathemagics and a 300 mAh battery, we conclude this watch runs on a fairly standard 3.8 V design.
-
-
-
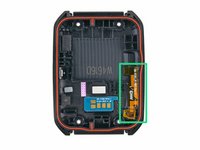
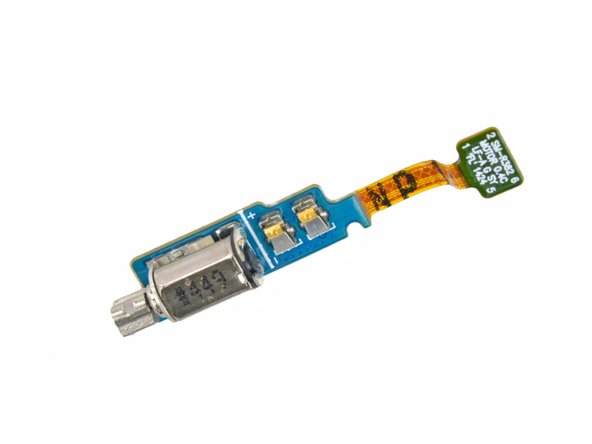
Next goes the power button ribbon cable. It was holding on like a champ for a while, but eventually our tweezers overtook it.
-
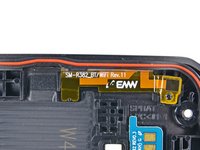
Hey, what's this? A Bluetooth / Wi-Fi antenna? This thing isn't supposed to have Wi-Fi! We don't know if Samsung is hiding anything for the future, but we are quite adept at reading cable inscriptions.
-
Also notable is the liquid damage indicator. So although this device is "IP67 water resistant," we don't necessarily recommend going into a pool with it.
-
-
-
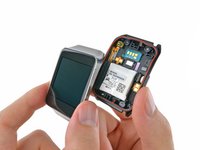
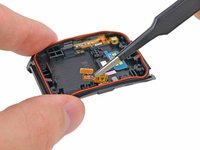
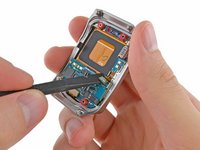
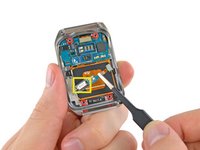
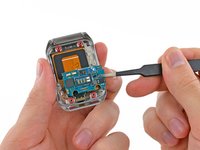
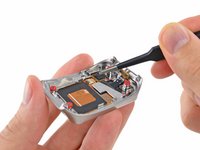
Next order of beeswax: we disconnect the display cable in order to get our hands on the motherboard.
-
The board comes out after a gentle nudge from our trusty tweezers.
-
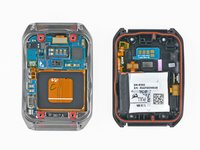
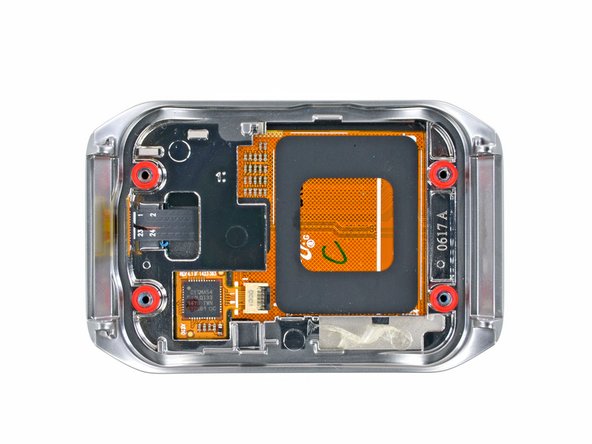
The wee motherboard bears an even wee-er daughterboard layered right on top, where we find the power input connectors and the tiny biometric (heart rate) sensor.
-
-
-
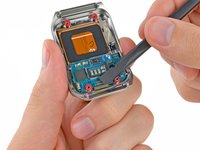
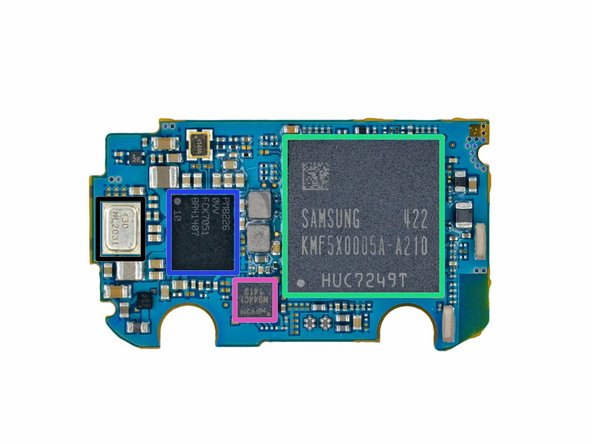
With a bit of patient spudgering, the boards are disengaged—leaving the motherboard stripped and primed for some primo IC analysis:
-
Maxim Integrated MAX77836 Low-Voltage Input, 3V/3.3V/5V/ Adjustable Output, Step-Up DC-DC Converter
-
Broadcom BCM4334W Bluetooth 4.0 / 802.11 a/b/g/n Wi-Fi / FM Receiver
-
STMicroelectronics STM32F401B ARM-Cortex M4 MCU with 128KB Flash
-
Samsung KMF5X0005A-A210 512 MB DRAM package with the Qualcomm APQ8026 System on Chip layered beneath
-
Qualcomm PM8226 power management IC
-
InvenSense MP92M 9-axis Gyro + Accelerometer + Compass
-
InvenSense ICS-43430 microphone
-
-
-
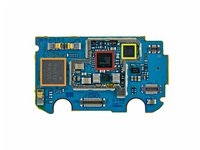
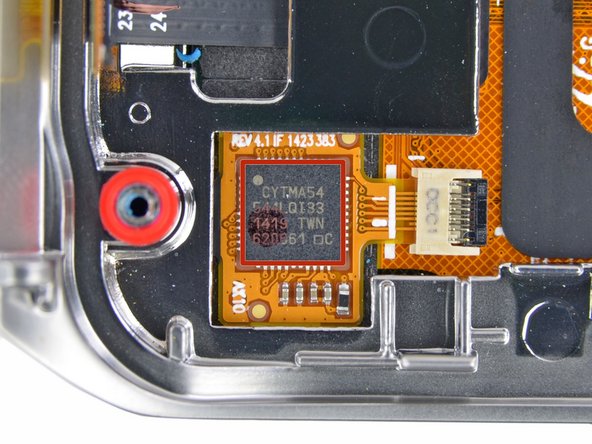
Happily, we're not yet done tweezing, because this little thermal pad needs some tweezing. Did we mention that "tweezing" is both useful and fun to say?
-
Beneath the thermal pad, a Cypress Semiconductor CYTMA545 touchscreen controller blinks its eyes under the bright lights of the teardown table.
-
-
-
Samsung Gear Live Repairability Score: 8 out of 10 (10 is easiest to repair)
-
The band detaches readily, and more or less like a regular watch band—making replacements a simple, worry-free affair.
-
Despite the water-resistant construction, opening the case is no big deal. Bring your T5 driver and pry tools, but don't expect a fight.
-
The battery is readily accessed and replaced—with a friendly "Pull" tab to cheer you along.
-
Several small adhered-in flexible PCBs will present a challenge during repairs.
-
The fused display assembly, glued right into the chassis, makes screen replacement a dubious and costly proposition.
-


18 commentaires
Is there a chip on the device that would support Wifi? What is more power friendly: BT 4.0 or Wifi? So many questions!
BT 4.0 is less enegy expensive
What about the charging dock... it should get the same teardown treatment! :-)
Just love teardowns! They are so cool!