Aller au contenu principal

Ce dont vous avez besoin

Cette vue éclatée n'est pas un tutoriel de réparation. Pour réparer votre Sony Xperia Z3 Dual, utilisez notre manuel de réparation.

  1. Sony Xperia Z3 Dual Teardown, Sony Xperia Z3 Dual Teardown: étape 1, image 1 de 3 Sony Xperia Z3 Dual Teardown, Sony Xperia Z3 Dual Teardown: étape 1, image 2 de 3 Sony Xperia Z3 Dual Teardown, Sony Xperia Z3 Dual Teardown: étape 1, image 3 de 3
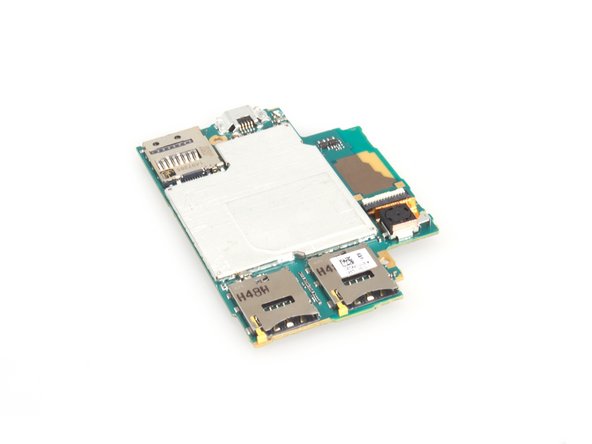
    • Remove two SIM card trays.

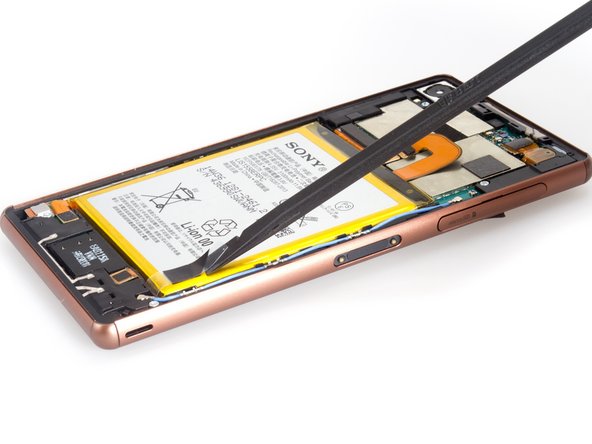
    • Heat the back cover to soften the adhesive sticker.

    • Place the suction cup and to open a gap from top side.

  2. Sony Xperia Z3 Dual Teardown: étape 2, image 1 de 3 Sony Xperia Z3 Dual Teardown: étape 2, image 2 de 3 Sony Xperia Z3 Dual Teardown: étape 2, image 3 de 3
    • Insert the guitar pick into the opening gap.

    • Slide the guitar pick to cut the adhesive sticker. Attention: when deal with the left side, the guitar pick would better go as the direction of the mark.

  3. Sony Xperia Z3 Dual Teardown: étape 3, image 1 de 2 Sony Xperia Z3 Dual Teardown: étape 3, image 2 de 2
    • Release battery connector.

    • Free the fastening sticker.

  4. Sony Xperia Z3 Dual Teardown: étape 4, image 1 de 2 Sony Xperia Z3 Dual Teardown: étape 4, image 2 de 2
    • Pry up and remove the battery.

    • 3100mAh battery.

  5. Sony Xperia Z3 Dual Teardown: étape 5, image 1 de 1
    • Twist off screws.

  6. Sony Xperia Z3 Dual Teardown: étape 6, image 1 de 3 Sony Xperia Z3 Dual Teardown: étape 6, image 2 de 3 Sony Xperia Z3 Dual Teardown: étape 6, image 3 de 3
    • Remove three pieces of securing bracket.

  7. Sony Xperia Z3 Dual Teardown: étape 7, image 1 de 3 Sony Xperia Z3 Dual Teardown: étape 7, image 2 de 3 Sony Xperia Z3 Dual Teardown: étape 7, image 3 de 3
    • Release all the connectors.

    • Remove sim tray before removing motherboard.

    • Remove the motherboard carefully.

  8. Sony Xperia Z3 Dual Teardown: étape 8, image 1 de 3 Sony Xperia Z3 Dual Teardown: étape 8, image 2 de 3 Sony Xperia Z3 Dual Teardown: étape 8, image 3 de 3
    • That's Sony Xperia Z3 Dual motherboard.

  9. Sony Xperia Z3 Dual Teardown: étape 9, image 1 de 3 Sony Xperia Z3 Dual Teardown: étape 9, image 2 de 3 Sony Xperia Z3 Dual Teardown: étape 9, image 3 de 3
    • Remove front camera and rear camera.

  10. Sony Xperia Z3 Dual Teardown: étape 10, image 1 de 3 Sony Xperia Z3 Dual Teardown: étape 10, image 2 de 3 Sony Xperia Z3 Dual Teardown: étape 10, image 3 de 3
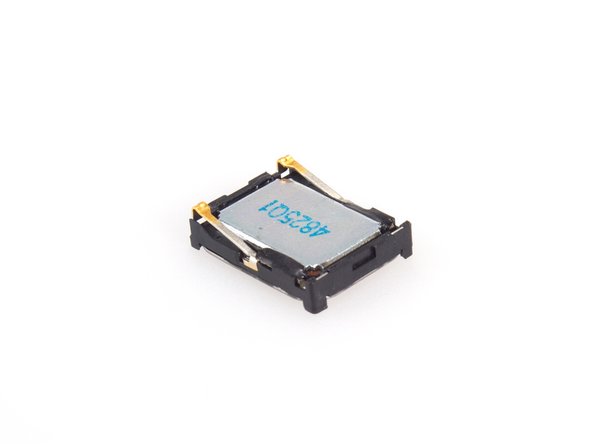
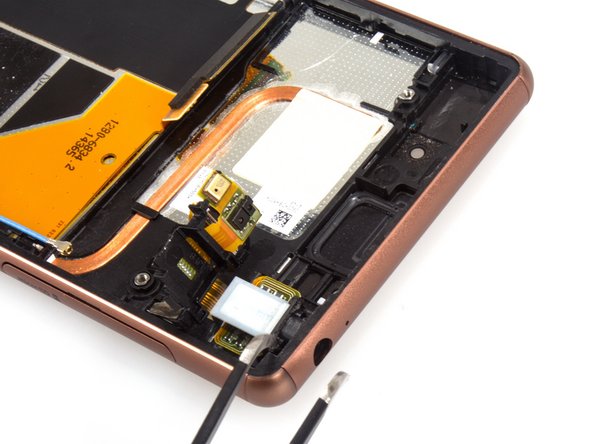
    • Remove that blocker beside the earpiece speaker at first.

    • And then you can pry up the earpiece speaker and remove it.

    This is bullshit. I broke my speaker by following those instructions. The part of the speaker facing away is glued to the front glass so trying to “pry up” separates the plastic case that holds the magnet and delicately attached membrane. The membrane is held to the magnet frame with glue, on the other side entire speaker is glued. It is obvious the weaker glue will fail first.

    If I was doing it again I would simply remove the blocker and leave the speaker in its place and remove it after detaching lcd with front glass. Alternatively use heat on the top of front glass to weaken the glue before attempting to pry the speaker. I'm quite lucky I managed to buy a replacement speaker or I would have a useless phone after following those “instructions”.

    Lukasz Olszewski - Réponse

  11. Sony Xperia Z3 Dual Teardown: étape 11, image 1 de 1
    • Remove transparent securing cover beside of earphone jack.

  12. Sony Xperia Z3 Dual Teardown: étape 12, image 1 de 3 Sony Xperia Z3 Dual Teardown: étape 12, image 2 de 3 Sony Xperia Z3 Dual Teardown: étape 12, image 3 de 3
    • Pry to turn the flex cover on the earphone jack. But it's a part of the earphone jack assembly.

    • Cut the adhesive sticker between the earphone jack and midframe and remove the assembly.

  13. Sony Xperia Z3 Dual Teardown: étape 13, image 1 de 1
    • That's antenna signal flex.

  14. Sony Xperia Z3 Dual Teardown: étape 14, image 1 de 3 Sony Xperia Z3 Dual Teardown: étape 14, image 2 de 3 Sony Xperia Z3 Dual Teardown: étape 14, image 3 de 3
    • Twist off screws.

    • Release connectors.

    • Remove vibrator securing bracket.

  15. Sony Xperia Z3 Dual Teardown: étape 15, image 1 de 3 Sony Xperia Z3 Dual Teardown: étape 15, image 2 de 3 Sony Xperia Z3 Dual Teardown: étape 15, image 3 de 3
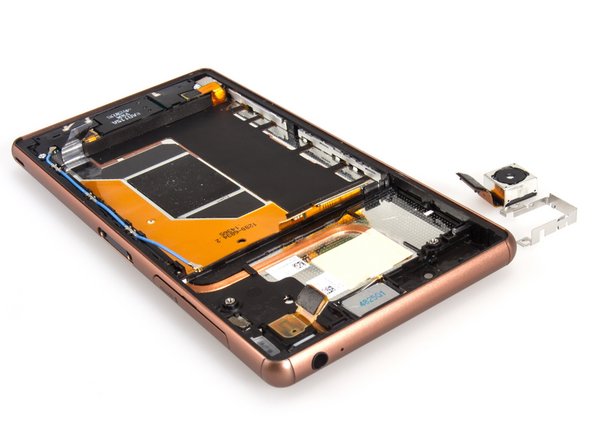
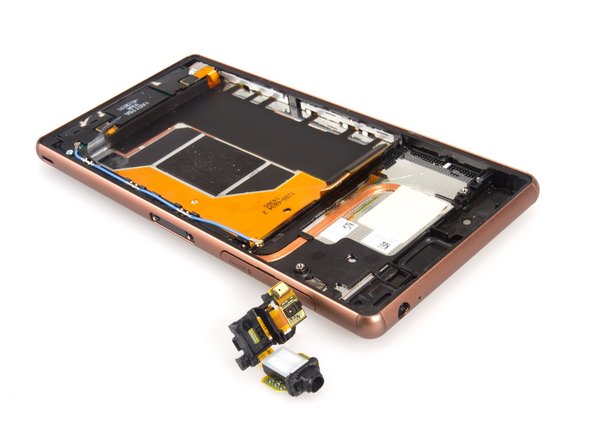
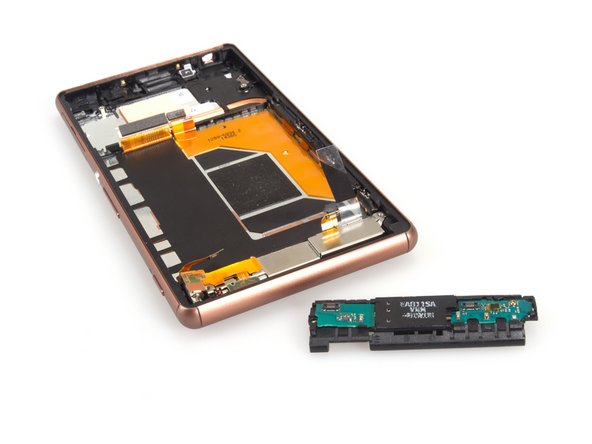
    • Remove loudspeaker assembly securing bracket. And there is no any adhesive.

    • Pry up and remove the loudspeaker assembly. No adhesive, too.

    The bracket as well as speaker assembly is very difficult to remove from a never disassembled phone. You have wiggle it, pry it, and bend it slightly to remove. Don't use force or it can be broken.

    Also there IS adhesive surrounding the speaker aperture gluing it to the front glass. It is not a lot, but one has to be aware of it.

    Removing those elements is the most difficult part of the entire disassembly.
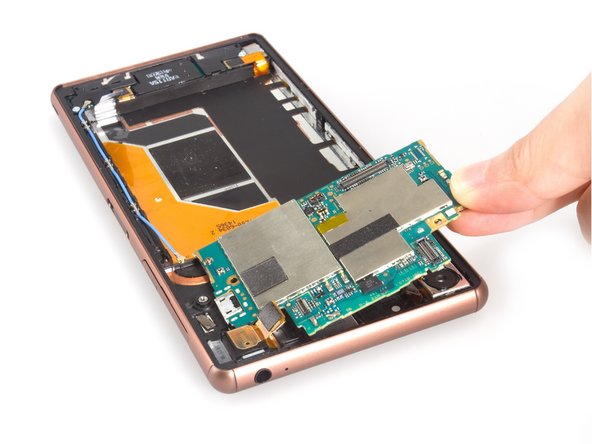
    Lukasz Olszewski - Réponse

  16. Sony Xperia Z3 Dual Teardown: étape 16, image 1 de 1
    • Done.

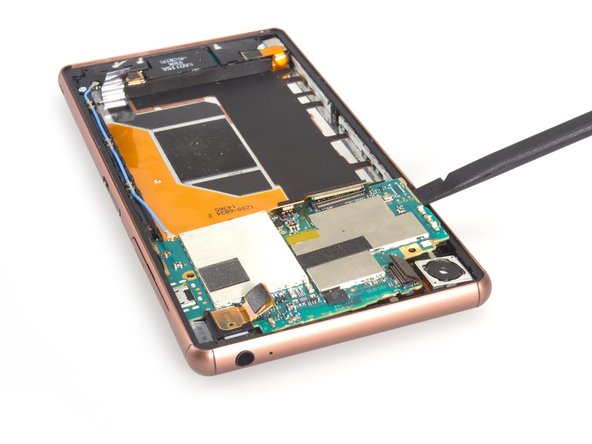
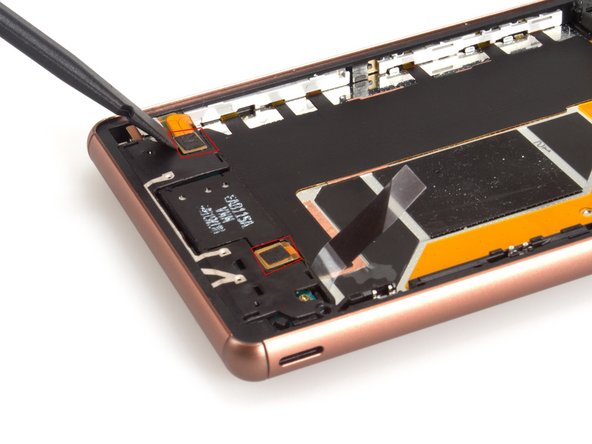
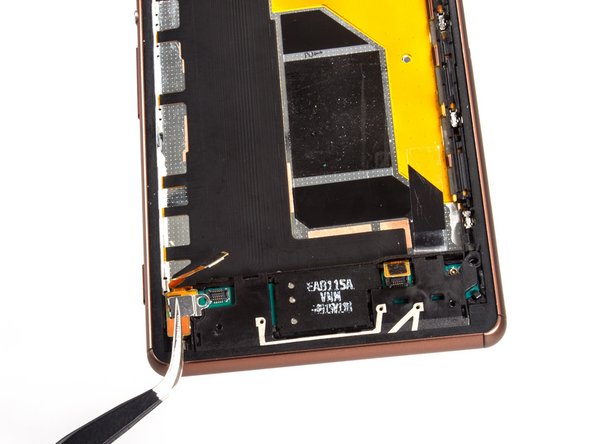
    This guide doesn't describe what is where on the phone. For example if you are replacing the screen no need to disassemble anything near the motherboard. Only the bottom. To disconnect lcd remove the metal bracket that is under the loudspeaker assembly. A piece of copper foil with glue on the connector might prevent access. Unstick sides of the foil and disconnect the connector. Then you need to gently heat the front glass to 80C (I used a hot plate and infrared thermometer - a piece of paper between the phone and hot plate) and then gently use plastic wedge to separate the lcd ribbon cable from the metal plate under it. It is held by some sort of metallic glue. Then you can u glue the front lcd glass same as you did the back.

    Lukasz Olszewski - Réponse

Sophia

Membre depuis le 03/25/14

43 810 Réputation

62 tutoriels rédigés

9 commentaires

Can you put it back together?

zarixevolve - Réponse

I dropped mine so I just want to take the battery out is it possibly to take it and then put it back in

zarixevolve - Réponse

hi.after changing my xperia z3 dual lcd 3 times.i hade a fluctuating and very week 3g and 4g signal.plz tell me where is the antenna located.i know that there is a flex and a board and antenna cover.what should i change.thanx

zein hamza - Réponse

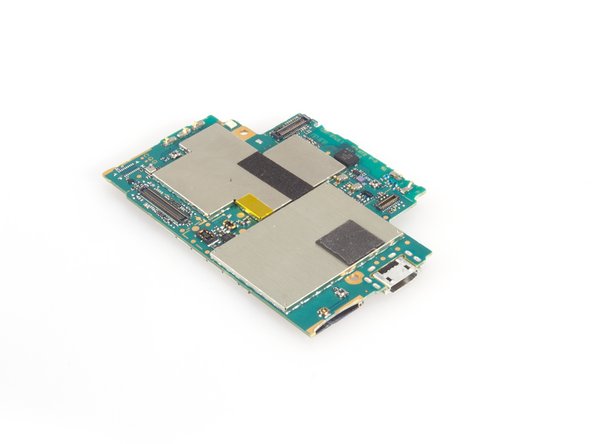
That's not a complete teardown. I would like to see the onboard chips and info's.

emmacorsa17 - Réponse

Where can i buy the Sony Xperia Z3 plus Dual motherboard ?

I really need it.

Kwar Kwar - Réponse

i need board from where i purchase please guaid me

haseebmustafa1212 - Réponse

Hi Sofiya,

That's a great write-up.

My mobile repair guy is attending my mobile (sony Z3- single sim) for antenna- it is unable to receive phone network signal properly. He says he has to replace the antenna mother-board. But from your write-up I don't find any such mother board- is my repair guy conning me?

Thanks

Sundar

sundar ram - Réponse

how many this LCD ? rupiah

mochamad kudori - Réponse

How much this LCD? Rupiah’s

mochamad kudori - Réponse

Ajouter un commentaire

Nombre de vues :

Dernières 24 heures : 0

7 derniers jours : 7

30 derniers jours : 24

Total : 39,205