Ce dont vous avez besoin
-
-
With this tutorial we are going to clean the wheels and upgrade the droid so we can clean the wheels again in the future.
-
-
-
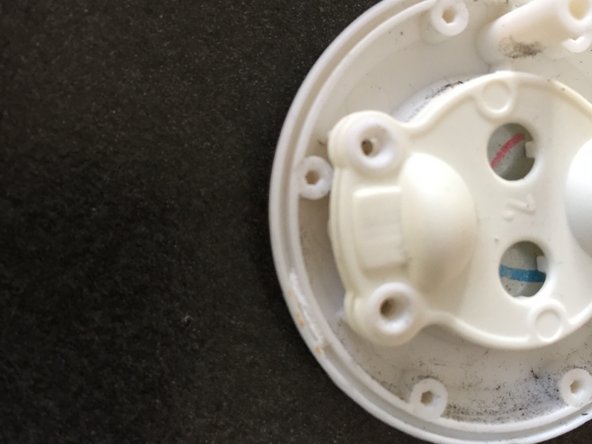
The head is kept in place by magnets. The wheels are located inside the head and pick up all kinds of dirt so over time the wheels are getting stuck by all the dirt and BB-8 doesn't respond as it did when it was new.
-
I thought i could pry the bottem out but that is not possible.
-
-
-
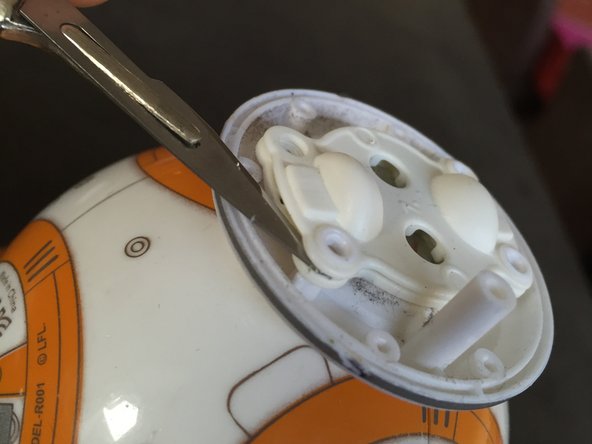
use a plastic opening tool to pry the head open. There is some glue used so be careful not to use to much force.
-
The hardest part is to break the glue. once this step is done the head is much easier to take apart in the future.
-
-
-
-
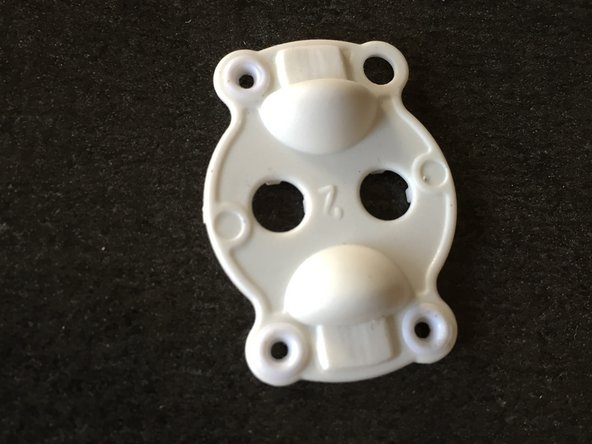
put the base of the head back on the body, this will keep the magnets in place.
-
-
-
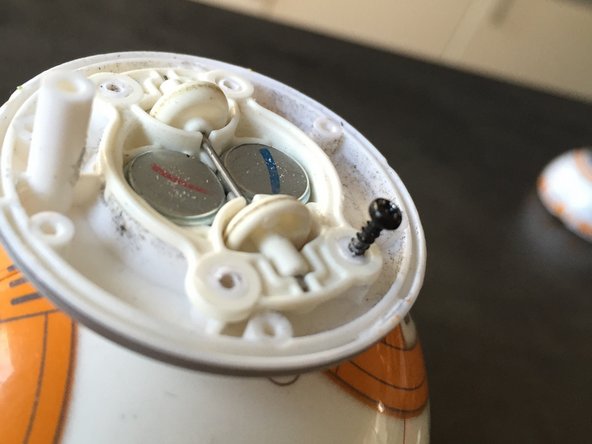
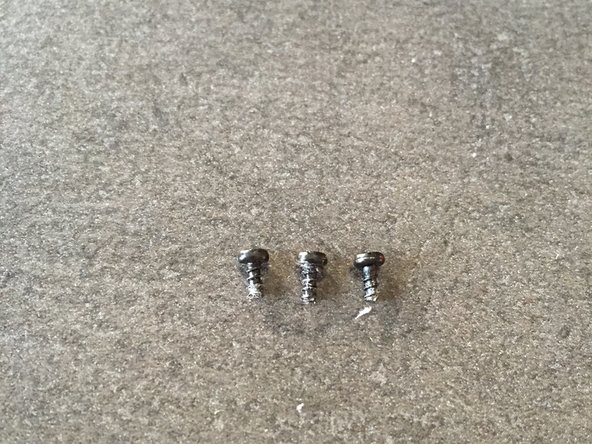
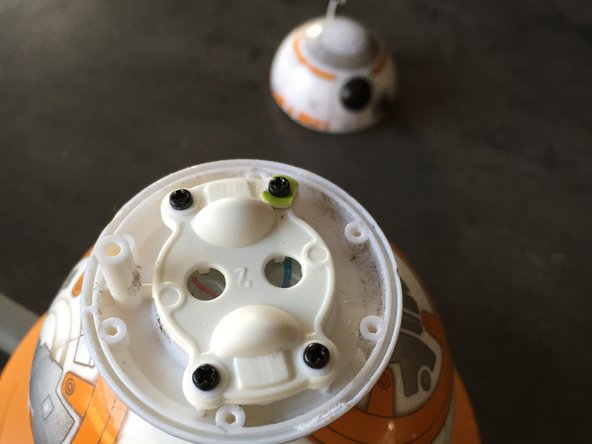
cut the plastic rivets with a sharp blade. Make sure u don't loose any of the white plastic because it will be used again as a washer.
-
when u loose or break one (like me) i will show you how to make a new washer later on.
-
-
-
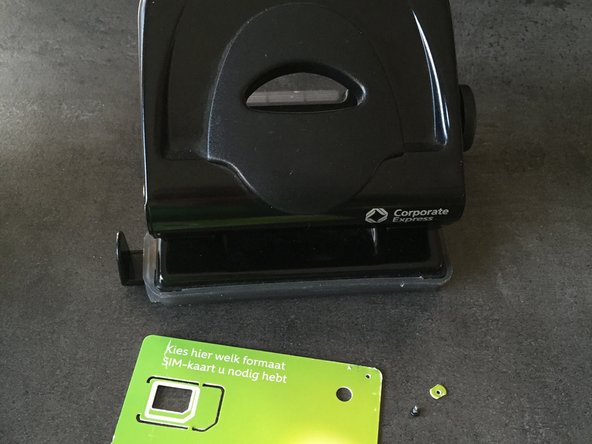
use a perforator and an old bank or sim card to cut a plastic washer.
-
Make a hole use a small screwdriver.
-


6 commentaires
The simplist way to clean the wheels is to take a Q-Tip, dip in alcohol and clean the wheels by rotating them. I know it's not as fun as taking the head apart but...
But you can’t get the dust and hair wrapped around the axle with just a qtip and alcohol
If you want the head to stay on better, super glue some small & thin magnets to the bottom of the head. I did this and it works so well you can lift BB-8 up by his head. It also doesn't impead his speed or functionality. I also put a small piece of tape over the magnets to keep from scratching the body.
Awesome idea, could you let me know what brand/size magnet you used and what tape to recommend?
Thanks for this teardown. Now I can clean BB-8 head in case needed.