Aller au contenu principal

Ce dont vous avez besoin
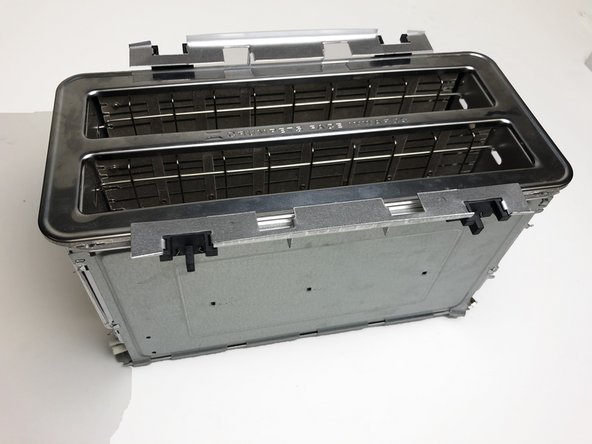
Cette vue éclatée n'est pas un tutoriel de réparation. Pour réparer votre Toaster, utilisez notre manuel de réparation.

  1. Teardown: Breville Toaster, Breville Toaster Teardown: étape 1, image 1 de 1
    • Breville Toaster.

    • The toaster before the teardown process.

  2. Teardown: Breville Toaster: étape 2, image 1 de 3 Teardown: Breville Toaster: étape 2, image 2 de 3 Teardown: Breville Toaster: étape 2, image 3 de 3
    • Turn the toaster upside-down.

    • Use the drill to unscrew the six slotted Spanner head screws

    • Use the drill with corresponding screwdriver bit to remove the Truss Phillip screws

    • The Slotted Spanner head screws hold the four rubber feet at the bottom of the casing.

  3. Teardown: Breville Toaster: étape 3, image 1 de 1
    • Unattach the four rubber feet.

  4. Teardown: Breville Toaster: étape 4, image 1 de 3 Teardown: Breville Toaster: étape 4, image 2 de 3 Teardown: Breville Toaster: étape 4, image 3 de 3
    • Detach the timer knob using a flat head screw driver

    • Remove the internal components from the red casing

  5. Teardown: Breville Toaster: étape 5, image 1 de 3 Teardown: Breville Toaster: étape 5, image 2 de 3 Teardown: Breville Toaster: étape 5, image 3 de 3
    • Note: Red casing is still attached to the interior body of the toaster.

    • Detach electric circuit housing from red casing

  6. Teardown: Breville Toaster: étape 6, image 1 de 2 Teardown: Breville Toaster: étape 6, image 2 de 2
    • Firstly, unscrew the four Pan Phillip head screws

    • Then snap off the three welded plastic studs to detach the timer knob housing from the red casing

  7. Teardown: Breville Toaster: étape 7, image 1 de 3 Teardown: Breville Toaster: étape 7, image 2 de 3 Teardown: Breville Toaster: étape 7, image 3 de 3
    • Unfasten the two Pan Phillip head screws to detach the buttons' housing

  8. Teardown: Breville Toaster: étape 8, image 1 de 3 Teardown: Breville Toaster: étape 8, image 2 de 3 Teardown: Breville Toaster: étape 8, image 3 de 3
    • Note: There are two housings attach to both side of the interior body of the toaster.

    • Remove the two Pan Phillip head screws to detach the circuit board from the heat controller housing.

    • Then, remove the slider as well.

  9. Teardown: Breville Toaster: étape 9, image 1 de 3 Teardown: Breville Toaster: étape 9, image 2 de 3 Teardown: Breville Toaster: étape 9, image 3 de 3
    • Remove the circuit board housing for the heat controller from the interior body of the toaster by unscrewing two Pan Phillip head screws

    • Remove the cable fasteners using a flat head screw driver

  10. Teardown: Breville Toaster: étape 10, image 1 de 3 Teardown: Breville Toaster: étape 10, image 2 de 3 Teardown: Breville Toaster: étape 10, image 3 de 3
    • Separate the interior body of the toaster from the bottom cover.

    • Remove the screw caps

    • Unscrew the two Pan Phillip head screws to detach the aluminium vent

  11. Teardown: Breville Toaster: étape 11, image 1 de 3 Teardown: Breville Toaster: étape 11, image 2 de 3 Teardown: Breville Toaster: étape 11, image 3 de 3
    • Use pliers to break apart the welded wires from the interior body.

    • Snip off the rest of the wires still attached to the interior body using a wire cutter

    • Remove the circuit board from its housing

  12. Teardown: Breville Toaster: étape 12, image 1 de 2 Teardown: Breville Toaster: étape 12, image 2 de 2
    • Separate the electric components from the interior body

  13. Teardown: Breville Toaster, Components of the Toaster Teardown: étape 13, image 1 de 1
    • Insert wisdom here.

Aisyah Azmi

Membre depuis le 09/30/18

217 Réputation

1 tutoriel rédigé

11 commentaires

Don’t buy this toaster…They fail and Breville won’t warranty it after 1 year….

Never again Breville..

James Payne - Réponse

Thank you for this tear down guide. Though it’s built pretty well and feels like a tank, It doesn’t seem very repairable. Mine stopped working a couple months ago and I’m contemplating throwing it out. Comments?

David Vileta - Réponse

any chance you still have the electronics for the toaster. Mine stopped working. It’s not the heating element. I THINK the issue is one of the components on the circuit board failed. I’ll buy the harness with the PCB from you, if it’s still around. Thanks.

Riccardo - Réponse

Thanks very much for posting all of this, gave me the confidence to 'go in'.

Foe anyone thinking of doing what I just did; the guts of a plastic cased model can be put into a metal cased model but there are a few differences but everything you need is there.

Sean Johnson - Réponse

Purchased a Breville die cast 2 slice toaster ($160). After one year it stopped toasting evenly and then on the out side of one slice. I am capable of fixing this but Breville will not sell parts, they want you to buy a new one. My first and last Breville product.

Lou Viscomi - Réponse

Ajouter un commentaire

Nombre de vues :

Dernières 24 heures : 10

7 derniers jours : 52

30 derniers jours : 228

Total : 19,467