Introduction
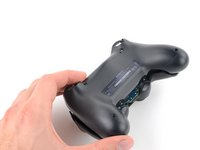
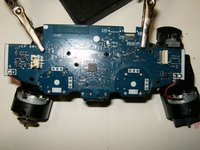
Here is a DualShock 4 controller that had a drift to both analog joysticks. Fairly straight forward replacement of the joysticks resolved the issue.
The joystick is soldered to the controller board. You'll need a soldering station in order to complete this repair.
Ce dont vous avez besoin
-
-
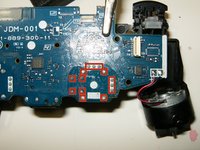
Check the model number on the back of your controller. This guide was written using model CUH-ZCT1U. If you have another model, the guide procedure and replacement parts may differ slightly.
-
-
Outil utilisé dans cette étape :Microfiber Cleaning Cloths$3.99
-
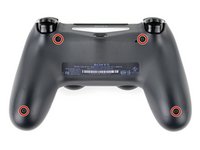
Use a Phillips screwdriver to remove the four 6.4 mm-long screws securing the rear case.
-
-
-
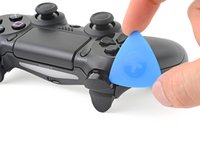
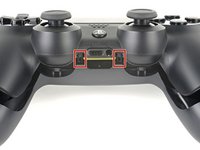
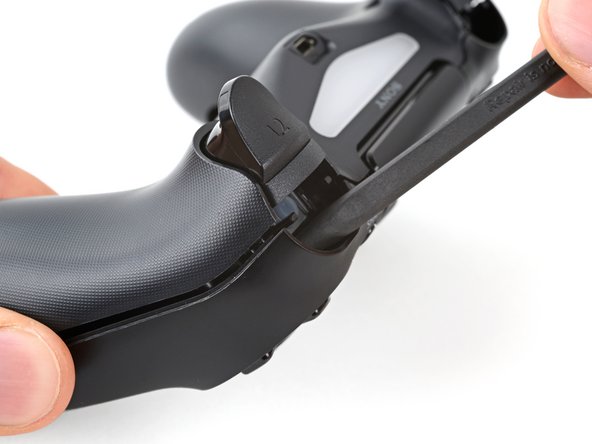
Use an opening pick to pry each corner of the L1 button from the front case.
-
Remove the button.
-
-
-
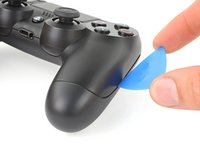
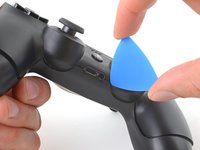
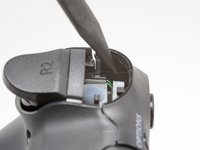
Use your opening pick to pry and remove the R1 button, just as you did for the L1 button.
-
-
-
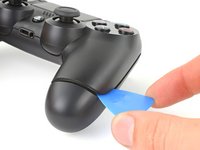
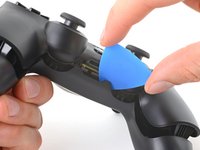
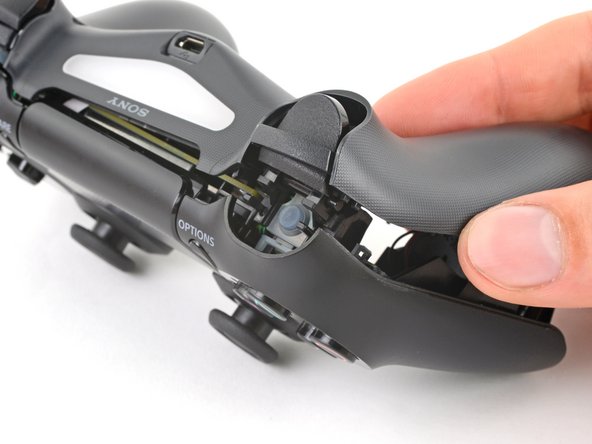
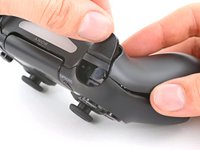
Insert your opening pick at a downward angle between the front case and rear case, halfway between the handle and the action buttons.
-
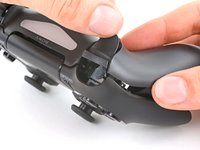
Slide your pick toward the handle and pry up to release the first clip.
-
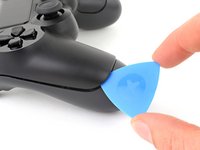
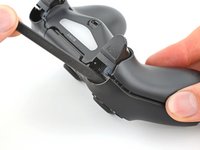
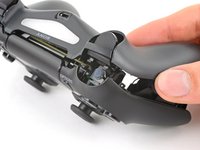
Repeat this procedure on the other side of the controller to release the second clip.
-
-
-
Outil utilisé dans cette étape :Tweezers$4.99
-
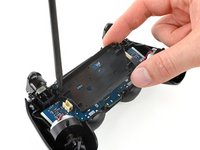
Use tweezers or your fingers to remove the interconnect cable by pulling its blue pull tab straight out of the socket.
-
-
Outil utilisé dans cette étape :Tweezers$4.99
-
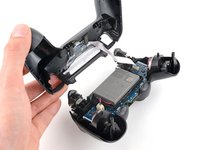
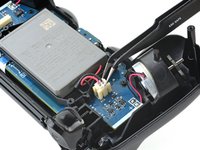
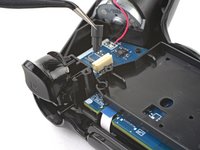
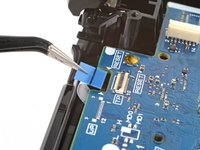
Use tweezers or your fingers to grab and disconnect the head of the battery cable from the motherboard.
-
-
-
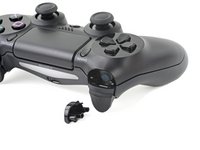
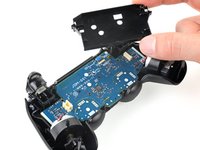
Grab and remove the reset button extension from its recess in the battery bracket.
-
-
-
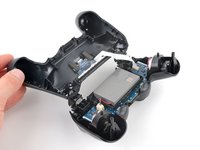
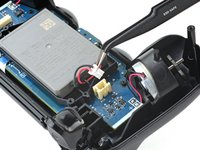
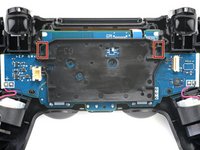
Locate the two clips securing the battery bracket to the motherboard.
-
Insert the point of your spudger into the opening behind the right bracket clip.
-
Depress the clip to disengage it from the motherboard.
-
Lift up the right edge of the battery bracket.
-
-
Outil utilisé dans cette étape :Tweezers$4.99
-
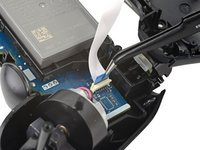
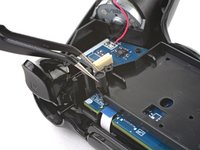
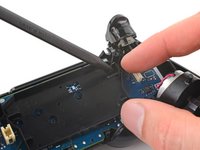
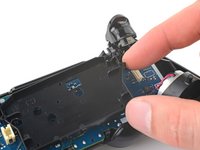
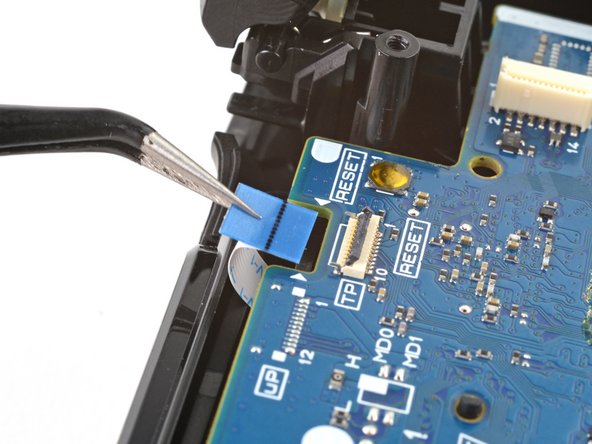
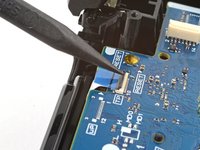
Use the point of your spudger to flip up the locking flap securing the touch pad cable ZIF connector.
-
Use tweezers or your fingers to disconnect the cable using its blue pull tab.
-
-
-
Use your Phillips screwdriver to remove the 6.4 mm screw securing the motherboard.
-
-
-
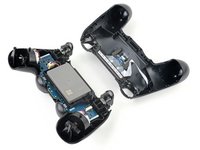
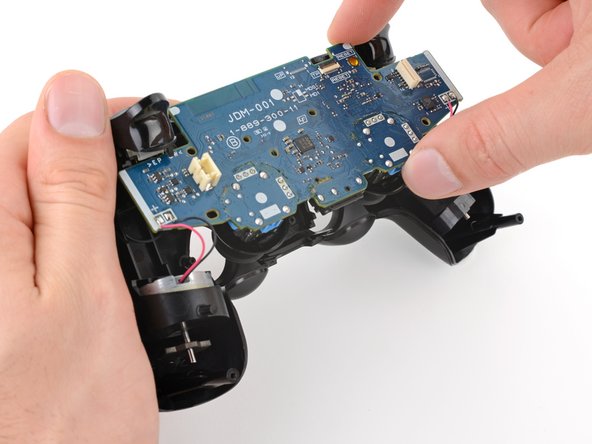
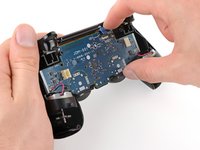
Lift the motherboard from the midframe.
-
Guide the analog stick covers through their cutouts in the front case.
-
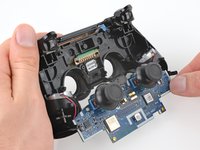
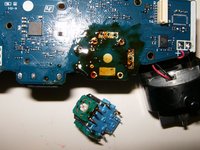
Flip the motherboard over the bottom of the controller, leaving the vibration motor cables attached.
-
-
-
Use a "Helping Hands" or similar tool to hold the circuit board steady for the solder work.
-
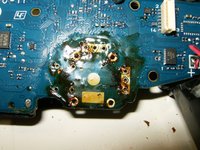
These are the solder connections that will need to be desoldered. Since the board is upside down, left will become right.
-
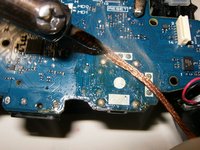
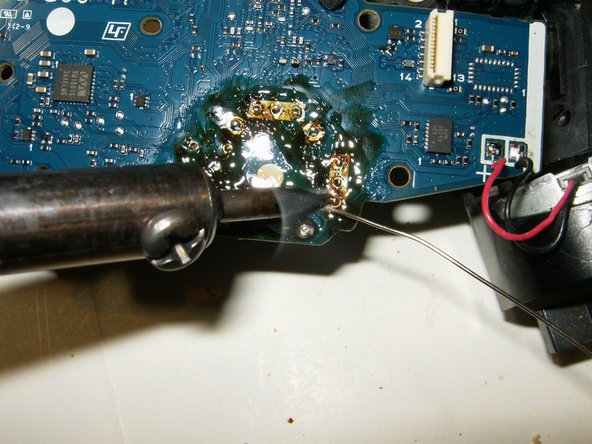
Use a desoldering wick and flux to melt and remove the solder
-
-
-
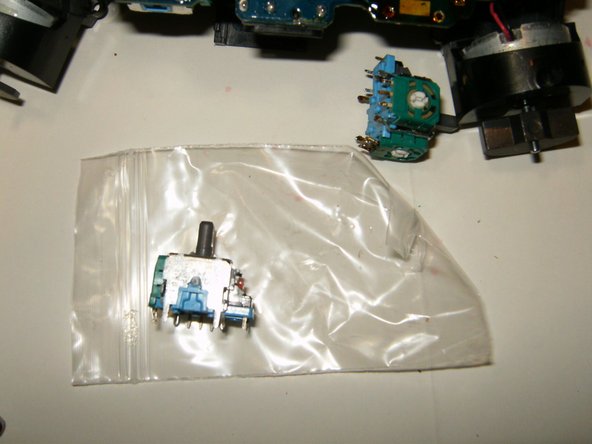
Once all the contacts are desoldered, the old joystick can be removed. This may take a bit of practice since all the solder will have to be removed. It does help to pull a bit on the joystick while melting the solder and using the wick.
-
Ensure that the contacts of the replacement joystick are identical to the original.
-
Check that all the holes are cleared of old solder. Hypodermic needles as well as very small drill bits can be used to clear the holes. The molten looking substance on the circuit board is the flux used for the desoldering.
-
-
-
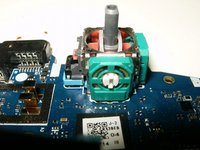
Insert the new joystick into the circuit board. Make sure it is properly seated and that all the contacts line up with the holes in the circuit board.
-
Solder all the contacts to the board.
-
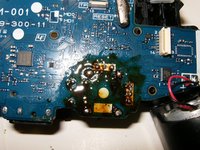
Here is the board after the repair. All that is left is to clean off the old flux with some isopropyl alcohol.
-


To reassemble your device, follow these instructions in reverse order.
To reassemble your device, follow these instructions in reverse order.
Annulation : je n'ai pas terminé ce tutoriel.
86 autres ont terminé cette réparation.

Équipe

38 commentaires
Where can i buy the left stick ?
Swammieslippyslappy, there is no lead in the device, if so the solder would release much easier. Lead Solder goes to liquid at 180-190 Celsius vs lead free at 212-226 Celsius. I would suggest buying a desoldering iron (cheap ones are fine $10-$20 they have the bulb attached for one handed operation) as using a solder wick becomes rather tedious with the smaller parts.
Very helpful guide!! I've never soldered/desoldered anything before so this was a little difficult for me. I ran into a few problems along the way: my inital soldering iron was 30W and it wasn't melting the solder, so I had to buy a 40W iron and that one did the trick. I also had a rough time using the desoldering wick (the solder didn't seem to suck up into the wick) so I ended up using a combination of a desoldering pump and the wick. I eventually got the piece out and the rest was easy! Thanks again and if anybody needs help with this project feel free to message me and I'll do the best I can to help.